 Pin it
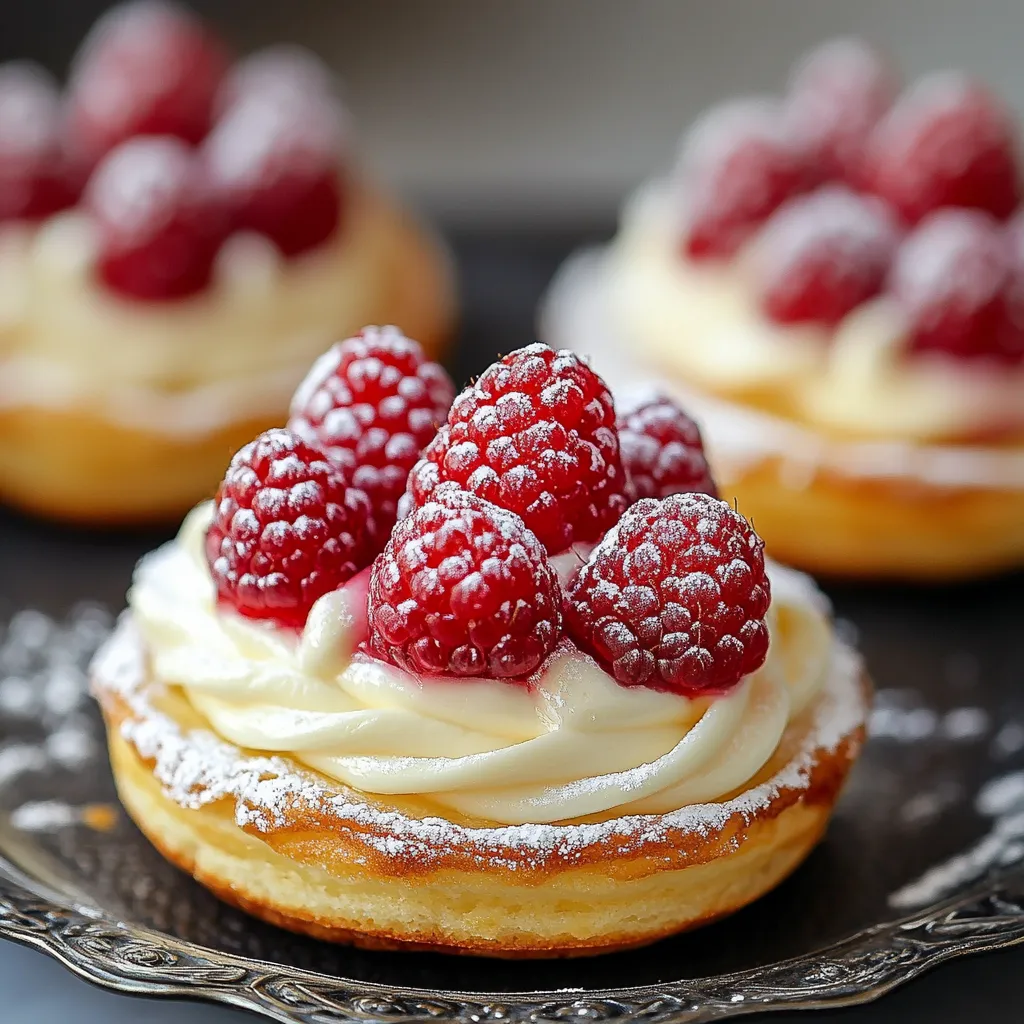
This raspberry Danish pastry recipe brings the bakery experience right to your home kitchen with its delicate, buttery layers and sweet-tart fruit filling. I've perfected this recipe over years of Sunday morning baking sessions, and it's become my signature treat for family gatherings.
I first made these Danish pastries when trying to recreate my grandmother's recipe from memory. After several attempts and a few happy accidents, this version became even better than what I remembered from childhood visits to her kitchen.
Ingredients
- Milk: Creates tenderness in the dough while activating the yeast for proper rising
- Instant yeast: Provides reliable leavening without the need for proofing
- Eggs: Add richness and create that distinctive yellow hue in traditional Danish dough
- Granulated sugar: Balances the tart raspberries without overwhelming sweetness
- Vanilla extract: Enhances the overall flavor profile with warm aromatic notes
- All purpose flour: Works perfectly here look for unbleached for best flavor
- Unsalted butter: Is essential for that signature flaky texture choose European style for extra richness
- Fresh raspberries: Provide bright flavor and beautiful color frozen work in a pinch
- Lemon zest: Brightens the filling and enhances the natural raspberry flavor
- Heavy cream: Optional but adds luxurious richness when served
Step-by-Step Instructions
- Prepare the Foundation:
- Start with room temperature butter and eggs to ensure proper incorporation into the dough. The milk should be warm but not hot around 100°F to activate the yeast without killing it. This temperature precision makes all the difference in achieving the proper rise.
- Create the Dough Base:
- Combine your bloomed yeast mixture with the eggs, sugar, vanilla, and salt until completely smooth. The mixture should look slightly frothy and smell pleasantly yeasty. This fragrant liquid base ensures even distribution of flavors throughout the finished pastry.
- Develop the Structure:
- Gradually add flour while mixing, then incorporate the butter until a soft, slightly tacky dough forms. Knead for a full 10 minutes until the dough becomes smooth, elastic, and pulls away from the sides of the bowl cleanly. The extended kneading develops gluten for that perfect chewy yet tender texture.
- First Rise:
- Place dough in a lightly oiled bowl, cover with a damp kitchen towel, and let rise in a warm spot about 75°F for 45 minutes. Look for the dough to double in size and show small bubbles on the surface. This slow rise develops complex flavors in the dough.
- Create Raspberry Filling:
- Simmer raspberries with sugar, butter and salt until thickened but still spreadable about 5 minutes. The mixture should coat the back of a spoon but still have some texture from the fruit. Allow to cool completely before using to prevent melting the dough during assembly.
 Pin it
My absolute favorite moment making these Danish treats happened last Christmas when my daughter insisted we bake a batch for Santa instead of cookies. The empty plate the next morning convinced her that even Santa appreciates something beyond the ordinary cookie plate!
Mastering the Pastry Cream
The secret to exceptional Danish pastries lies in a properly made pastry cream. Cook it low and slow, stirring constantly to prevent lumps. The finished cream should be thick enough to hold its shape when spooned but still have a silky smooth texture. I recommend making this a day ahead so it can properly set up in the refrigerator.
Freezing and Storage Tips
These Danish pastries freeze beautifully before or after baking. To freeze unbaked pastries, place them on a parchment lined sheet until solid, then transfer to a freezer bag. When ready to bake, allow them to thaw and complete their final rise before baking. Baked pastries will keep at room temperature in an airtight container for 2 days or refrigerated for up to 5 days.
Making Ahead Options
For fresh morning pastries without early wakeups, prepare the dough through shaping, then cover and refrigerate overnight for their final rise. The slow, cold fermentation actually improves flavor development. Simply bring to room temperature for 30 minutes before baking in the morning for fresh pastries without the dawn patrol baking session.
 Pin it
Enjoy these homemade raspberry Danish pastries as a perfect treat for any occasion!
Frequently Asked Questions
- → Can I make these Danish pastries ahead of time?
Yes! You can prepare the dough and fillings a day ahead. Complete the first rise, then refrigerate the dough overnight. The pastry cream and raspberry filling can also be made in advance and refrigerated. Assemble and complete the second rise the next day before baking.
- → Can I use frozen raspberries instead of fresh?
Absolutely. For the filling, frozen raspberries work perfectly. For the topping, thaw frozen raspberries and pat them dry before using, though fresh will maintain their shape better.
- → How should I store leftover Danish pastries?
Store in an airtight container in the refrigerator for up to 3 days. Warm slightly in the oven before serving to restore some of the original texture. The pastry cream makes refrigeration necessary.
- → Can I substitute other fruits for raspberries?
Yes, strawberries, blueberries, or blackberries work well. Adjust sugar levels according to the fruit's natural sweetness. Stone fruits like peaches or plums are also excellent alternatives when diced small.
- → What's the best way to achieve the perfect dough texture?
Ensure your milk is warm but not hot (around 100°F) to properly activate the yeast without killing it. Knead the dough thoroughly until smooth and elastic. The butter should be soft but not melted for proper incorporation.
- → Can I freeze these Danish pastries?
Yes, but freeze them before adding the pastry cream and fresh raspberry topping. After shaping and before the second rise, freeze them on a baking sheet, then transfer to a freezer bag. Thaw overnight in the refrigerator, allow to rise, then add toppings before baking.
