
 Pin it
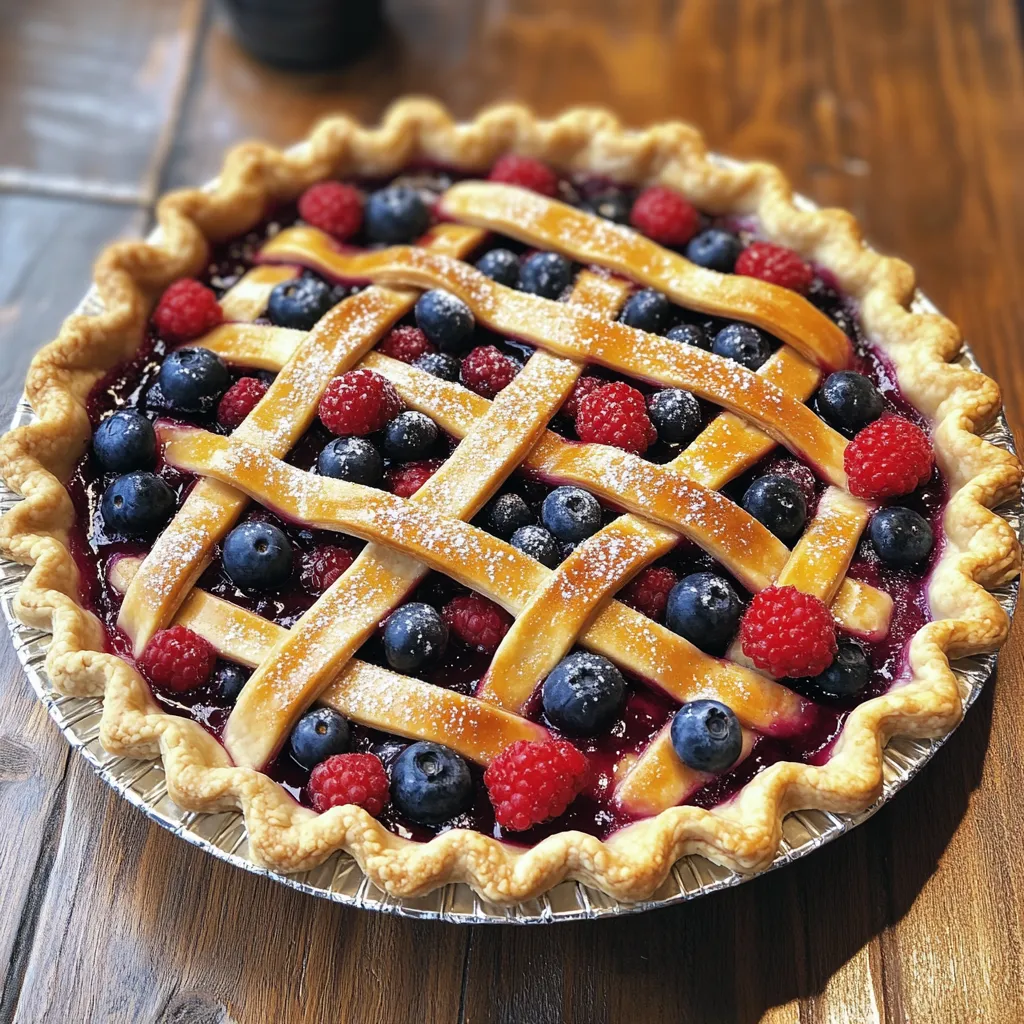
This lattice-topped berry pie brings together summer's finest fruits under a beautifully woven crust that's as impressive to look at as it is delicious to eat. The combination of strawberries, blueberries, and raspberries creates a perfect balance of sweet and tart flavors that simply can't be matched by single-fruit pies.
I first made this pie for a Fourth of July gathering three years ago, and it has since become my signature dessert. Even my mother-in-law who rarely gives compliments asked for the recipe, which I consider the ultimate seal of approval.
Ingredients
- Fresh mixed berries: Select plump, firm berries without signs of mold or mushiness for the best flavor
- Granulated sugar: Enhances the natural sweetness of the berries while helping to create that perfect jammy consistency
- Lemon juice: Brightens the flavors and balances sweetness
- Cornstarch: Thickens the berry juices to prevent a soggy bottom crust
- Vanilla extract: Adds warmth and depth to the berry filling
- Salt: A small amount enhances all the flavors
- Pie crust: Homemade delivers the best buttery flavor, but quality store-bought works in a pinch
- Egg: Creates a golden sheen on the lattice top
- Coarse sugar: Adds a delightful crunch and sparkle to the finished pie
Step-by-Step Instructions
- Preheat the Oven:
- Set your oven to 425°F. A properly preheated oven ensures the bottom crust starts cooking immediately, which helps prevent sogginess. Place your oven rack in the lower third of the oven for proper heat distribution.
- Prepare the Berry Filling:
- Combine your mixed berries, sugar, lemon juice, cornstarch, vanilla, and salt in a large bowl. Gently fold everything together using a rubber spatula to avoid crushing the berries. The 15-minute rest period is crucial as it allows the sugar to begin drawing out juices and the cornstarch to hydrate, which will help thicken the filling properly during baking.
- Roll Out the Bottom Crust:
- On a lightly floured surface, roll your bottom crust to about 12 inches in diameter for a 9-inch pie pan. Aim for about 1/8 inch thickness. Roll from the center outward, rotating the dough quarter turns frequently to maintain an even circle. Carefully drape the dough over your rolling pin to transfer it to the pie dish without stretching it, which can cause shrinkage during baking.
- Add the Filling:
- Pour your macerated berry mixture into the crust, including all the accumulated juices. Use a spatula to spread the berries evenly, creating a slight mound in the center since fruits settle during baking. Avoid overfilling which can lead to bubbling over during baking.
- Create the Lattice Top:
- Roll the remaining dough to the same thickness as the bottom crust. Using a pastry wheel or sharp knife, cut into 1-inch strips. Place half the strips parallel across the pie with small gaps between them. Fold back every other strip halfway, then place one strip perpendicular across the unfolded strips. Return the folded strips to their original position, then fold back the alternate strips to continue the weaving process until the entire pie is covered with the lattice pattern.
- Finish and Prepare for Baking:
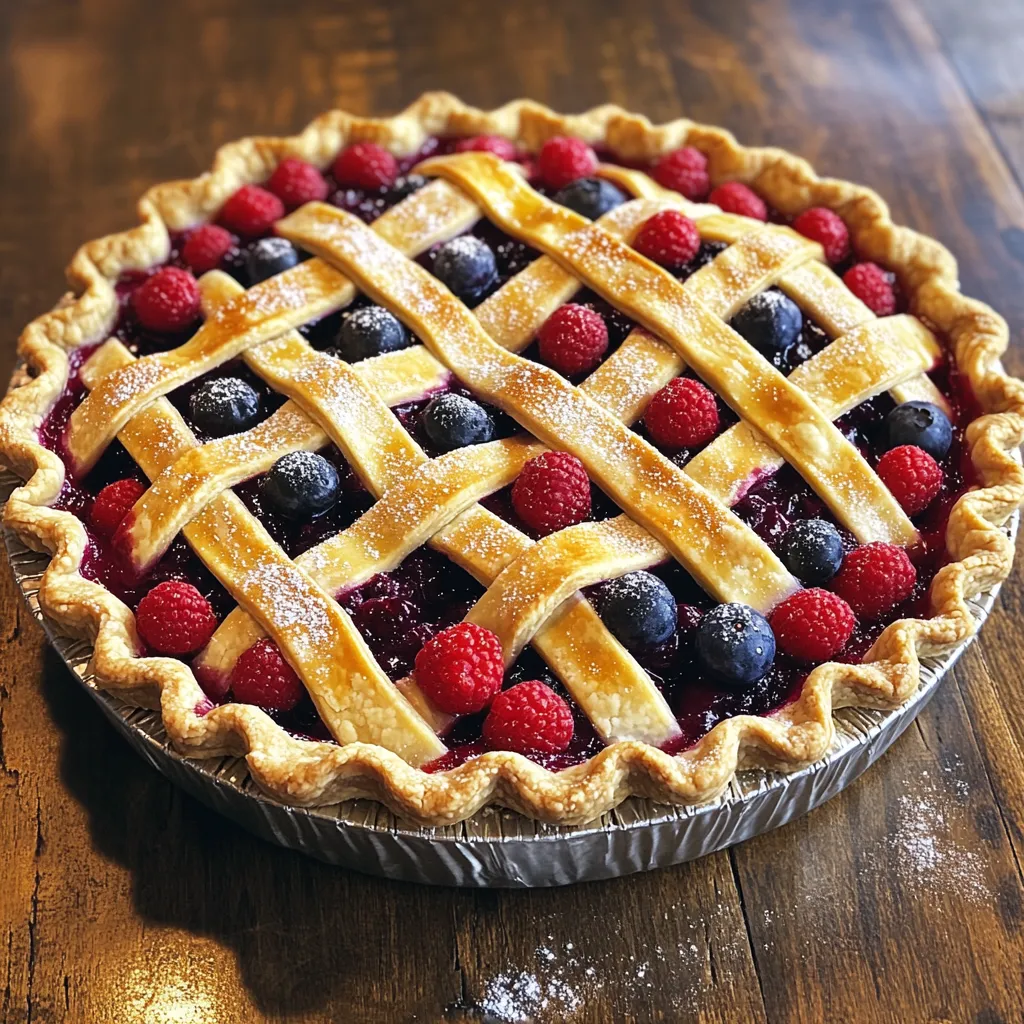
- Trim any excess dough hanging over the edges, leaving about 1/2 inch overhang. Fold this overhang under itself to create a thicker edge, then crimp decoratively using your fingers or a fork. Brush the entire lattice thoroughly with beaten egg, making sure to get into all the crevices. Sprinkle generously with coarse sugar for both appearance and texture.
- Bake to Golden Perfection:
- Place your pie on a baking sheet lined with parchment paper to catch any potential overflow. Bake at 425°F for 25-30 minutes until the crust is golden brown and you can see the filling bubbling through the lattice. If the edges brown too quickly, shield them with a pie crust protector or strips of aluminum foil.
- Cool Before Serving:
- Allow the pie to cool on a wire rack for at least 30 minutes, but preferably 2-3 hours for clean slices. The cooling period is essential as it allows the cornstarch to fully set and thicken the juices, resulting in cleaner slices rather than a runny filling.
 Pin it
The secret to this pie's exceptional flavor is allowing the berries to macerate with sugar before baking. This process draws out the natural juices and intensifies the berry flavor, creating a filling that tastes like summer sunshine. My grandmother taught me this technique when I was just eight years old, standing on a kitchen stool helping her make pies for our family reunion.
Berry Selection Guide
The beauty of this pie lies in its adaptability to whatever berries are in season. During peak summer months, use equal parts strawberries, blueberries, and raspberries for the classic combination. In early summer, increase the proportion of strawberries and add a few blackberries for complexity. In late summer, wild blueberries and blackberries create a deeper, more intense flavor profile. When using strawberries, quarter the large ones and halve the medium ones for even cooking. The varying sizes and colors create a visually stunning filling that showcases the natural beauty of the fruits.
Make-Ahead Options
This pie works beautifully as a make-ahead dessert. Prepare the entire pie up to the point of baking, then wrap tightly and freeze for up to 3 months. When ready to bake, do not thaw first; simply add 15-20 minutes to the baking time, covering the edges with foil for the first half of baking to prevent over-browning. Alternatively, bake the pie completely, cool thoroughly, then wrap and freeze. Thaw overnight in the refrigerator and warm in a 300°F oven for 15 minutes before serving for that fresh-baked taste.
Troubleshooting Berry Pies
Berry pies can sometimes be tricky, but a few techniques ensure success every time. If your filling seems too watery after macerating, add an additional teaspoon of cornstarch. For extra insurance against a soggy bottom, brush the bottom crust with beaten egg white before adding the filling, which creates a moisture barrier. If your berries are particularly juicy, consider dotting the filling with 1-2 tablespoons of cold butter pieces before adding the top crust. This helps emulsify the juices and creates a silkier texture in the finished pie.
 Pin it
Enjoy every bite of this stunning dessert that's as beautiful as it is delicious!
Frequently Asked Questions
- → Can I use frozen berries instead of fresh?
Yes, frozen berries work well in this pie. There's no need to thaw them first, but you may want to add an extra tablespoon of cornstarch to account for the additional moisture. The baking time might need to be extended by 5-10 minutes.
- → How do I prevent a soggy bottom crust?
To prevent a soggy bottom, you can blind bake the bottom crust for about 10 minutes before adding the filling. Another option is to brush the bottom crust with egg white before adding the filling, which creates a barrier against moisture.
- → What's the best way to create a lattice pattern?
Lay parallel strips across the pie first, then fold back alternate strips halfway and place a perpendicular strip in the middle. Continue folding and weaving until the lattice is complete. For beginners, using wider strips makes the process easier.
- → How long will this pie keep?
The pie will keep at room temperature for about 2 days, covered loosely with foil. For longer storage, refrigerate for up to 5 days. Reheat slices in a 350°F oven for 10-15 minutes to restore the crust's crispness.
- → Can I add other fruits to this pie?
Absolutely! This pie works well with other berries like blackberries or with stone fruits like peaches or cherries. Just maintain the same total volume of fruit and adjust sugar levels depending on the sweetness of your chosen fruits.
- → Why is my filling too runny?
Runny filling is usually caused by insufficient thickener or not allowing the pie to cool completely. Make sure to use the full amount of cornstarch and let the pie cool for at least 3-4 hours for the filling to fully set.