
 Pin it
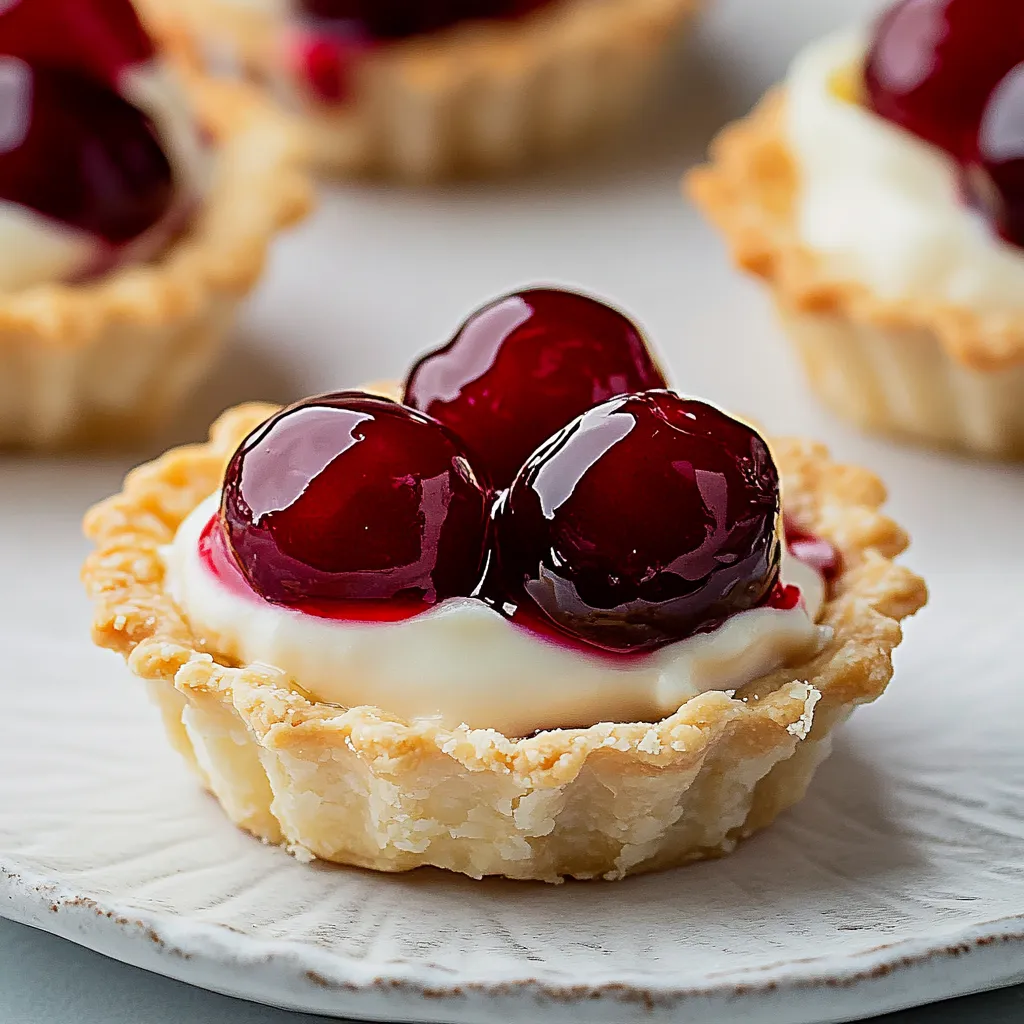
These mini cherry cream cheese pies have become my signature dessert for family gatherings and potlucks, combining the classic appeal of cherry pie with a creamy cheesecake-like filling in perfect individual portions.
I first made these mini pies for a summer picnic when I needed something that wouldn't melt in the heat. They were such a hit that my aunt immediately requested the recipe, and now they appear at nearly every family function.
Ingredients
- Cherries: 2 cups fresh or canned, chopped. These bring that perfect sweet tart flavor that makes these pies irresistible. If using canned, make sure to drain thoroughly to avoid soggy crusts.
- Cream Cheese: 1 cup softened. Creates that velvety cheesecake base. Always use full fat for the richest texture and flavor.
- Granulated Sugar: ¼ cup. Balances the tang of cream cheese. You can adjust slightly if your cherries are particularly sweet or tart.
- Vanilla Extract: 1 teaspoon. Adds warmth and depth. Pure vanilla extract makes a noticeable difference in the final flavor.
- Refrigerated Pie Crusts: 1 package (2 crusts). These time savers produce consistently flaky results. Look for all butter varieties for the best flavor.
- Egg: 1 beaten. Creates that bakery quality golden shine on the crusts.
- Apricot Jam: 2 tablespoons optional. Adds a professional looking glossy finish. The subtle sweetness complements the cherries beautifully.
Step-by-Step Instructions
- Prepare the Oven and Muffin Tin:
- Preheat your oven to 375°F. I like to spray my muffin tin generously with cooking spray rather than using liners. The direct contact with the metal creates a crisper crust that holds up better to the filling.
- Roll Out the Pie Crusts:
- On a lightly floured surface, roll the crusts slightly thinner than they come from the package. Use a 4 inch round cutter or an inverted bowl to cut perfect circles. Gently ease each circle into a muffin cup, taking care not to stretch the dough which can cause shrinkage during baking.
- Make the Cream Cheese Filling:
- Beat the softened cream cheese, sugar, and vanilla until absolutely smooth. Cold cream cheese will leave lumps, so make sure it's truly room temperature. I sometimes microwave it for 10 seconds if it still feels firm.
- Add the Cherries:
- Spoon about 1½ tablespoons of cream cheese mixture into each crust, then top with a rounded tablespoon of cherries. The key is not overfilling, which can cause spillover during baking.
- Create the Lattice Tops:
- Cut remaining dough into ¼ inch strips. Weave them into simple lattice patterns on top of each pie. I find using kitchen scissors makes trimming the edges much easier than a knife.
- Apply the Egg Wash:
- Brush the lattice with beaten egg, making sure to coat all exposed dough. This creates that beautiful golden color and adds a slight crispness to the finished crust.
- Bake:
- Bake for 20 to 25 minutes, rotating the pan halfway through. The pies are done when the crust is golden and you can see the filling bubbling slightly around the edges.
- Add the Finishing Touch:
- While pies are still warm, brush tops with warmed apricot jam for a professional bakery shine. This step takes these from homemade to gourmet.
 Pin it
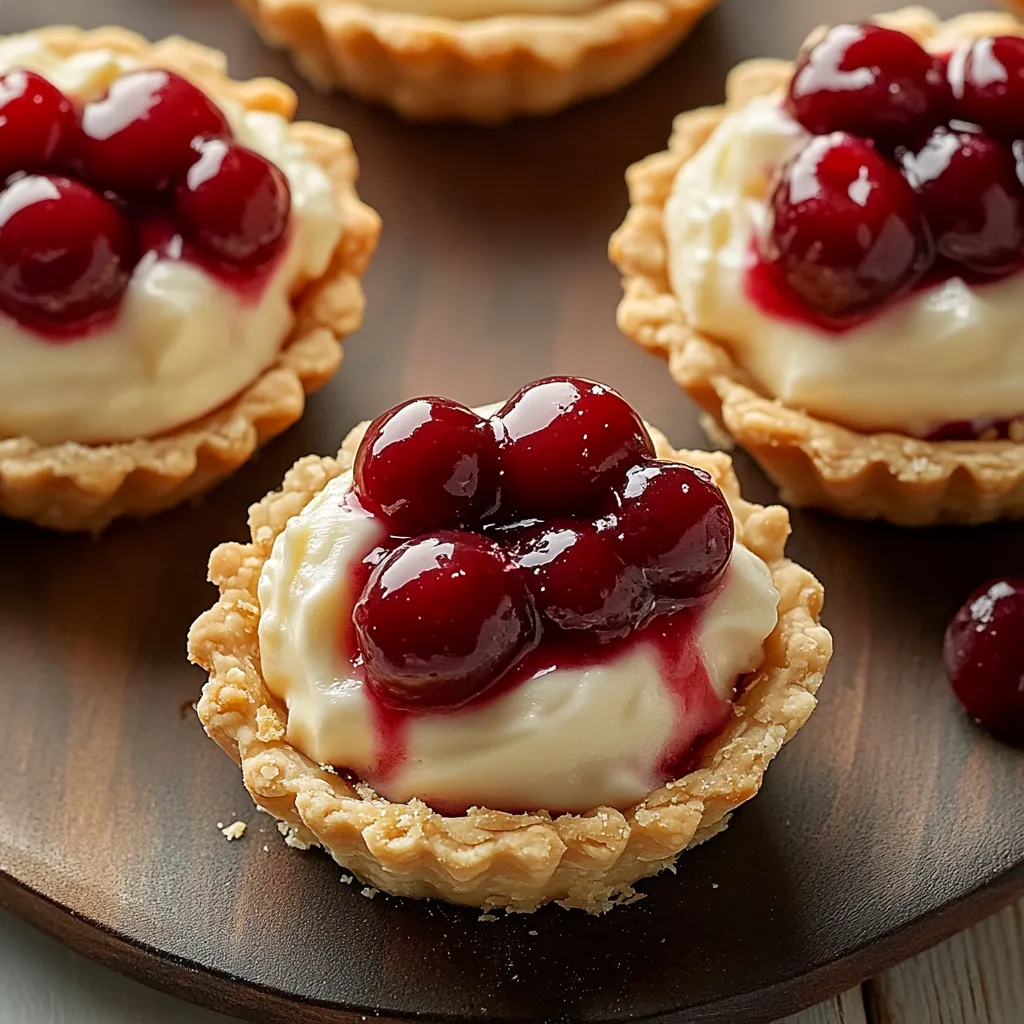
The secret to these pies is the balance between the tangy cream cheese and sweet cherries. My grandmother always said that desserts need a little contrast to be truly memorable, and these mini pies prove her right every time.
Make Ahead Tips
These mini pies are perfect for advance preparation. You can make them completely a day ahead, and many people say they actually taste better after the flavors have had time to meld overnight. Store them covered in the refrigerator for up to three days. For the freshest taste, let them come to room temperature for about 30 minutes before serving.
Seasonal Variations
While cherries are the classic filling, this versatile recipe works beautifully with other seasonal fruits. In summer, try fresh blueberries or sliced strawberries. Fall brings opportunities for diced apples or pears tossed with cinnamon. Winter citrus sections work wonderfully too, especially blood oranges or mandarins. Simply swap the fruit while keeping the cream cheese base the same.
Serving Suggestions
These mini pies are perfect on their own, but can be elevated for special occasions. A small scoop of vanilla bean ice cream or a dollop of lightly sweetened whipped cream turns them into an elegant dessert. For brunch service, pair with a light champagne cocktail. I love setting up a mini pie bar with different topping options so guests can customize their own.
 Pin it
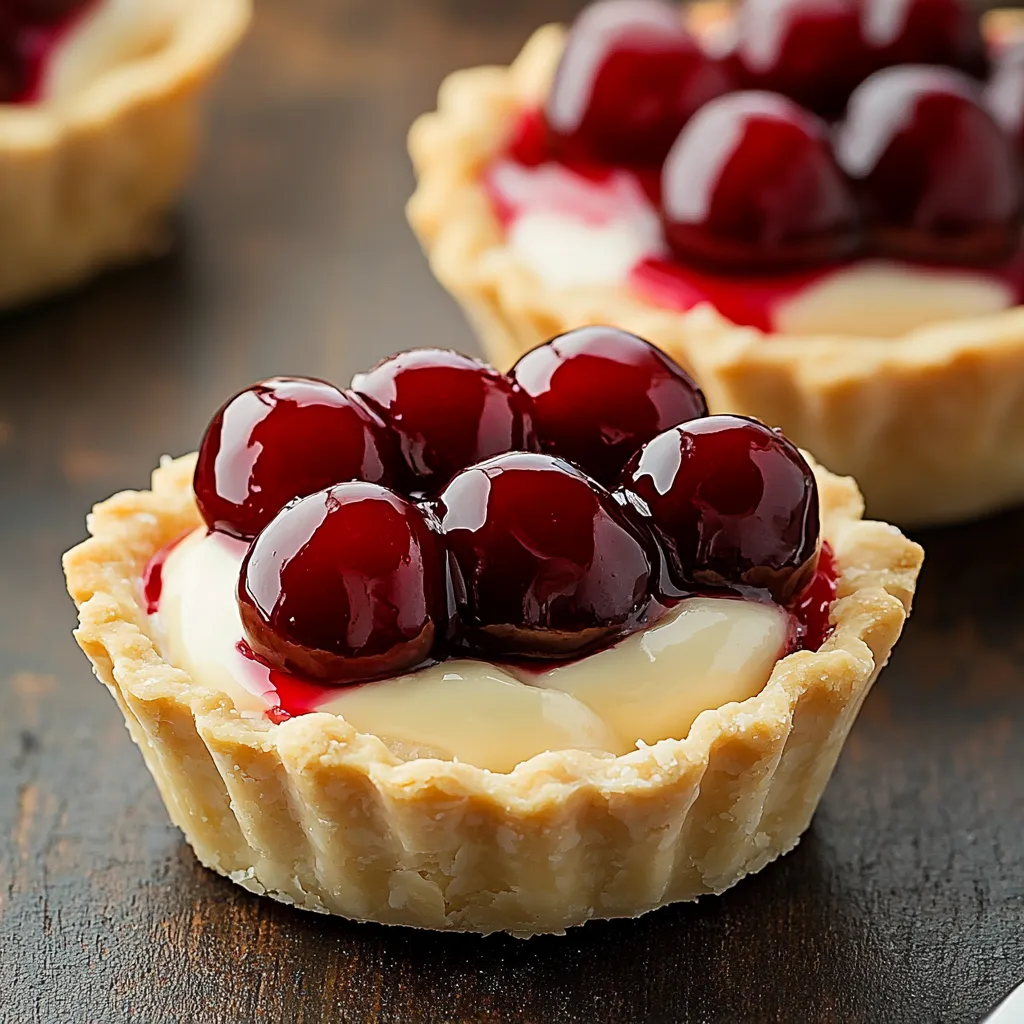
These mini pies are proof that good things come in small packages. Make them once, and they'll become a tradition at every gathering!
Frequently Asked Questions
- → Can I use frozen cherries instead of fresh or canned?
Yes, frozen cherries work well too. Just make sure to thaw them completely and drain any excess liquid before adding to the filling. Pat them dry with paper towels to prevent too much moisture in your pies.
- → How far in advance can I make these mini pies?
These pies can be made 1-2 days in advance and stored in the refrigerator. For best results, bring them to room temperature before serving, or warm them slightly in the oven at 300°F for about 5-7 minutes.
- → Can I freeze these mini cherry cream cheese pies?
Yes, these pies freeze beautifully for up to 3 months. Freeze them uncovered until solid, then wrap individually in plastic wrap and store in a freezer container. Thaw overnight in the refrigerator before serving.
- → What can I substitute for the apricot jam glaze?
You can use honey, warmed apple jelly, or a simple sugar glaze (mix 1/2 cup powdered sugar with 1-2 tablespoons milk or water). Each will give a different but equally delicious finish to your pies.
- → How do I know when the mini pies are done baking?
The pies are done when the crust is golden brown and the filling is bubbling slightly around the edges. The center should be set but might have a slight jiggle. If the lattice is browning too quickly, cover with foil for the remaining bake time.
- → Can I make these without a lattice top?
Absolutely! You can top them with a full crust (with slits for venting), a crumble topping (mix butter, flour, and sugar), or leave them open-faced to showcase the cherry topping.