
 Pin it
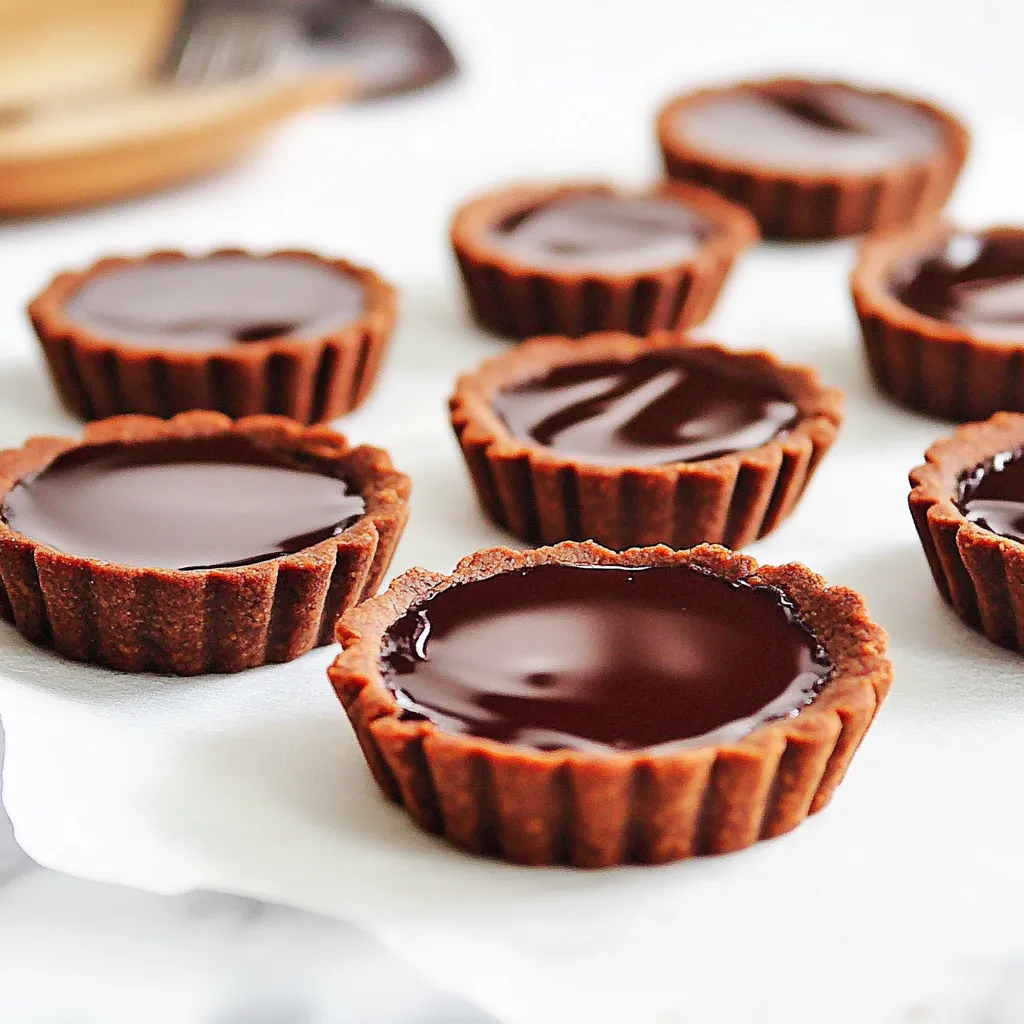
These mini chocolate tarts have been my decadent secret weapon for impressing guests without spending hours in the kitchen. The rich, silky chocolate ganache nestled in a cocoa-infused pastry creates an irresistible dessert that looks far more complicated than it actually is.
I first created these mini tarts for a dinner party when I was short on time but wanted something elegant. The moment my guests took their first bites and fell silent except for appreciative sighs, I knew this recipe would become my signature dessert.
Ingredients
- Plain AP Flour: Forms the sturdy base of our chocolate pastry; look for unbleached varieties for best flavor
- Unsweetened Cacao Powder: Adds deep chocolate notes to the pastry; choose Dutch processed for richer color
- Icing Sugar: Creates tenderness in the pastry; sift it first to avoid lumps
- Fine Salt: Enhances all the chocolate flavors; just a pinch makes all the difference
- Unsalted Butter: Must be very cold for a flaky crust; European style has less water content
- Egg: Binds the pastry together; room temperature ensures proper incorporation
- Dark Cooking Chocolate: Provides the ganache base; select 70 percent cocoa content for best results
- Heavy Thickened Cream: Creates the silky ganache; choose full fat for proper setting
Step-by-Step Instructions
- Prepare the pastry dough:
- Place flour, cocoa powder and icing sugar in your food processor and pulse briefly to combine and remove lumps. The quick pulses prevent overworking the mixture which would develop gluten and make your pastry tough rather than tender.
- Cut in the butter:
- Add very cold butter cubes to the dry mixture and pulse until you achieve fine crumbs. The cold butter creates steam pockets during baking which results in that perfect flaky texture we want. The mixture should resemble coarse sand at this stage.
- Form the dough:
- Add the whisked egg and pulse just until a sticky dough begins to form. You should be able to press the crumbs together and have them stick. The dough will look somewhat crumbly but should hold when pressed. Avoid overmixing which leads to tough pastry.
- Roll and chill:
- Form the pastry into a disk and roll between parchment paper to about 3mm thickness. This thickness gives you sturdy shells that can hold filling without being too heavy. Refrigerate for at least one hour so the gluten relaxes and butter firms up.
- Cut and form shells:
- Cut pastry circles slightly larger than your muffin cups and gently press into pan. The slight overhang allows for shrinkage during baking. Press out any air bubbles between bottom and sides which could cause puffing. Prick bottoms and chill again.
- Blind bake:
- Freeze the prepared shells while preheating your oven. Line each shell with crumpled parchment and fill with baking weights. Bake initially with weights then remove them to finish baking until completely done. The fully baked shells prevent soggy bottoms when filled.
- Prepare the chocolate:
- Finely chop the chocolate to ensure even melting. Smaller pieces melt more quickly and uniformly preventing grainy texture in your ganache. Use a sharp knife and take your time with this step as it affects the final smoothness.
- Create the ganache:
- Heat cream just to simmering point watching carefully to prevent boiling over. Pour half over the chocolate and let stand without stirring. This initial melting period allows the chocolate to gradually warm without seizing. Then stir from center outward in small circles.
- Finish and fill:
- Add remaining warm cream and continue stirring until completely smooth and glossy. The mixture should be fluid enough to pour easily into shells but thick enough to set properly. Pour immediately while warm filling each shell nearly to the top.
 Pin it
The quality of chocolate makes all the difference in this recipe. I once made these tarts with premium single-origin chocolate from Madagascar with subtle fruity notes, and my chocolate-loving uncle actually teared up a little at the first bite. He claimed they were better than the tarts he had at a famous Parisian patisserie.
Perfect Toppings
These mini tarts serve as the perfect canvas for creative garnishes. Fresh berries particularly raspberries provide a beautiful color contrast and tartness that balances the rich chocolate. A light dusting of gold edible shimmer adds festive elegance for special occasions. For texture contrast try a sprinkle of flaky sea salt on top right before serving this enhances the chocolate flavor and adds an unexpected gourmet touch.
Storage Guidelines
The unfilled baked tart shells can be stored in an airtight container at room temperature for up to 5 days. Once filled with ganache the tarts should be refrigerated and will maintain their perfect texture for 3 days. For longer storage freeze the unfilled baked shells for up to 3 months. Interestingly the chocolate filling develops deeper flavors after 24 hours in the refrigerator making this an ideal make ahead dessert.
Troubleshooting
If your pastry dough feels too crumbly when rolling you can add a teaspoon of cold water to help it come together. Watch for signs of overbaking which include darkened edges and a burnt chocolate smell. Proper ganache consistency is crucial it should flow smoothly when warm but set firmly when chilled. If your ganache breaks or looks grainy gently warm it over a double boiler while stirring continuously to bring it back together.
 Pin it
A little planning can elevate these mini chocolate tarts into a dessert masterpiece that your guests will always remember.
Frequently Asked Questions
- → Can I make these mini chocolate tarts in advance?
Yes, you can make these tarts 1-2 days in advance. Store them in the refrigerator in an airtight container. For best results, let them sit at room temperature for 15-20 minutes before serving to allow the ganache to soften slightly.
- → What type of chocolate works best for the ganache filling?
A high-quality dark cooking chocolate with 60-70% cocoa solids will produce the best results. Chocolate labeled specifically for baking or cooking will contain the proper cocoa butter content needed for a smooth, properly setting ganache.
- → Can I make this as one large tart instead of mini tarts?
Absolutely! Use the same dough and filling in a 9-inch tart pan with removable bottom. Increase the blind baking time to about 20 minutes with weights and 15-20 minutes without. The ganache amount should be perfect for a standard tart.
- → Why does my ganache look grainy or separated?
Ganache can separate if the chocolate was overheated or if stirred too vigorously. Always use the gentle method of adding hot cream to chopped chocolate and stir slowly from the center outward. If your ganache does separate, try adding a splash of warm cream and gently stirring until smooth.
- → How can I decorate these chocolate tarts?
These tarts are elegant even plain, but you can enhance them with a dusting of cocoa powder, a sprinkle of sea salt, fresh berries, gold leaf, or a small dollop of whipped cream. For a festive touch, add a small piece of chocolate decoration or an edible flower.
- → Can I freeze these chocolate tarts?
Yes, these tarts freeze well for up to 1 month. Freeze them uncovered until solid, then wrap individually in plastic wrap and store in an airtight container. Thaw overnight in the refrigerator before serving.