
 Pin it
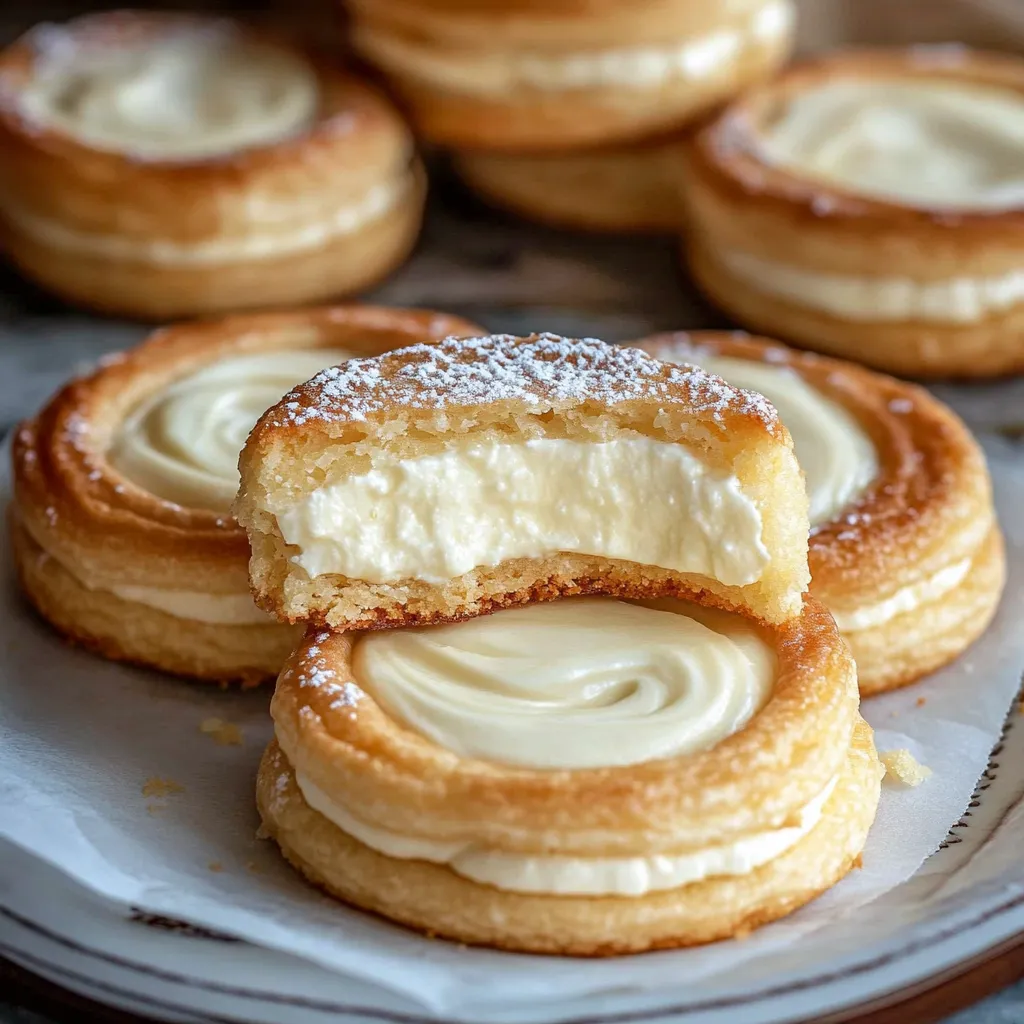
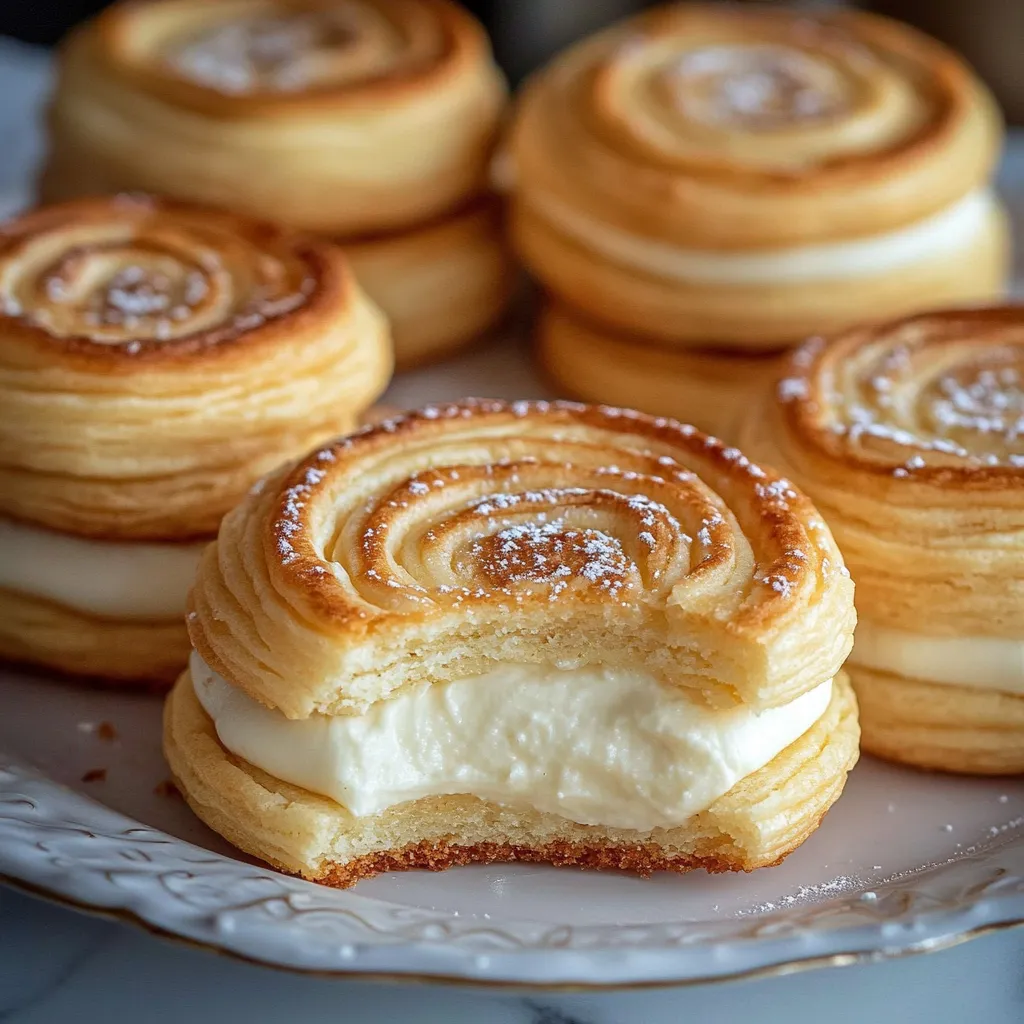
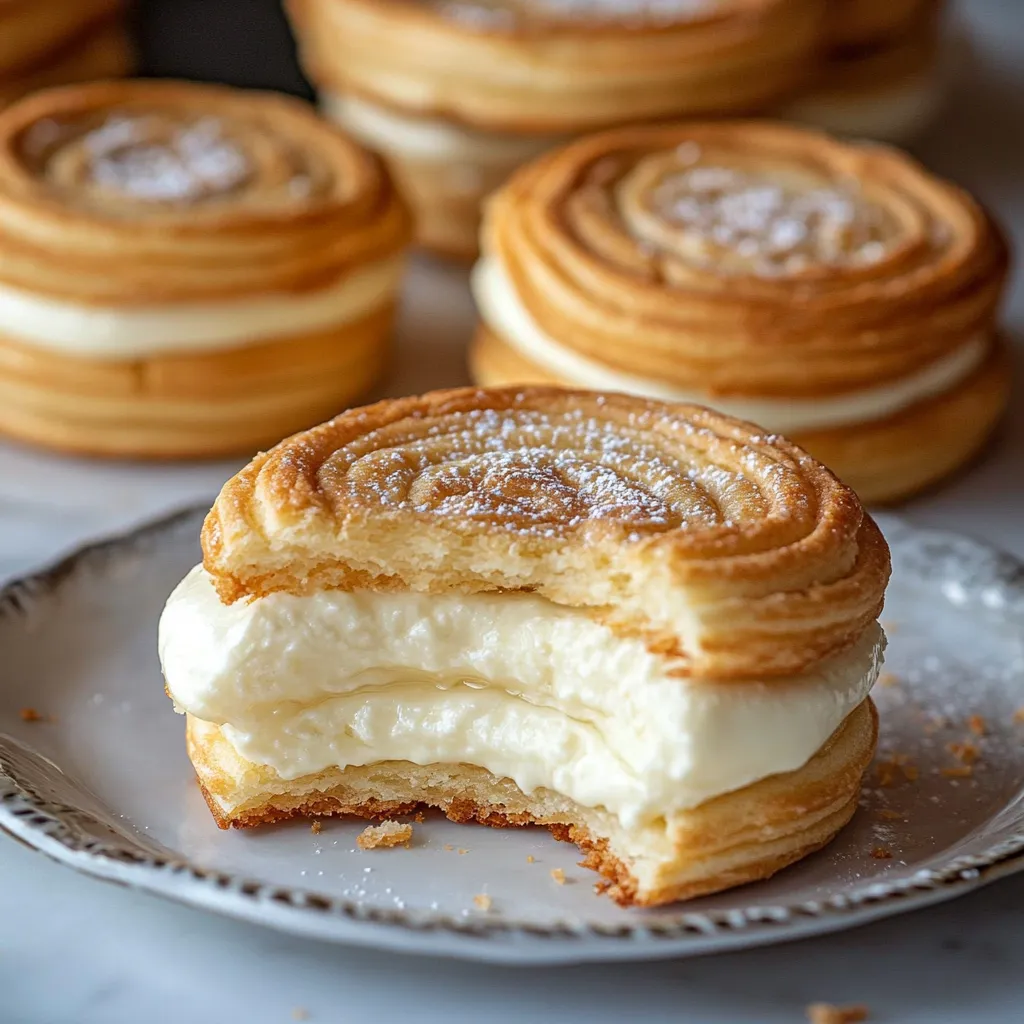
This cheesecake cookie recipe transforms the classic New York cheesecake into bite-sized treats that perfectly balance crisp graham cookie bases with creamy cheesecake centers. The combination creates an irresistible dessert that delivers all the flavor of traditional cheesecake in a convenient hand-held format.
I first created these cookies when my daughter requested cheesecake for her birthday but we needed something portable for her school celebration. These cookies were such a hit that they've become our go-to dessert for potlucks and holiday cookie exchanges.
Ingredients
- Graham crackers 1 1/4 cups finely crushed: Creates the authentic cheesecake crust flavor base. Look for whole graham crackers that aren't already sweetened for best results.
- All purpose flour 1 cup: Provides structure to the cookie base. For a more tender cookie, use a low protein flour.
- Baking powder 1 1/2 teaspoons: Gives a slight rise to the cookies without making them cakey. Check the expiration date for maximum effectiveness.
- Unsalted butter 1 stick softened: Adds richness and helps bind the cookie base. Bring to room temperature for 30 minutes before using for proper creaming.
- Brown sugar 1/2 cup packed: Contributes moisture and a caramel note that enhances the graham flavor. Dark brown sugar intensifies this effect.
- Egg 1 separated: The white helps bind the cookie base while the yolk enriches the filling. Room temperature eggs incorporate better.
- Cream cheese 3 oz softened: The star ingredient that creates the signature cheesecake flavor. Philadelphia brand produces the most consistent results.
- Granulated sugar 1/4 cup: Sweetens the filling without overwhelming the tangy cream cheese. Fine sugar dissolves more readily.
- Lemon zest 2 teaspoons: Brightens the filling with citrus notes. Use organic lemons when possible for the best flavor and no pesticides.
- Vanilla extract 1/2 teaspoon: Rounds out the flavor profile. Pure vanilla extract rather than imitation makes a noticeable difference.
Step-by-Step Instructions
- Preheat Your Oven:
- Set your oven to 350°F and allow it to fully preheat while you prepare the cookie dough. Position the rack in the center of the oven for even baking. A properly preheated oven ensures the cookies start baking immediately when placed inside, preventing spread and ensuring consistent texture.
- Mix the Dry Ingredients:
- Combine the finely crushed graham crackers, flour, and baking powder in a large bowl. Whisk thoroughly to distribute the leavening agent evenly throughout the dry ingredients. The graham cracker crumbs should be very fine to create a cohesive dough later, so pulse them in a food processor if needed.
- Cream the Butter and Sugar:
- In a separate bowl, beat the softened butter and brown sugar with an electric mixer on medium speed for 3-4 minutes until the mixture becomes light and fluffy. The color should lighten noticeably. Add the egg white and continue beating until fully incorporated, about 30 seconds more. Proper creaming incorporates air into the dough for a better texture.
- Combine Mixtures:
- Gradually add the dry ingredients to the butter mixture, mixing on low speed just until combined. The dough will appear somewhat crumbly but should hold together when pressed. Overmixing at this stage can develop too much gluten, resulting in tough cookies.
- Make the Cream Cheese Filling:
- In another bowl, beat the softened cream cheese, granulated sugar, egg yolk, lemon zest, and vanilla extract until smooth and well blended, about 2 minutes. The mixture should be creamy with no lumps. If your cream cheese isn't soft enough, you may end up with unwanted lumps in your filling.
- Scoop the Dough:
- Using a small ice cream scoop or tablespoon measure, portion the dough into 2 tablespoon amounts and place them 2 inches apart on a parchment-lined baking sheet. The cookies will spread slightly during baking, so proper spacing prevents them from merging together.
- Shape the Cookies:
- Gently flatten each ball of dough with your palm to about 1/2 inch thickness, then use your thumb or the back of a measuring teaspoon to create a deep indentation in the center of each cookie. The depression should be substantial enough to hold a generous amount of filling without overflowing during baking.
- Fill with Cream Cheese Mixture:
- Spoon about 1 to 1 1/2 teaspoons of the cream cheese mixture into each indentation, filling it level with the top of the cookie. Avoid overfilling as the cream cheese mixture will puff slightly while baking and could overflow.
- Bake the Cookies:
- Place the filled cookies in the preheated oven and bake for 12 minutes, or until the cookie bases are lightly golden at the edges and the filling is just set in the center. The filling should have a slight jiggle but not be liquid. Overbaking will result in dry cookies.
- Cool and Enjoy:
- Allow the cookies to cool on the baking sheet for 5 minutes to firm up slightly, then carefully transfer to a wire rack to cool completely. The filling will continue to set as the cookies cool. These taste even better after being refrigerated for at least an hour.
 Pin it
The lemon zest is my secret favorite ingredient in this recipe. My grandmother always added a touch of lemon to her cheesecakes, saying it was the key to bringing out the tanginess of the cream cheese. Every time I bake these cookies, the citrus aroma takes me back to Sunday afternoons in her kitchen, waiting impatiently for her famous cheesecake to cool.
Storage Tips
These cheesecake cookies require refrigeration due to the cream cheese filling. Store them in an airtight container in the refrigerator for up to 5 days. Place parchment paper between layers to prevent sticking and preserve their appearance. For longer storage, these cookies freeze beautifully for up to 3 months. Wrap them individually in plastic wrap, then place in a freezer bag. Thaw overnight in the refrigerator before serving.
Flavor Variations
The basic recipe creates a classic New York-style cheesecake cookie, but you can easily adapt it for different flavor profiles. For chocolate lovers, add 2 tablespoons of cocoa powder to the cookie base and fold mini chocolate chips into the filling. Create a strawberry version by adding 2 tablespoons of strawberry preserves to the cream cheese mixture. For a seasonal twist, incorporate 1/2 teaspoon of pumpkin pie spice into the cookie base and 2 tablespoons of pumpkin puree into the filling during fall months.
Serving Suggestions
These cookies shine on their own but can be elevated for special occasions. Dust with powdered sugar just before serving for an elegant finish. For a dessert platter, pair them with fresh berries and a drizzle of chocolate sauce. They make an excellent addition to afternoon tea, served alongside Earl Grey or chamomile. For a truly decadent experience, sandwich a small scoop of vanilla ice cream between two completely cooled cookies for a cheesecake cookie ice cream sandwich.
 Pin it
These cheesecake cookies deliver all the delightful flavors of traditional cheesecake in a convenient, portable treat perfect for any occasion.
Frequently Asked Questions
- → Can I make these cookies ahead of time?
Yes! These cookies can be made up to 3 days in advance. Store them in an airtight container in the refrigerator and bring to room temperature before serving for the best flavor and texture.
- → How do I know when the cookies are properly baked?
The cookies are done when the edges are lightly golden and the filling is barely set (about 12 minutes). The centers might look slightly underdone but will firm up as they cool.
- → Can I freeze these cookies?
Absolutely! Once completely cooled, place them in a single layer on a baking sheet to freeze, then transfer to a freezer container. Thaw in the refrigerator overnight before serving. They'll keep for up to 1 month frozen.
- → What if I don't have lemon zest?
While the lemon zest adds a traditional cheesecake flavor, you can substitute with orange zest or omit it completely. For a different flavor profile, try adding 1/4 teaspoon of almond extract to the filling instead.
- → Can I use low-fat cream cheese?
Yes, low-fat cream cheese will work, though the filling won't be quite as rich. Avoid using non-fat cream cheese as it may not set properly during baking.
- → Why did my cookies spread too much during baking?
If your cookies spread too much, your butter might have been too warm. Try chilling the shaped dough for 20 minutes before filling and baking. Also, ensure your baking sheets are cool before placing dough on them.