
 Pin it
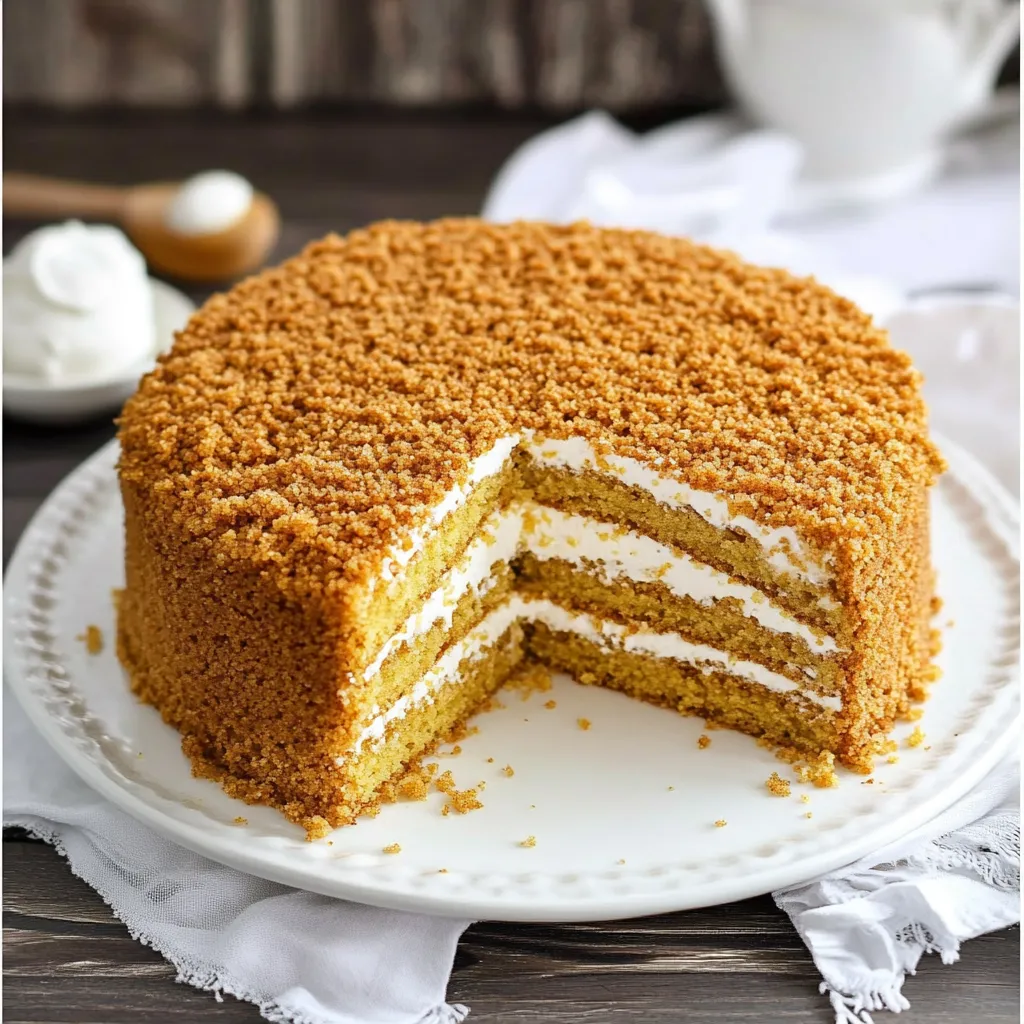
This Russian honey cake, known as Medovik, transforms simple ingredients into an extraordinary dessert that has captivated my family for generations. The delicate honey-infused layers meld with creamy frosting to create a cake that tastes like it came from a high-end European bakery, yet it's surprisingly approachable to make at home.
I first encountered this cake during a culinary exchange with my Russian neighbor who insisted I try her family's cherished recipe. After one bite, I understood why it has remained unchanged through generations. The transformation of the ingredients into something so sophisticated continues to astonish me every time I serve it.
Ingredients
- Eggs: Provide structure and richness to the cake layers; make sure they're at room temperature for maximum volume
- Clover honey: Gives the distinct floral notes that define this cake; avoid strongly flavored varieties like buckwheat
- All-purpose flour: Creates the perfect texture; no need for cake flour here
- Baking soda: Activated with vinegar acts as the leavening agent, ensuring the layers rise properly
- White distilled vinegar: Activates the baking soda; don't substitute with other vinegars that might affect flavor
- Cool Whip: Creates a stable frosting that won't collapse, thaw completely before using
- Sour cream: Adds tanginess that balances the sweetness; full-fat Daisy brand works best for consistency
Step-by-Step Instructions
- Prepare the baking sheets:
- Preheat your oven to exactly 350°F. This temperature is crucial for proper baking. Cut four pieces of parchment paper large enough to overhang an inverted 18" by 13" baking sheet. Using an inverted sheet allows for easier spreading of the thin batter. Press the parchment flat to prevent wrinkles that would create uneven cake layers.
- Create the honey cake batter:
- In a large bowl, beat the eggs and honey vigorously for a full 2 minutes until the mixture becomes lighter in color and slightly foamy. The air incorporated during this step is essential for the proper texture. In a small bowl, dissolve 2 teaspoons of baking soda in 1 tablespoon of white vinegar. Watch as it fizzes, indicating activation. Immediately add this mixture to your batter along with 2 cups of flour. Mix thoroughly until no lumps remain, but avoid overmixing which can develop too much gluten.
- Bake the thin layers:
- Measure exactly 1/2 cup of batter for each layer. Pour onto the prepared parchment paper and spread as thinly as possible using an offset spatula, reaching all corners of the baking sheet. The layer should be almost transparent. Bake each layer for exactly 7 minutes until golden but not brown. The layers should spring back slightly when touched. Repeat this process to create all four sheet cakes.
- Create the round layers:
- Allow each sheet cake to cool completely on wire racks. Carefully peel off the parchment paper, starting at one corner and pulling slowly to prevent tearing. Place a 7-8" plate upside down on each sheet cake and use a sharp knife to cut around it, creating two circles from each sheet. You'll end up with eight perfectly round cake layers. Set aside any scraps carefully.
- Prepare the cake crumbs:
- Arrange all cake scraps in a single layer on a baking sheet. Bake at a lower temperature of 275°F for 5-8 minutes until completely dry but not burnt. The scraps should feel crisp and brittle. Allow to cool completely before transferring to a ziplock bag. Crush into fine, even crumbs using a rolling pin with gentle, consistent pressure.
- Assemble the cake:
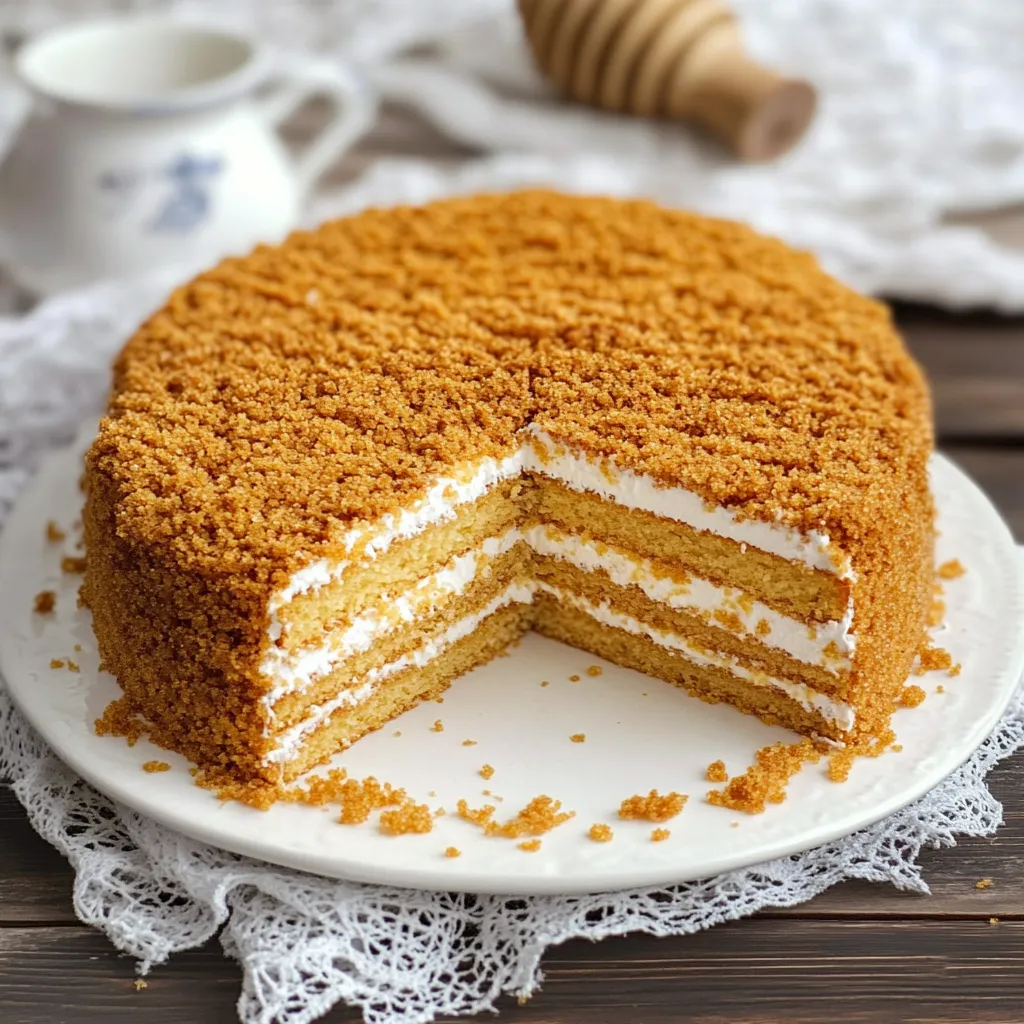
- In a large bowl, thoroughly combine 8 oz of completely thawed Cool Whip with 1 cup of sour cream until smooth with no streaks. Place one cake round on your serving plate and spread a thin, even layer of cream mixture on top. Repeat with remaining layers, ensuring they're centered precisely. Apply remaining frosting to the sides and top of the cake using an offset spatula for a smooth finish. Press the prepared crumbs onto the sides and top of the cake with a gentle hand.
 Pin it
My grandmother always said the secret to Medovik is patience. I remember watching her methodically create each delicate layer, carefully spreading the batter so thin it seemed impossible it would become a cake. That patience pays off with a dessert that genuinely tastes like it took days to prepare, though the actual hands-on time is quite reasonable.
The History Behind Medovik
This cake has a fascinating imperial history dating back to 19th century Russia. The story goes that it was created by a young chef for Empress Elizabeth, wife of Alexander I, who famously detested honey. The chef cleverly developed this recipe where the honey flavor transforms during baking into something caramelized and sophisticated. The empress was so delighted she requested the recipe, and it spread throughout Russian cuisine. Traditional versions used a cooked flour and honey frosting, but this modernized version with sour cream and Cool Whip delivers the authentic flavor with less effort.
Storage Tips
Medovik actually improves with time in the refrigerator. Store it covered loosely with plastic wrap for up to five days. The layers continue to soften and the flavors meld beautifully. Avoid storing at room temperature as the frosting will become unstable. While many cakes suffer when refrigerated, Medovik actually requires this chilling period to develop its characteristic texture where the layers become almost pudding-like while maintaining their structure.
Serving Suggestions
Tradition dictates serving Medovik with strong black tea, creating a perfect balance to the sweet, creamy dessert. For a more contemporary pairing, try an espresso or coffee with a splash of hazelnut liqueur. This cake deserves a simple presentation. Avoid additional sauces or garnishes that might compete with its delicate flavor profile. If you must garnish, consider a light dusting of cocoa powder or a single fresh berry on each slice.
 Pin it
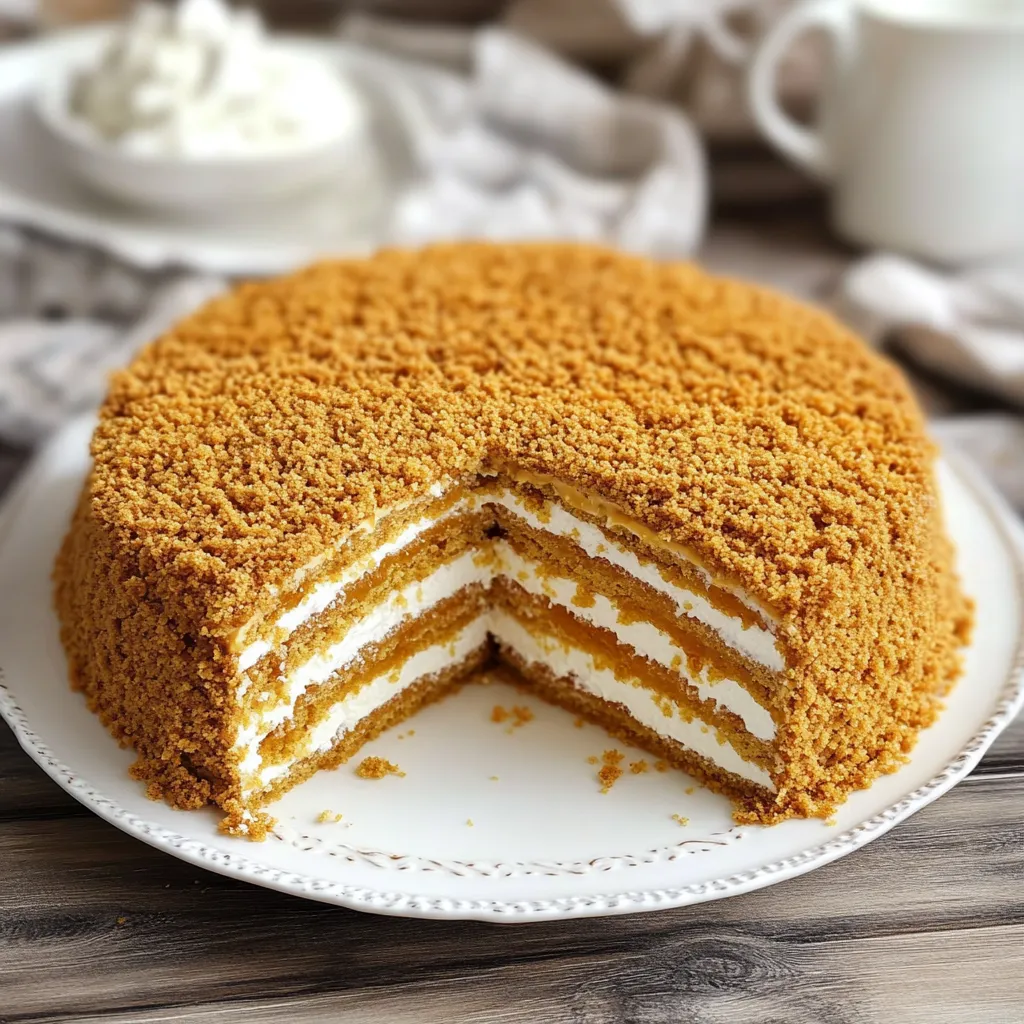
Medovik is a labor of love, but one worth making for the spectacular flavor and texture. Every bite feels like culinary magic.
Frequently Asked Questions
- → How long does Russian Honey Cake need to chill before serving?
For best results, the assembled cake should chill in the refrigerator for at least 1 hour, but preferably overnight. This resting period allows the cream to soften the cake layers and helps the flavors to fully develop and meld together.
- → Can I make the cake layers in advance?
Yes, you can bake the cake layers 1-2 days in advance. Once cooled completely, stack them with parchment paper between each layer, wrap tightly in plastic wrap, and store at room temperature. The cake crumbs can also be prepared ahead and stored in an airtight container.
- → Why is vinegar used in this honey cake?
The vinegar activates the baking soda, creating a chemical reaction that helps the cake layers rise and become light and airy. Don't worry - you won't taste the vinegar in the finished cake!
- → Can I substitute the Cool Whip in the frosting?
Yes, you can substitute the Cool Whip with 1 cup of heavy cream whipped to stiff peaks. Fold this gently into the sour cream for a similar texture. Some traditional versions use sweetened condensed milk mixed with sour cream instead.
- → How should I store leftover Medovik cake?
Store leftover cake covered in the refrigerator for up to 3-4 days. The cake actually improves on the second day as the layers continue to soften. Do not freeze assembled cake as the texture of the frosting will become grainy when thawed.
- → Why is spreading the batter thinly important?
Spreading the batter very thinly creates the characteristic delicate layers that define authentic Medovik. Thin layers allow the honey flavor to shine and create the proper ratio of cake to cream in the finished dessert.