
 Pin it
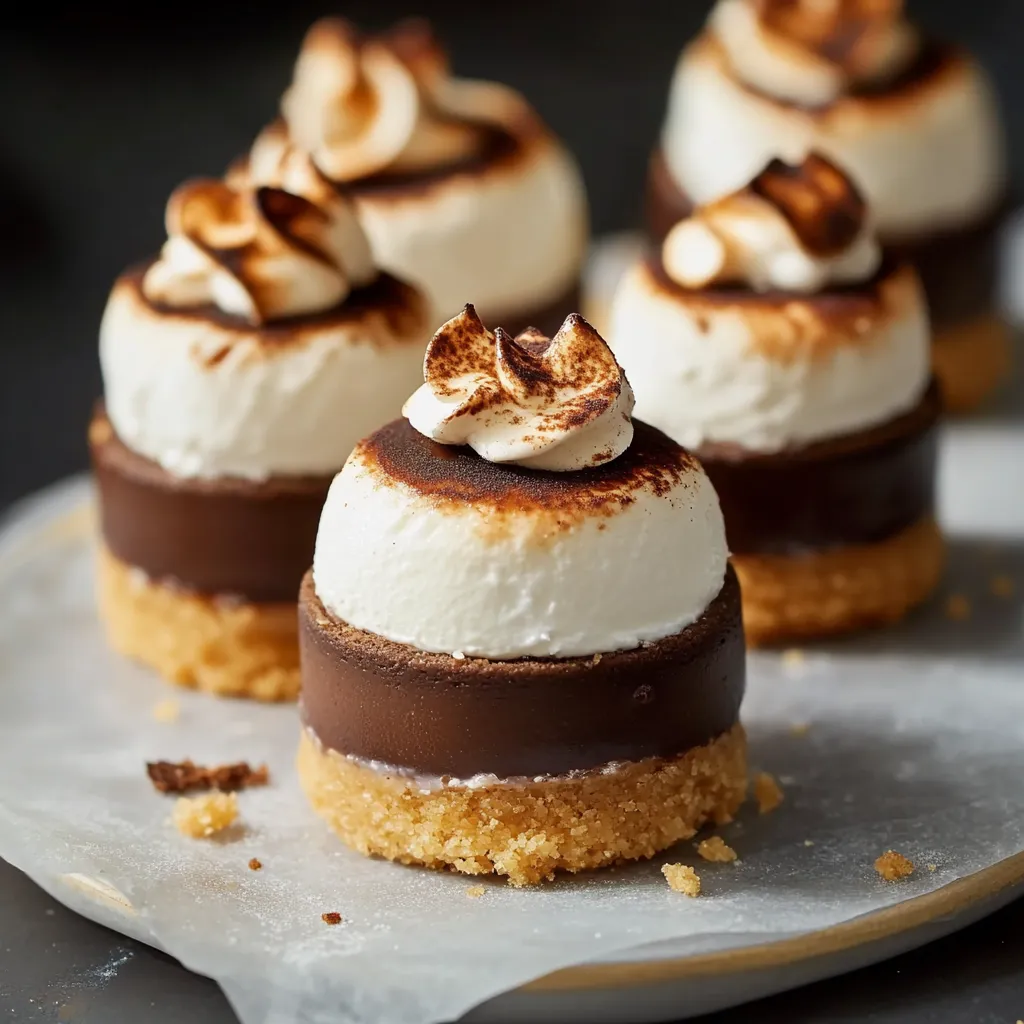
This no-bake s'mores mini cheesecake recipe transforms the classic campfire treat into an elegant dessert that delivers all the familiar flavors without requiring an actual fire. Perfect for summer gatherings or anytime you crave that iconic combination of chocolate, graham crackers, and toasty marshmallow.
I first made these for my daughter's backyard birthday party when the weather was too hot to turn on the oven. They were such a hit that they've become our signature dessert for summer gatherings, with guests always asking for the recipe.
Ingredients
- Graham crackers: Create that essential s'mores base and add the perfect crunch to complement the creamy filling
- Unsalted butter: Binds the crust together while adding richness look for a quality brand
- Semisweet chocolate: Provides the classic s'mores chocolate flavor choose a bar that melts smoothly rather than chips
- Cream cheese: Creates the creamy cheesecake texture use full fat for the best flavor and texture
- Heavy cream: Helps achieve that silky smooth consistency without using gelatin
- Granulated sugar: Balances the tanginess of the cream cheese
- Egg whites: Form the base of the homemade marshmallow topping use fresh eggs at room temperature for best volume
- Cream of tartar: Stabilizes the egg whites and helps achieve fluffy peaks
- Vanilla extract: Enhances all the flavors choose pure vanilla for best results
- Hershey's chocolate bar: For that authentic s'mores garnish nothing else quite captures the nostalgia
Step-by-Step Instructions
- Prepare the Pan:
- Thoroughly grease each cavity of your mini cheesecake pan with nonstick spray, ensuring you coat the sides well. This crucial step prevents the cheesecakes from sticking and helps with clean removal after chilling. Make sure to get into all the corners for perfect results.
- Create the Graham Cracker Base:
- Process graham crackers in a food processor until they become fine, consistent crumbs with no large pieces remaining. Pour in melted butter while pulsing to distribute evenly throughout the crumbs. The mixture should hold together when pressed between your fingers but not feel overly greasy. Divide this mixture among pan cavities and press firmly using a shot glass or tart tamper to create a compact, even base.
- Mix the Cheesecake Filling:
- Beat cream cheese and sugar together until the mixture becomes noticeably lighter in both color and texture, about 2 minutes. Thoroughly scrape down the bowl to eliminate any lumps. Add vanilla and heavy cream, starting on low speed to prevent splashing, then increase to medium-high until the mixture thickens substantially. Fold in the cooled melted chocolate, ensuring it's not hot enough to melt the cream cheese but still fluid enough to incorporate smoothly.
- Fill and Chill:
- Divide the chocolate cheesecake mixture evenly among the prepared crusts, being careful not to disturb the packed graham cracker base. Gently tap the pan several times on the countertop to release any trapped air bubbles that could create holes in your finished cheesecakes. Smooth the tops with an offset spatula for a professional finish, then cover with plastic wrap and refrigerate until completely set, at least 4 hours or preferably overnight.
- Create Marshmallow Topping:
- Create a double boiler with a heatproof bowl over simmering water, making sure the bowl doesn't touch the water. Combine egg whites, sugar, and cream of tartar in the bowl, whisking constantly for 2-3 minutes until the sugar completely dissolves and the mixture feels warm. Test by rubbing a small amount between your fingers to ensure no sugar grains remain. Transfer to a stand mixer and whip from low to high speed until the mixture forms stiff, glossy peaks that hold their shape when the whisk is lifted.
- Finish and Garnish:
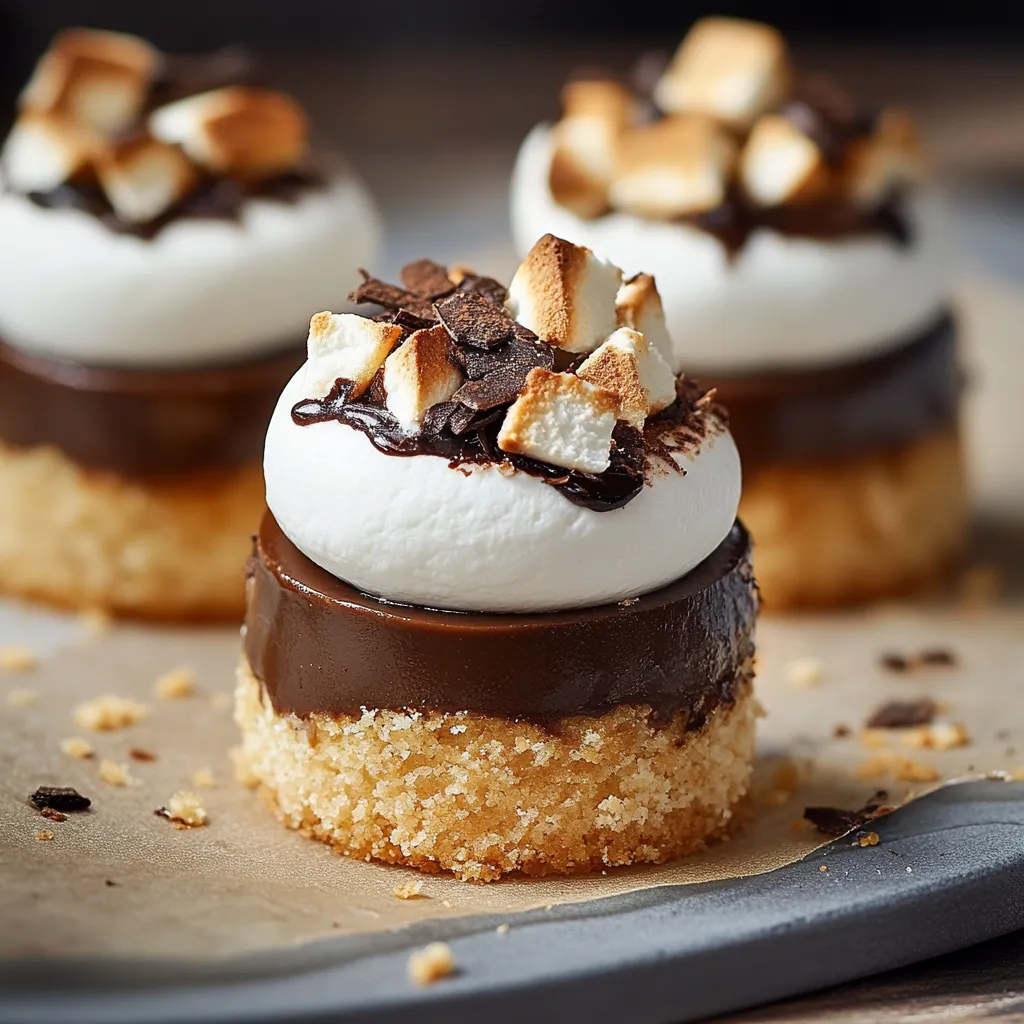
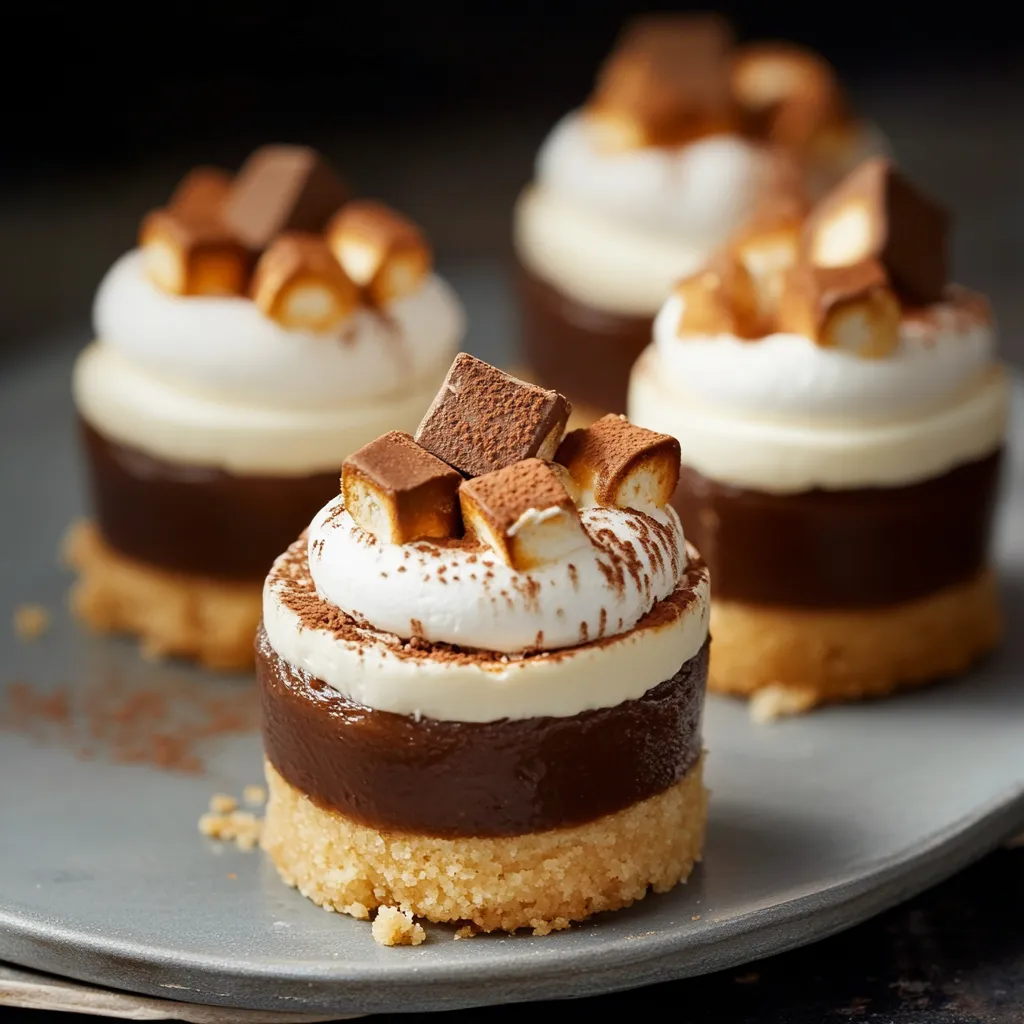
- Transfer marshmallow topping to a piping bag fitted with a plain round tip. Pipe a generous dollop on each chilled cheesecake, creating a slight swirl or peak for visual appeal. Use a kitchen torch to carefully toast the marshmallow topping, moving constantly to achieve an even golden color without burning. Top each with a piece of Hershey's chocolate bar, pressing gently into the marshmallow so it stays in place.
 Pin it
The homemade marshmallow topping is what makes these cheesecakes truly special. While store bought marshmallow fluff works in a pinch, the freshly whipped marshmallow meringue has an incomparable silky texture and pure flavor that elevates these treats. My family calls it cloud frosting because it's so light and ethereal compared to traditional marshmallows.
Mini Cheesecake Pan Alternatives
If you don't have a mini cheesecake pan, you have several options to still make this recipe. A standard muffin tin lined with cupcake liners works perfectly, though you'll lose the classic straight sides of a cheesecake. Alternatively, use small glass jars or ramekins for a charming individual presentation. Just adjust the portion sizes accordingly and remember that larger servings may require additional chilling time to set properly.
Make It Ahead
These mini cheesecakes are ideal for entertaining because you can prepare them in stages. Make the crust and filling up to 2 days ahead, keeping them chilled and covered in the refrigerator. The marshmallow topping is best made shortly before serving for optimal texture and appearance. However, if necessary, you can prepare the entire dessert including topping up to 8 hours ahead, though the marshmallow may soften slightly over time in the refrigerator.
Flavor Variations
While the classic s'mores flavor is irresistible, this recipe serves as a wonderful base for variations. For a peanut butter s'mores version, swirl 1/4 cup of creamy peanut butter into the cheesecake mixture before chilling. Mint chocolate lovers can add 1/4 teaspoon of peppermint extract to the filling and garnish with Andes mints instead of Hershey's bars. For a festive holiday option, add crushed candy canes to the topping after torching for beautiful color and flavor contrast.
 Pin it
These mini cheesecakes are sure to impress your guests while keeping your stress levels low. Enjoy every creamy bite!
Frequently Asked Questions
- → Can I make these S'mores Mini Cheesecakes ahead of time?
Yes! These mini cheesecakes can be made ahead and stored in an airtight container in the refrigerator for up to 2 days. For best results, add and torch the marshmallow topping shortly before serving.
- → Do I need a kitchen torch for the marshmallow topping?
While a kitchen torch creates that authentic toasted marshmallow look and flavor, it's optional. The marshmallow topping is delicious even without toasting. If you don't have a torch, you can still enjoy these mini cheesecakes!
- → What can I substitute for a mini cheesecake pan?
If you don't have a mini cheesecake pan, you can use a muffin tin lined with paper liners or silicone cups. The removal process might be a bit trickier, but the result will be similar.
- → Is it safe to eat the marshmallow topping with egg whites?
The egg whites in the marshmallow topping are heated to a safe temperature when whisked over simmering water until the sugar dissolves. This process, called making a Swiss meringue, pasteurizes the egg whites making them safe to consume.
- → Can I freeze these mini cheesecakes?
Yes, you can freeze the cheesecake portion (without the marshmallow topping) for up to 1 month. Thaw overnight in the refrigerator and add the fresh marshmallow topping before serving.
- → What chocolate works best for the filling?
Semisweet chocolate is recommended for balanced flavor, but you could substitute milk chocolate for a sweeter result or dark chocolate for a more intense flavor. Just make sure to use good quality chocolate for the best taste.