
 Pin it
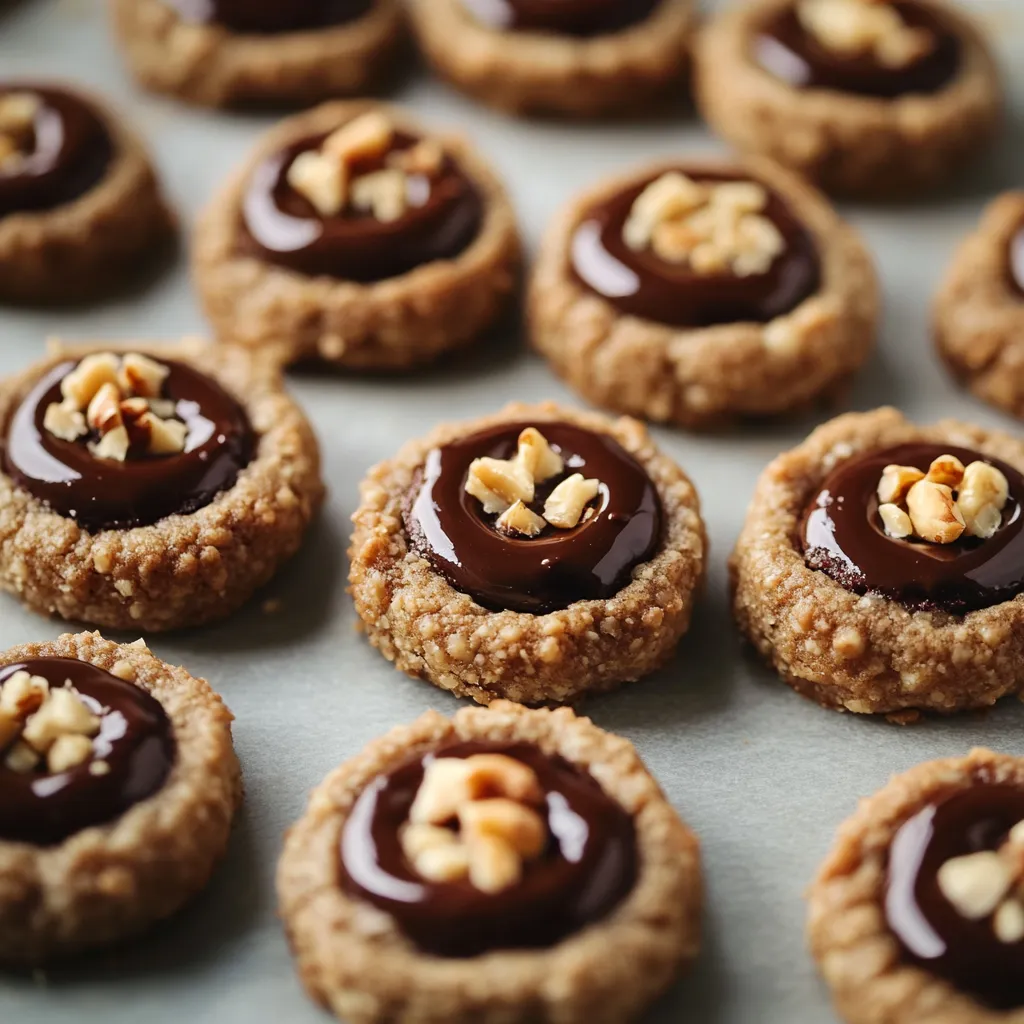
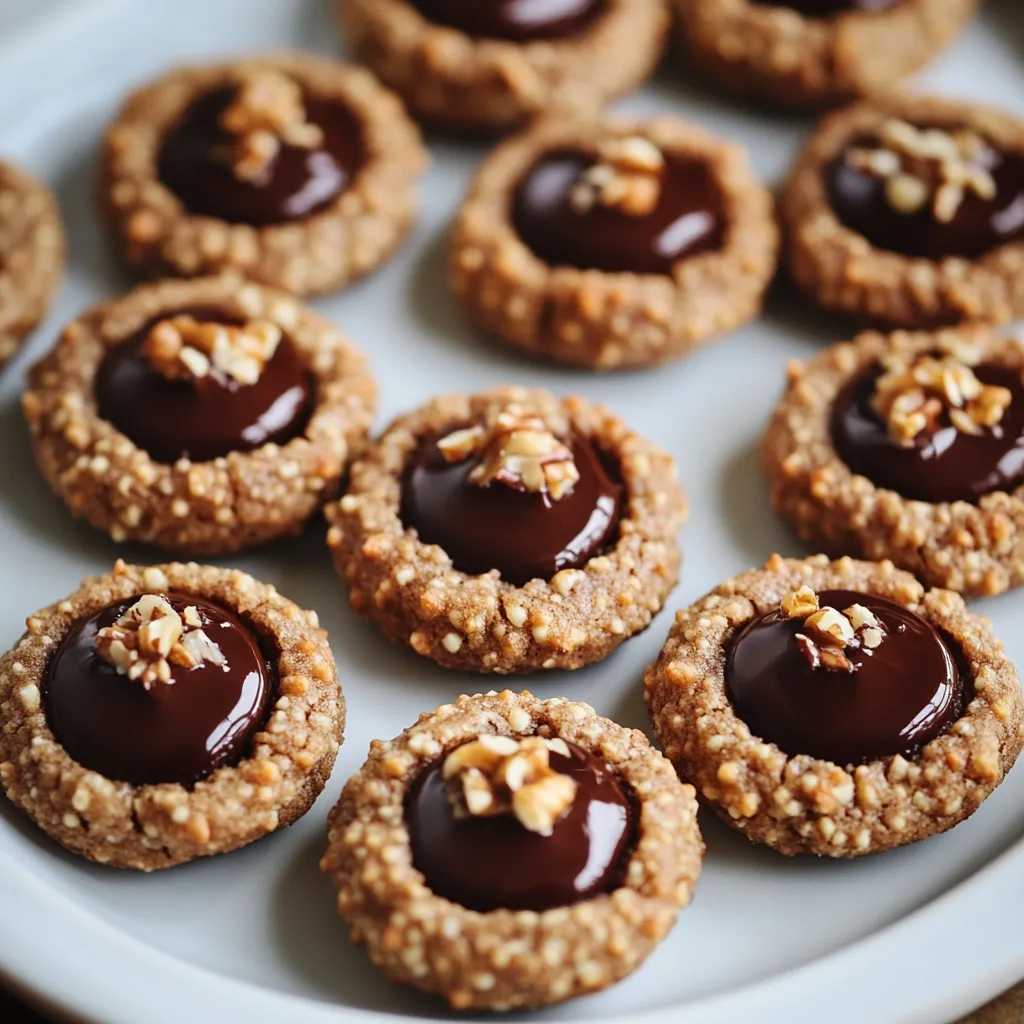
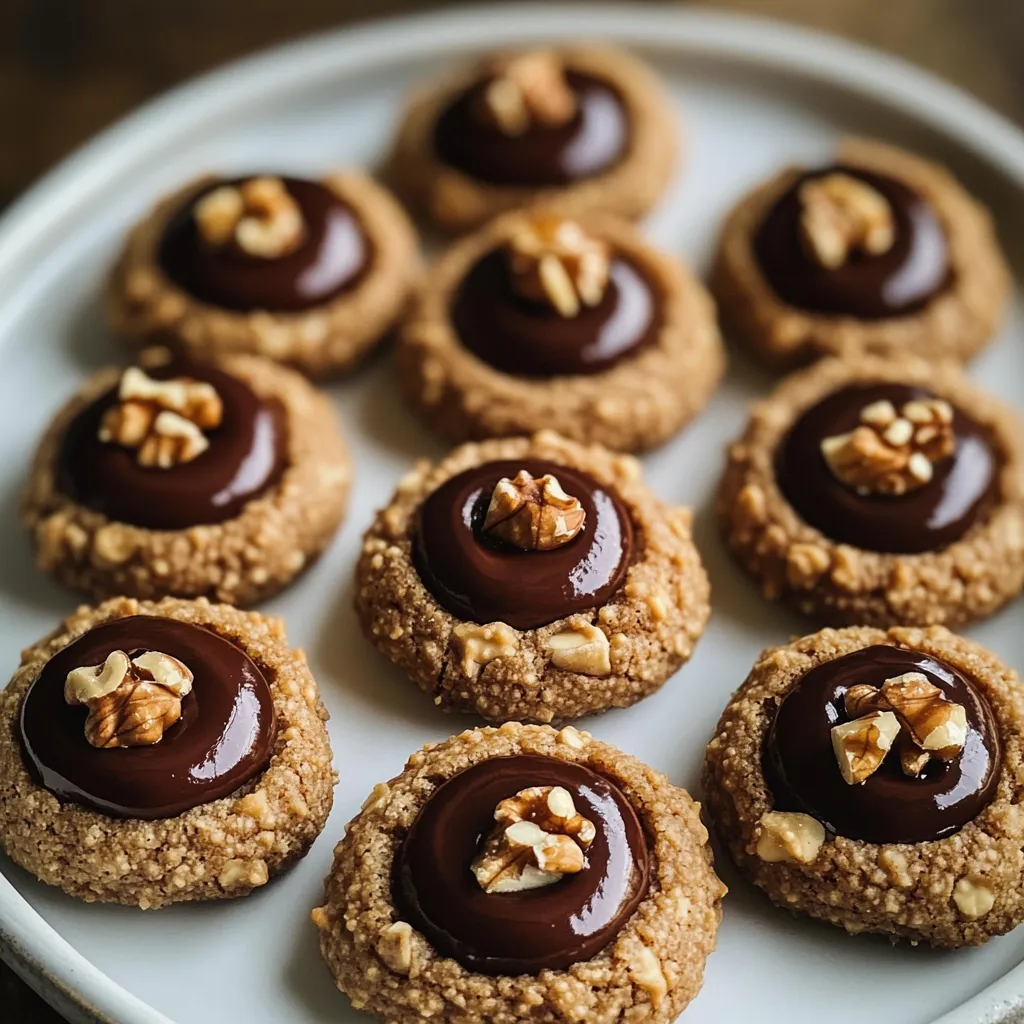
This chocolate hazelnut thumbprint cookie recipe delivers rich buttery cookies filled with luscious chocolate hazelnut spread. The combination of cocoa in the dough and creamy Nutella creates a double chocolate experience that's perfect for holiday cookie exchanges or weekend baking projects.
I first made these cookies during a particularly stressful holiday season, and they quickly became my secret weapon for impressing guests. The look of delight when someone bites into that chocolate hazelnut center makes all the effort worthwhile.
Ingredients
- Unsalted butter: softened to room temperature ensures proper creaming with sugar for that perfect cookie texture
- Granulated sugar: provides just the right amount of sweetness without overpowering the chocolate flavors
- Vanilla extract: enhances both the chocolate and hazelnut notes throughout the cookie
- All purpose flour: creates the ideal structure, no need for fancy specialty flours
- Cocoa powder: use Dutch processed for a richer, deeper chocolate flavor in the cookie base
- Salt: absolutely essential to balance the sweetness and enhance the chocolate notes
- Finely chopped hazelnuts for rolling: adds wonderful texture contrast and amplifies the hazelnut flavor
- Chocolate hazelnut spread: like Nutella makes the perfect filling that stays slightly soft even after cooling
- Whole hazelnuts for garnish: optional but adds an elegant touch that signals what's inside
Step-by-Step Instructions
- Prepare Your Workspace:
- Heat your oven to 350°F and take time to properly line your baking sheets with parchment paper. This prevents sticking and makes cleanup much easier. Organize your ingredients in advance so the process flows smoothly.
- Master the Butter Mixture:
- Take your time creaming the softened butter and sugar together until genuinely light and fluffy, about 3 minutes with an electric mixer. This incorporates air into the dough, creating a tender cookie. Add the vanilla and beat for another 30 seconds to fully distribute the flavor.
- Perfect Your Dry Ingredients:
- Whisk the flour, cocoa powder, and salt thoroughly in a separate bowl to ensure even distribution of the cocoa throughout the dough. Sifting the cocoa powder first eliminates any lumps for a smoother dough.
- Combine With Care:
- Add the dry ingredients to your butter mixture in three stages, mixing just until combined after each addition. Overmixing at this stage can develop too much gluten, resulting in tough cookies. The final dough should be firm but still slightly soft to the touch.
- Shape With Precision:
- Roll the dough into uniformly sized 1-inch balls to ensure even baking. The chocolate dough will be a bit sticky, so work quickly. Roll each ball in the chopped hazelnuts, pressing gently to adhere the nuts to the surface of the dough.
- Create Perfect Indentations:
- Press your thumb or a measuring spoon into each ball, creating a well that will hold the Nutella filling. Press firmly but not all the way through to the baking sheet. The indentation should be deep enough to hold a generous amount of filling.
- Bake With Attention:
- Watch your cookies carefully while baking. They should be set around the edges but still slightly soft in the center. Overbaking will result in dry cookies, so err on the side of underbaking if you're unsure.
- Fill With Finesse:
- After removing from the oven, immediately check and deepen the indentations if needed while the cookies are still warm and pliable. Allow the cookies to cool slightly before adding the chocolate hazelnut spread to prevent it from becoming too runny, but add it while the cookies are still warm enough for the spread to melt slightly into the indentation.
 Pin it
The hazelnuts are truly what transforms these cookies from good to extraordinary. My Italian grandmother always insisted that toasting the hazelnuts before chopping them intensifies their flavor. I remember watching her carefully monitor them in the oven, saying the perfect hazelnut should smell fragrant but never taste bitter from burning.
Storage Secrets
These thumbprint cookies actually improve with age. The flavors meld together over the first 24 hours, making them perfect for preparing a day before you plan to serve them. Store them in an airtight container at room temperature, placing parchment paper between layers to prevent sticking. For longer storage, these cookies freeze beautifully for up to 3 months. I recommend freezing them without the Nutella filling, then thawing and filling them before serving for the freshest result.
Nutella Alternatives
While traditional chocolate hazelnut spread creates the classic flavor profile, these cookies are incredibly versatile. Try filling them with salted caramel sauce for a sweet-salty combination that's irresistible. Raspberry or cherry preserves offer a fruity contrast to the chocolate cookie base. For a festive holiday version, white chocolate ganache with a drop of peppermint extract creates a cookies-and-cream effect that children particularly love. The cookie base itself is sturdy enough to support any filling you can imagine.
Making Them Allergen-Friendly
For those with nut allergies, these cookies can be easily adapted. Skip the hazelnuts for rolling and instead use chocolate sprinkles or cocoa powder. Replace the Nutella filling with chocolate ganache or marshmallow fluff. The cookie base itself contains no nuts and works beautifully with these substitutions. For gluten-free guests, I've successfully replaced the all-purpose flour with a 1:1 gluten-free flour blend, though the texture becomes slightly more delicate.
 Pin it
These cookies are sure to become a favorite in your household, combining nostalgia and elegance in every bite.
Frequently Asked Questions
- → Can I use other nuts instead of hazelnuts?
Yes, you can substitute the hazelnuts with almonds, walnuts, or pecans. The flavor profile will change slightly, but the cookies will still be delicious. Just make sure to chop the alternative nuts finely for the coating.
- → How do I store these cookies?
Store the cookies in an airtight container at room temperature for up to 5 days. Place parchment paper between layers to prevent sticking. For longer storage, you can freeze the cookies without the filling, then add the chocolate hazelnut spread after thawing.
- → Can I make the dough ahead of time?
Absolutely! You can prepare the dough up to 3 days in advance and store it covered in the refrigerator. You can also freeze the dough for up to 3 months. Allow refrigerated dough to come to room temperature before shaping the cookies.
- → What if I don't have chocolate hazelnut spread?
You can substitute with melted chocolate chips mixed with a bit of heavy cream for a ganache filling. Alternatively, use fruit jam, caramel, or dulce de leche for different but equally delicious variations.
- → Why did my cookies spread too much during baking?
If your cookies spread excessively, your butter may have been too warm. Ensure it's softened but still cool to the touch. You can also chill the shaped cookies for 15-20 minutes before baking to help them maintain their shape.
- → How do I know when the cookies are done baking?
The cookies should be set around the edges but still slightly soft in the center after 12-14 minutes. They will continue to firm up as they cool. Overbaking can result in dry cookies, so it's better to slightly underbake than overbake.