
 Pin it
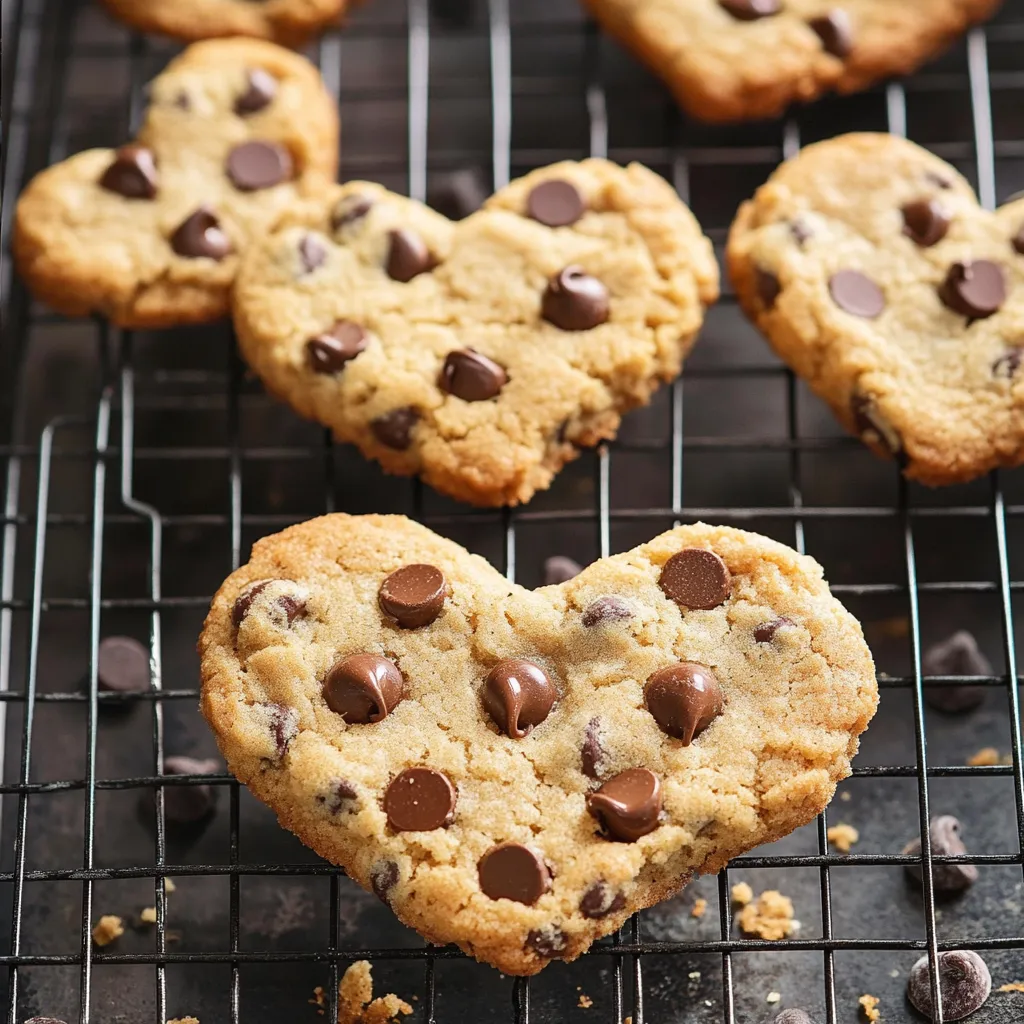
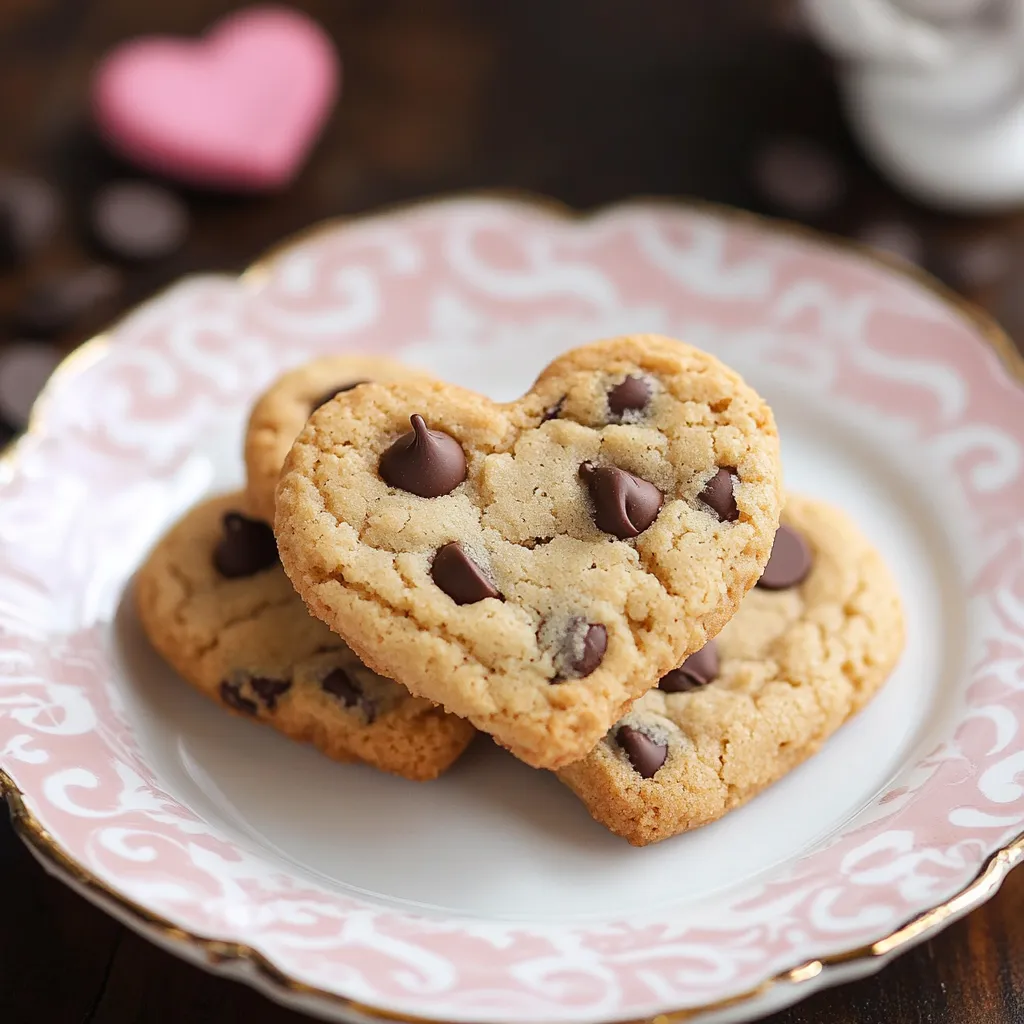
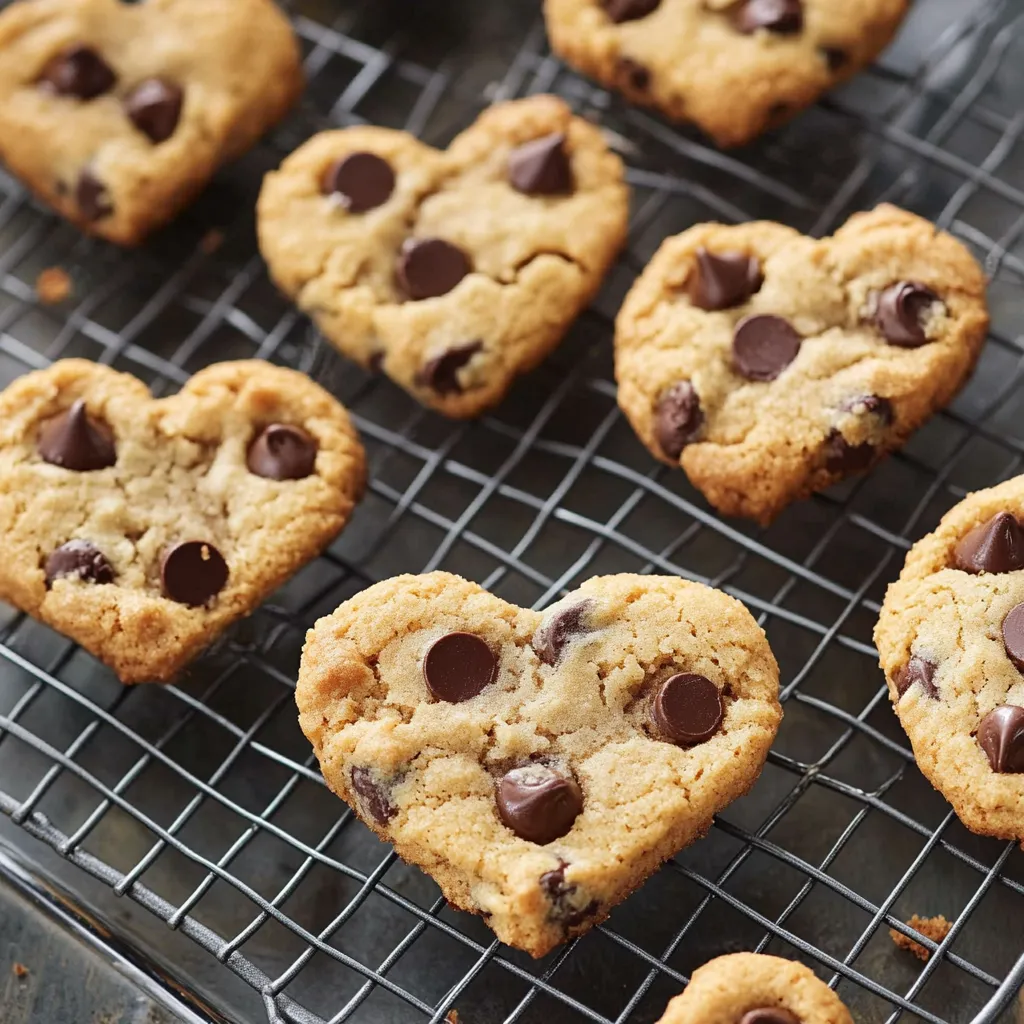
Transform ordinary chocolate chip cookies into charming hearts with this foolproof method that's perfect for Valentine's Day or any time you want to show someone you care. After years of attempting perfectly shaped heart cookies by hand, I discovered this genius sheet pan technique that produces beautifully uniform hearts every time - and the scraps make the perfect baker's treat!
Last Valentine's Day, I sent these to my son's kindergarten class, and his teacher asked for the recipe - she couldn't believe how uniform and professional they looked with such a simple technique.
Essential Ingredients Guide
- Butter: Softened, not melted, for the perfect texture
- Both sugars: Creates that classic chewy cookie texture
- Eggs: Room temperature for better incorporation
- Quality vanilla: Don't skimp here
- All-purpose flour: Or your preferred alternative
- Chocolate chips: Reserve some for pressing on top
Step-by-Step Creation
- Step 1:
- Master your base: Beat butter and sugars until genuinely light and fluffy. Room temperature eggs incorporate better. Don't rush the creaming process. Look for a notably lighter color.
- Step 2:
- Perfect the dough preparation: Add dry ingredients gradually. Mix just until combined to avoid tough cookies. Reserve some chocolate chips for the top. The dough should be firm but not sticky. Chill if it feels too soft.
- Step 3:
- Master the pan technique: Line pan completely with parchment. Spread dough in an even layer. Press gently but firmly. Ensure corners aren't too thin. Create a consistently thick layer.
- Step 4:
- Nail the baking process: Watch for light golden edges. Center should be set but not dark. Don't overbake - they'll firm up while cooling. Cool completely before cutting.
 Pin it
The Art of Cookie Cutting
Understanding the timing is crucial: Wait until completely cool. Use firm pressure when cutting. Clean cutter between cuts. Work from edges inward. Save all scraps for snacking.
My first attempt at these taught me patience - trying to cut them warm resulted in misshapen hearts and broken edges. Now I know that waiting for them to cool completely is the secret to perfect shapes.
Making It Your Own
Through many batches of experimenting, here are some winning variations:
Perfect Mix-Ins
Mini chocolate chips for more uniform cutting. White chocolate and dried cranberries. Dark chocolate and orange zest. Butterscotch chips for caramel notes. Mint chips for holiday version.
Dietary Adaptations
All tested and approved: Gluten-free using measure-for-measure flour. Vegan with chia eggs and coconut oil. Natural sweetener options. Whole grain using white whole wheat flour. Dairy-free with quality vegan butter.
Storage Success
Keep your cookies fresh: Cool completely before storing. Layer with parchment paper. Store in airtight container. Keeps fresh up to 5 days. Freeze for up to 3 months.
Gift-Giving Tips
Stack cookies carefully. Use cellophane bags with ribbon. Include baking date on tag. Transport flat to prevent breakage. Package with hot cocoa mix for complete gift.
Special Occasion Adaptations
Let me share how to make these cookies perfect for any celebration:
Holiday Variations
Christmas: Add red and green M&Ms. Sprinkle with sanding sugar. Use tree or star cutters. Mix in crushed peppermint.
Easter: Use pastel chocolate chips. Cut into egg shapes. Add spring-colored sprinkles. Mix in butterscotch chips.
Scaling for Events
School Functions: Double batch fills standard sheet pan. Use smaller cutters for more cookies. Prep dough the night before. Consider allergy-friendly version.
Bake Sale Success: Package individually. Price per cookie size. Include ingredient cards. Offer variety packs.
Troubleshooting Common Issues
Uneven thickness: Use a flat spatula to level. Sticky dough: Chill before spreading. Crumbly edges: Not cool enough. Dark edges: Lower oven temperature.
 Pin it
Professional Presentation Tips
Stack similarly sized cookies. Use food-safe gift boxes. Add decorative twine. Include care instructions.
This recipe has saved many last-minute school parties and bake sales for me. Remember, the beauty lies in its versatility - one base recipe can be transformed for any occasion throughout the year. The key is to plan ahead and never rush the cooling process!
Frequently Asked Questions
- → Can I make these cookie bars ahead of time?
- Yes, you can make these cookie bars up to 5 days ahead and store them in an airtight container.
- → How do I make these bars gluten-free?
- Use King Arthur Flour Gluten-free Measure for Measure Flour or Bob's Red Mill 1-to-1 Gluten-free Baking Flour as a direct replacement.
- → What size heart cookie cutter do I need?
- Use a heart cutter that's about 2 3/4 inches at its widest part and 2 1/2 inches from center to bottom tip.
- → Can I make these bars vegan?
- Yes, use refined coconut oil instead of butter, chia eggs instead of regular eggs, and vegan chocolate chips.
- → How many heart shapes does this recipe yield?
- Using the recommended cookie cutter size, you can get about 16 heart-shaped cookie bars from one pan.