 Pin it
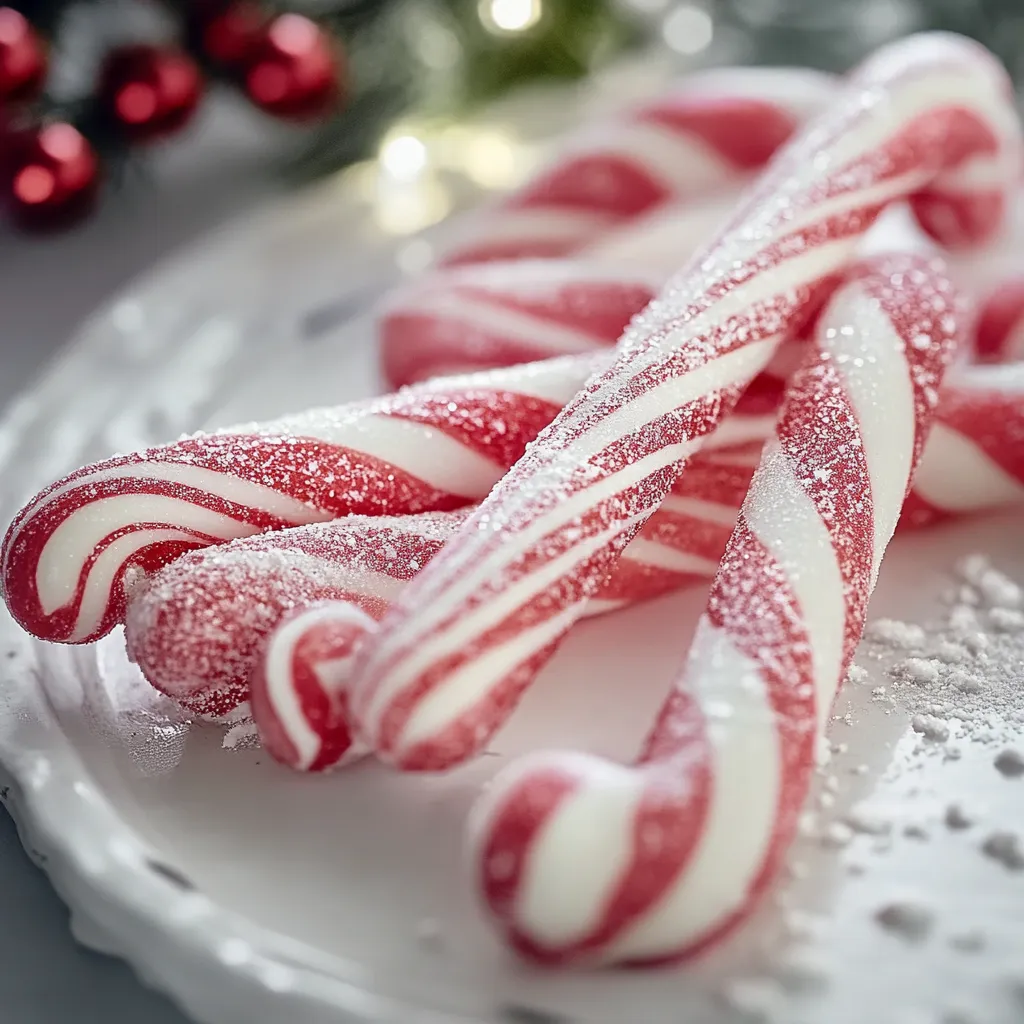
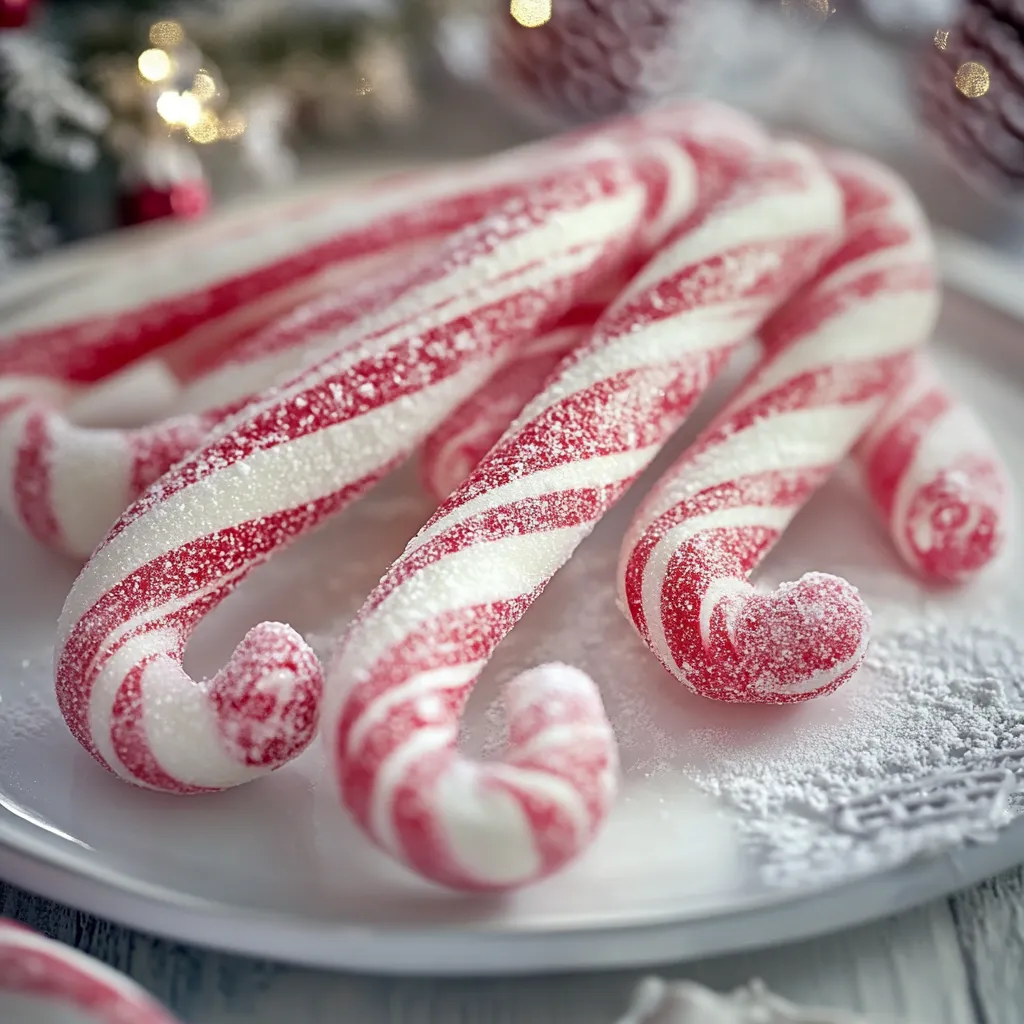
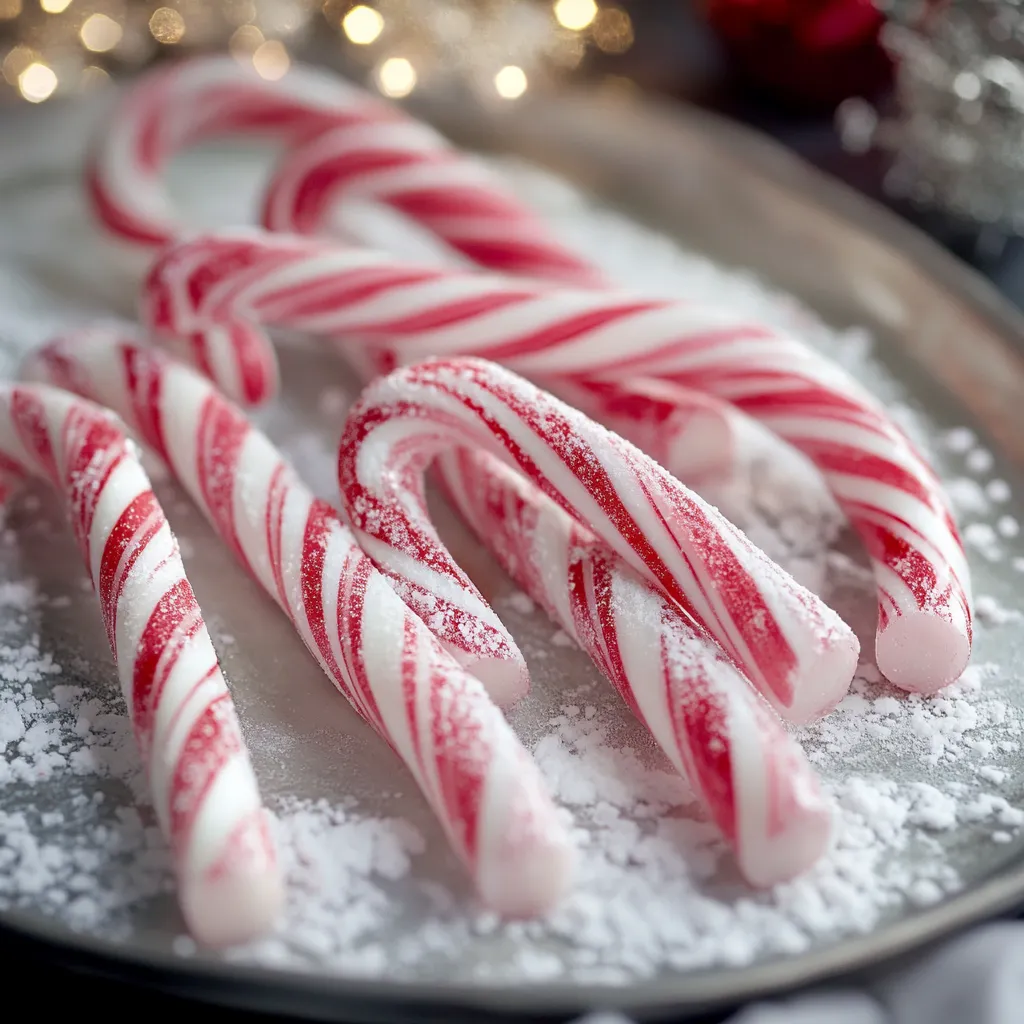
This festive homemade candy cane recipe brings the magic of holiday confectionery into your kitchen. Making your own candy canes allows you to create a classic Christmas treat with pure peppermint flavor and vibrant colors that store-bought versions simply cannot match.
I started making these candy canes when my children were small, wanting to create meaningful holiday traditions. Fifteen years later, our annual candy cane making session marks the official start of our Christmas season, with neighbors now requesting our homemade treats each December.
Ingredients
- Granulated sugar: creates the sweet base and crystalline structure essential for proper hardening
- Light corn syrup: prevents unwanted crystallization during cooking for smooth candy
- Water: helps dissolve the sugar initially but evaporates during cooking
- Peppermint extract: provides that classic cooling flavor best added after cooking to preserve potency
- Red gel food coloring: achieves those iconic stripes without thinning the candy consistency
Step-by-Step Instructions
- Prepare Workspace:
- Proper preparation prevents frustration. Line multiple baking sheets with parchment paper and thoroughly grease your marble slab or countertop with butter or shortening. The hot candy mixture will cool quickly, so having everything ready beforehand is crucial for success.
- Cook Candy Mixture:
- Combine sugar, corn syrup, and water in a heavy bottomed saucepan over medium heat. Stir constantly with a wooden spoon until all sugar granules have completely dissolved. Attach a candy thermometer to the side of the pan, then allow the mixture to cook undisturbed until it reaches precisely 300°F, the hard crack stage. This typically takes 10 to 15 minutes depending on your stove.
- Flavor and Color:
- Remove the saucepan from heat immediately when temperature is reached. Working quickly but carefully, stir in the peppermint extract, standing back as it will sizzle and release strong vapors. Pour half the clear mixture onto your prepared surface. Add several drops of red gel food coloring to the remaining mixture in the pan and stir rapidly to incorporate throughout.
- Shape Candy Canes:
- Pour the red candy mixture onto a separate greased area. Allow both colors to cool for about 2 minutes until safe to handle but still malleable. Pull and fold each color separately to incorporate air, making them shiny and opaque. Divide each color into 12 equal portions. Roll each piece into a rope, twist the red and white portions together, then curve one end to form the classic candy cane shape.
- Cool Completely:
- Transfer shaped candy canes carefully to prepared parchment sheets. Allow them to cool undisturbed for at least 4 hours or preferably overnight. This cooling period allows the sugar structure to fully set and harden, resulting in candy canes that snap rather than bend.
 Pin it
My favorite part of this recipe is watching the transformation from clear syrup to glossy, striped confection. The first time my daughter successfully twisted a perfect candy cane completely on her own, her proud smile was sweeter than any candy we could have made.
Troubleshooting Sugar Candy
The most common challenge with homemade candy canes is proper temperature control. If your candy hardens too quickly while shaping, keep a heating pad on low nearby to place pieces on temporarily. Conversely, if your mixture never fully hardens, you likely removed it from heat before reaching the full 300°F hard crack stage, which cannot be corrected after cooling.
Storage Recommendations
Homemade candy canes are hygroscopic, meaning they absorb moisture from the air. Store them individually wrapped in cellophane or layered between parchment paper in airtight containers. Keep them in a cool, dry place away from humidity sources like dishwashers or stovetops. Properly stored candy canes maintain their texture and flavor for approximately three weeks.
Flavor Variations
While traditional peppermint candy canes remain the most popular, this recipe serves as an excellent base for creative variations. Substitute the peppermint extract with cinnamon, wintergreen, or orange oil for unique flavor profiles. For adults, adding a drop of pure vanilla extract alongside peppermint creates sophisticated complexity. Experiment with different color combinations for themed holiday treats like blue and white for winter wonderland or green and red for classic Christmas.
 Pin it
Frequently Asked Questions
- → How do I prevent sticking while shaping candy canes?
Use gloves or grease your hands with a bit of oil to prevent the candy mixture from sticking while shaping.
- → Can I use a different flavor instead of peppermint?
Yes, you can substitute peppermint extract with other flavors like vanilla, cinnamon, or almond to customize the flavor of your candy canes.
- → What type of food coloring works best for candy canes?
Gel food coloring is ideal as it provides vibrant color without affecting the consistency of the candy mixture.
- → How long should I let the candy canes cool before storing them?
Allow the candy canes to cool completely for at least 4 hours or overnight before storing them in an airtight container.
- → Can I make these candy canes without a marble slab?
If you don’t have a marble slab, you can use a well-greased countertop or silicone baking mat to shape the candy.
- → How can I ensure the candy mixture reaches the right temperature?
Use a candy thermometer to monitor the temperature closely, ensuring it reaches 300°F (hard crack stage) for the perfect texture.
