
 Pin it
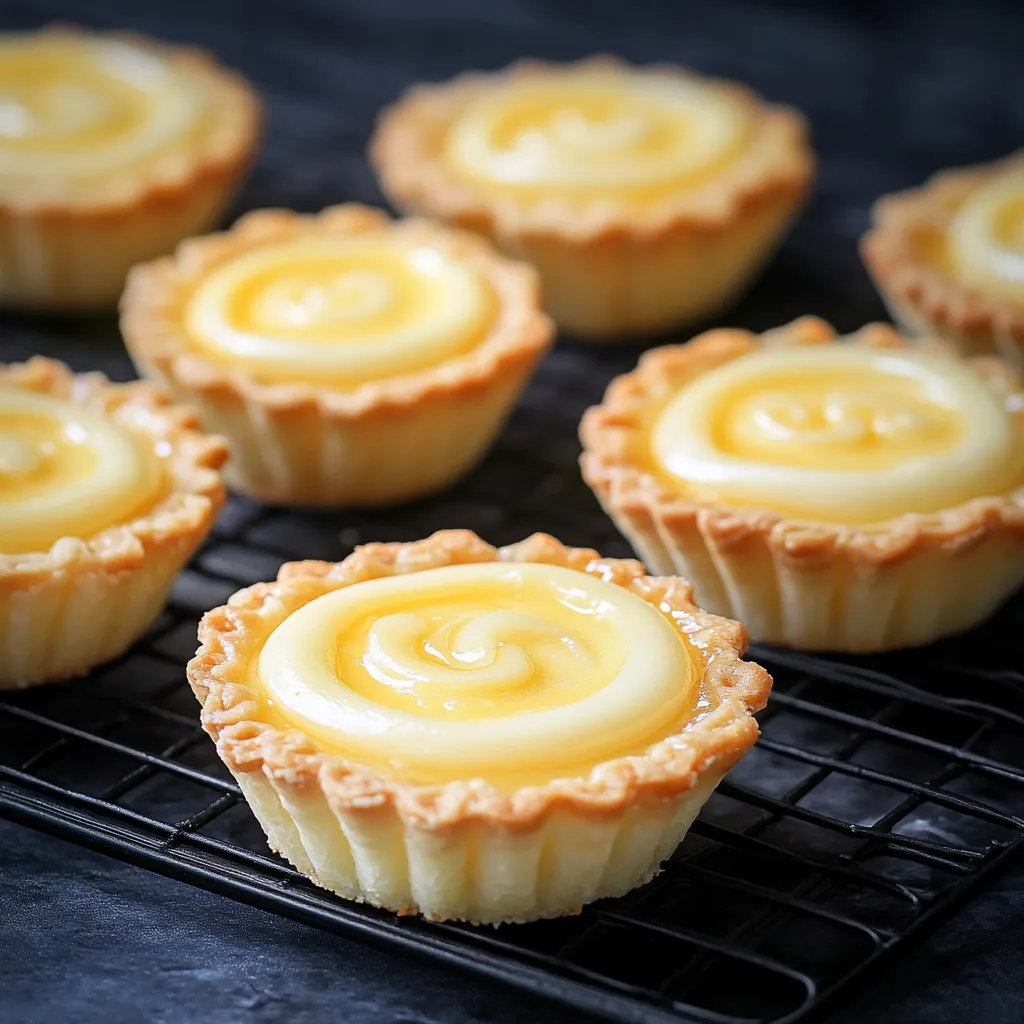
This delectable Japanese Cheese Tart recipe brings the famous sweet treat from Japanese bakeries right to your home kitchen. These buttery tarts with their creamy cheese filling strike the perfect balance between sweet and tangy, creating an irresistible dessert that's surprisingly simple to make with basic ingredients.
I discovered these tarts during a trip to Japan and became obsessed with recreating them at home. After several attempts, this version has become my go-to dessert for impressing guests who always assume they came from a fancy bakery.
Ingredients
- Unsalted butter: Creates a rich, flaky tart shell. Make sure it's cold for the best texture.
- All-purpose flour: Provides structure to the tart shells. For a lighter texture, sift before measuring.
- Powdered sugar: Incorporates smoothly into both the shell and filling. The fine texture prevents grittiness.
- Egg yolks: Bind the dough and add richness. Room temperature yolks blend more easily.
- Cream cheese: The star ingredient. Use full-fat for authentic flavor and texture. Philadelphia works wonderfully.
- Heavy whipping cream: Adds luxurious smoothness to the filling. Look for one with at least 36% fat content.
- Cornstarch: Stabilizes the filling and prevents it from becoming too runny during baking.
- Milk: For the egg wash. Just a small amount helps create that beautiful golden finish.
Step-by-Step Instructions
- Prepare the tart dough:
- Begin by cutting cold butter into small, even cubes about 1/4 inch in size. Place flour and powdered sugar in a mixing bowl, then add the butter cubes. Using an electric mixer on low speed, combine until the mixture resembles coarse breadcrumbs with no large butter pieces visible. Add the egg yolk and continue mixing until just combined. Turn the dough onto a clean surface and gently knead for about 30 seconds until smooth. The dough should come together without being sticky.
- Form the tart shells:
- Preheat your oven to 410°F and prepare your tart molds. Take approximately 2 tablespoons of dough for each 2.6-inch tart mold. Press the dough evenly into each mold, starting from the center and working outward. Pay special attention to the corners to ensure even thickness throughout. Use your fingers to press the dough up the sides, then trim any excess by running a knife along the top edge. Use a fork to prick the bottom of each shell several times to prevent bubbling during baking.
- Bake the tart shells:
- Place the filled tart molds on a baking sheet and bake in the preheated oven for exactly 15 minutes. Watch carefully as they approach the 12-minute mark to ensure they achieve a light golden color without burning. Remove from oven and allow to cool completely in the molds before attempting to remove them. This cooling period is crucial for the shells to set properly and maintain their shape.
- Make the cream cheese filling:
- Allow cream cheese to soften at room temperature for at least 30 minutes. In a medium bowl, combine softened cream cheese and powdered sugar. Use a spatula rather than a whisk to gently fold and incorporate without incorporating air bubbles. The mixture should be completely smooth with no lumps. Add the heavy cream gradually in three separate additions, fully incorporating each before adding the next. This prevents the mixture from separating. Finally, add cornstarch and mix until perfectly smooth and silky.
- Fill and freeze the tarts:
- Transfer the cream cheese mixture to a piping bag fitted with a round tip or simply cut the corner of a ziplock bag. Remove cooled tart shells carefully from their molds. Pipe the filling into each shell, filling them just to the top edge. For the smoothest results, hold the piping bag perpendicular to the tart and fill from the center outward. Place the filled tarts on a baking sheet and freeze for at least 4 hours or overnight until completely firm.
- Bake the cheese tarts:
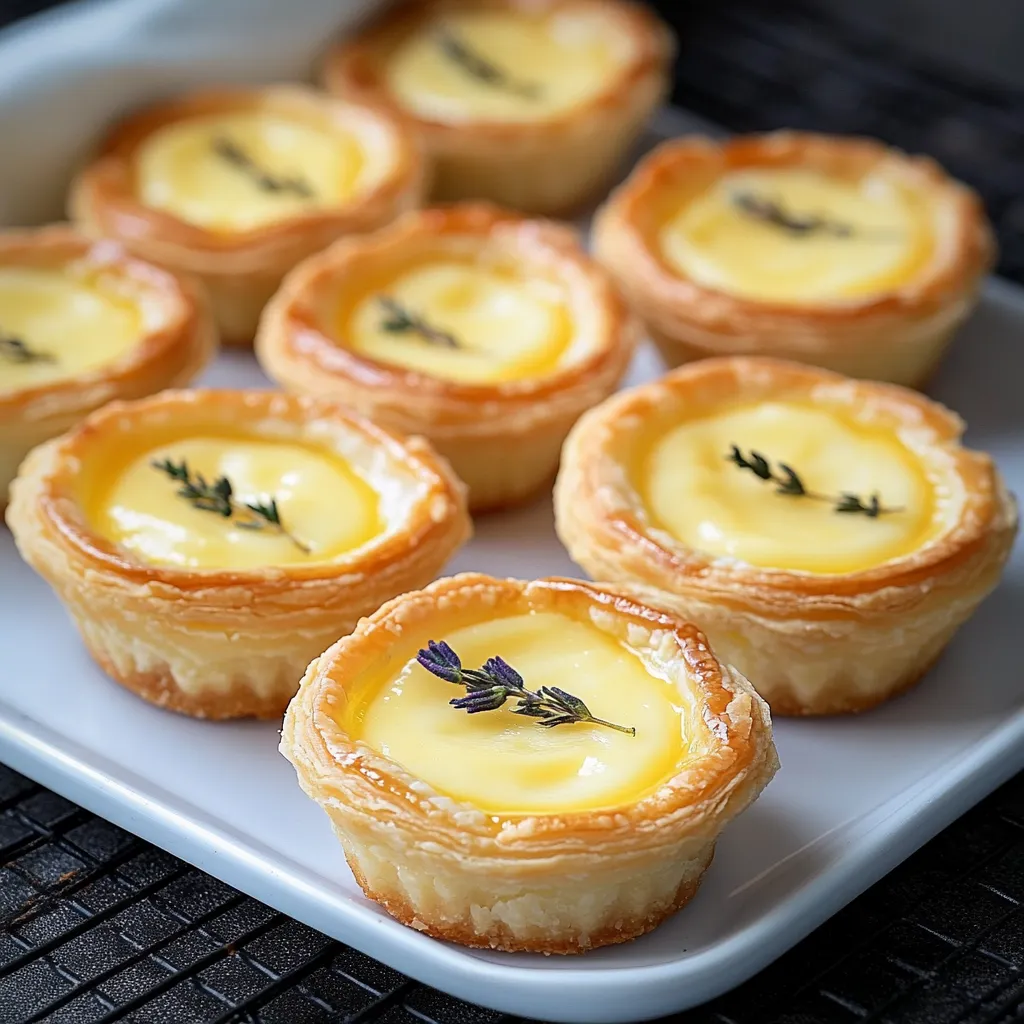
- Preheat oven to 410°F. In a small bowl, whisk together the egg yolk and milk until completely smooth to create your egg wash. Remove the frozen tarts directly from the freezer and immediately brush the tops with a thin, even layer of egg wash using a pastry brush. This creates the signature golden brown finish. Place on a baking sheet and bake for exactly 15 minutes until the tops develop a beautiful caramelized appearance.
 Pin it
The cream cheese is truly the heart of this recipe. I recommend splurging on a high-quality brand as it makes a noticeable difference in the final flavor. My grandmother taught me to always taste the cream cheese first if it has a pleasant tanginess on its own, you'll get the perfect flavor contrast in the finished tarts.
Storage Tips
These Japanese Cheese Tarts can be stored in an airtight container in the refrigerator for up to 3 days. The tart shells may soften slightly over time but will still taste delicious. For longer storage, freeze the baked tarts completely and thaw in the refrigerator overnight before serving. To refresh them, place in a 300°F oven for 5-7 minutes until just warmed through.
Flavor Variations
While the classic version is incredible, these tarts are wonderfully adaptable. Try adding a teaspoon of lemon zest to the filling for a citrus twist, or fold in 2 tablespoons of matcha powder for a Japanese-inspired variation. For chocolate lovers, add 2 tablespoons of cocoa powder to the tart shell dough, and swirl a tablespoon of melted chocolate into the cream cheese filling before freezing.
Cultural Context
Japanese Cheese Tarts gained popularity through bakery chains like Pablo and BAKE, which created a dessert sensation across Asia. Unlike Western cheesecakes, these tarts feature a distinctive combination of a crisp cookie-like shell with a soufflé-like filling that jiggles slightly when fresh from the oven. They represent the Japanese talent for adapting Western desserts with unique textures and balanced sweetness that appeals to Asian palates.
 Pin it
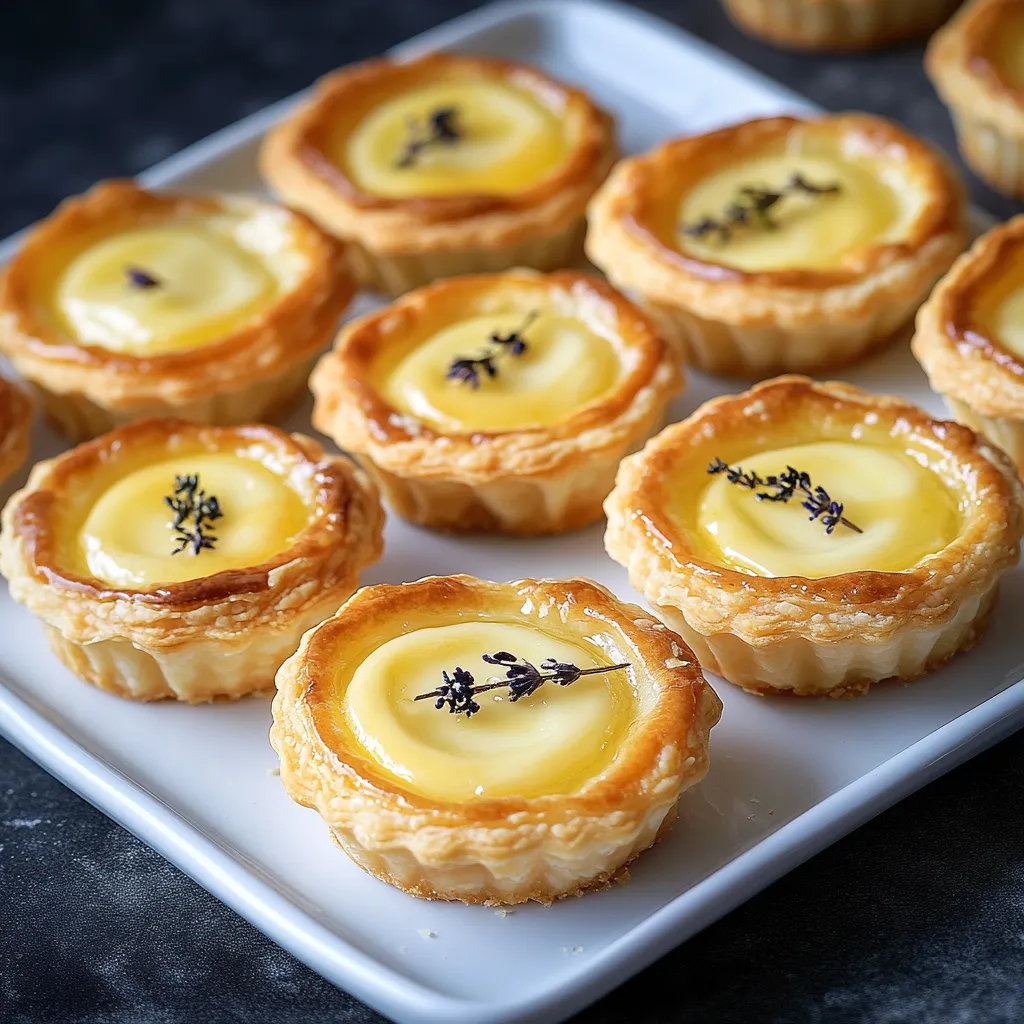
These tarts are guaranteed to impress with their professional look and incredible flavor. Enjoy this Japanese-inspired treat!
Frequently Asked Questions
- → Can I make these Japanese cheese tarts ahead of time?
Yes, you can prepare them up to 2 days in advance. Complete all steps through freezing, then store the frozen tarts in an airtight container. When ready to serve, apply the egg wash and bake directly from frozen.
- → Can I substitute the heavy whipping cream?
While heavy whipping cream provides the best texture, you can substitute with full-fat coconut cream for a dairy alternative. The flavor profile will change slightly, but the consistency should remain similar.
- → Why do the tarts need to be frozen before baking?
Freezing helps the filling maintain its shape during baking. This creates that signature texture where the center remains soft and slightly gooey while the top develops a beautiful golden finish.
- → What's the best way to store leftover cheese tarts?
Store leftover tarts in an airtight container in the refrigerator for up to 3 days. They can be enjoyed cold or reheated in a 350°F (175°C) oven for 5-7 minutes to restore some crispness to the shell.
- → Can I use different size tart molds?
Yes, you can adapt this recipe for different size molds. For mini tarts, reduce baking time by about 5 minutes. For larger tarts, you may need to increase baking time by 5-10 minutes. Always look for golden edges as your indicator of doneness.
- → What makes these tarts specifically Japanese-style?
The Japanese style comes from the lighter, creamier cheese filling compared to denser Western cheesecakes. The technique of freezing then baking creates that signature wobbly center that's popular in Japanese cheese desserts like the famous Hokkaido cheese tarts.