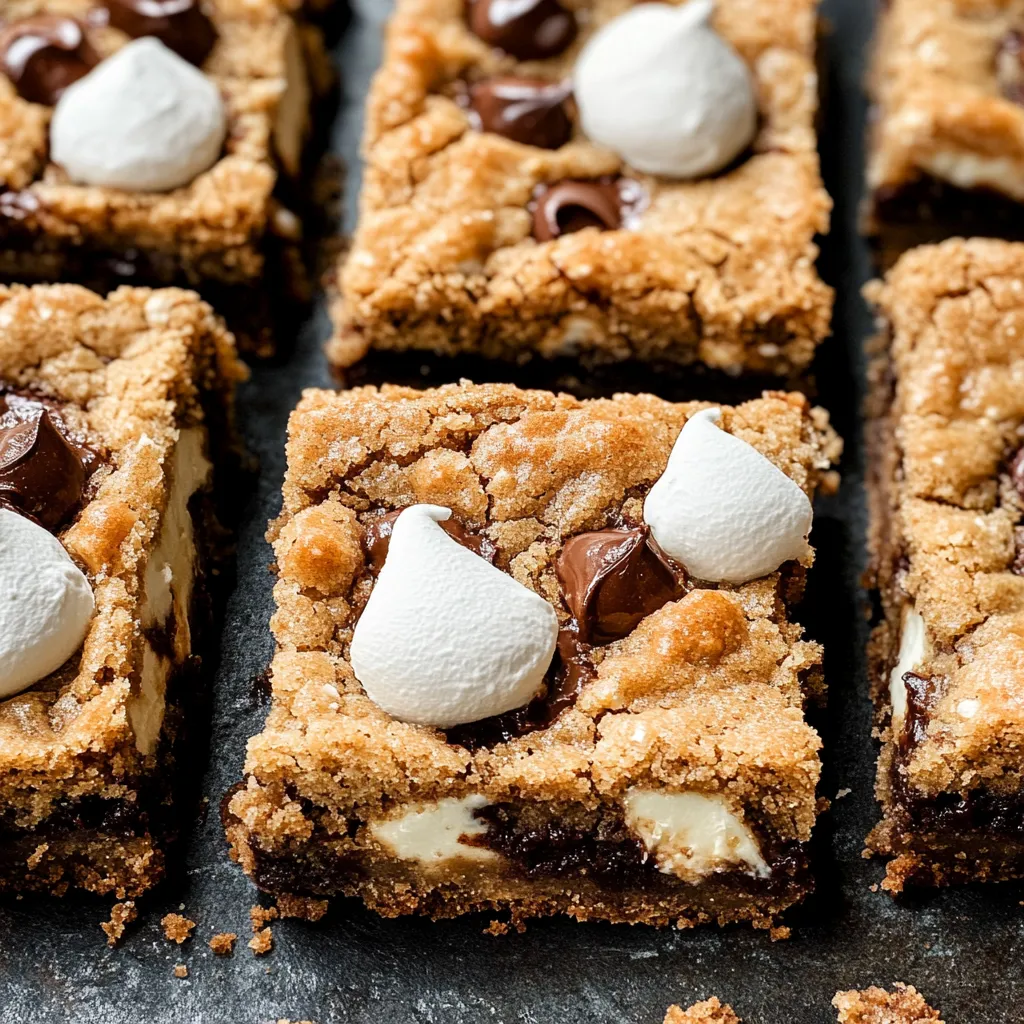
No-Bake S'mores Bars

Featured in: Sweet Treats That Create Memories

No-Bake S'mores Bars capture all the beloved flavors of traditional campfire s'mores in a convenient, sliceable treat that requires no oven. The base consists of a buttery graham cracker crust that provides the perfect crunchy foundation. The middle layer features a rich, fudgy chocolate made from semi-sweet chocolate chips melted with sweetened condensed milk, creating a smooth, decadent texture that sets up firmly when chilled. The top layer of mini marshmallows delivers that signature gooey sweetness that makes s'mores so irresistible, while optional milk chocolate chips add extra chocolatey richness. Unlike traditional s'mores that need to be assembled and eaten immediately, these bars can be made ahead of time and stored in the refrigerator until ready to serve. With just a handful of ingredients and no baking required, these bars are perfect for summer gatherings when you want the classic s'mores experience without the campfire.
marry from tastelikemagic.com
Updated on Mon, 17 Mar 2025 04:36:06 GMT
A square of chocolate chip and white whipped cream dessert. Pin it
A square of chocolate chip and white whipped cream dessert. | tastelikemagic.com

This S'mores Bars Recipe captures everything wonderful about the classic campfire treat without requiring a fire pit or endless packages of graham crackers. The combination of buttery graham cracker crust, silky melted chocolate, and gooey marshmallows creates a dessert that brings back summer memories with every bite. The layers blend together perfectly while each maintaining its distinct texture – crunchy base, smooth center, and pillowy top.

I brought these to my neighbor's backyard gathering last weekend, and they disappeared faster than anything else on the dessert table. Even my husband, who claims he 'doesn't have a sweet tooth,' ate three bars and asked me to make another batch the next day. Something about that combination of chocolate and marshmallow just brings out everyone's inner child.

Ingredients

  • Graham Cracker Crust: Graham cracker crumbs, unsalted butter.
  • Chocolate Layer: Semi-sweet chocolate chips, sweetened condensed milk.
  • Marshmallow Layer: Mini marshmallows, optional milk chocolate chips for topping.

Step-by-Step Instructions

Prepare the Graham Cracker Crust:
Mix graham cracker crumbs with melted butter and press into a lined 8×8-inch baking pan.
Make the Chocolate Layer:
Melt chocolate chips with sweetened condensed milk, stirring until smooth, then spread over the crust.
Add the Marshmallow Layer:
Sprinkle mini marshmallows over the chocolate while warm and press lightly. Optionally, scatter milk chocolate chips for extra richness.
Chill & Serve:
Refrigerate for at least 2 hours before cutting into bars.
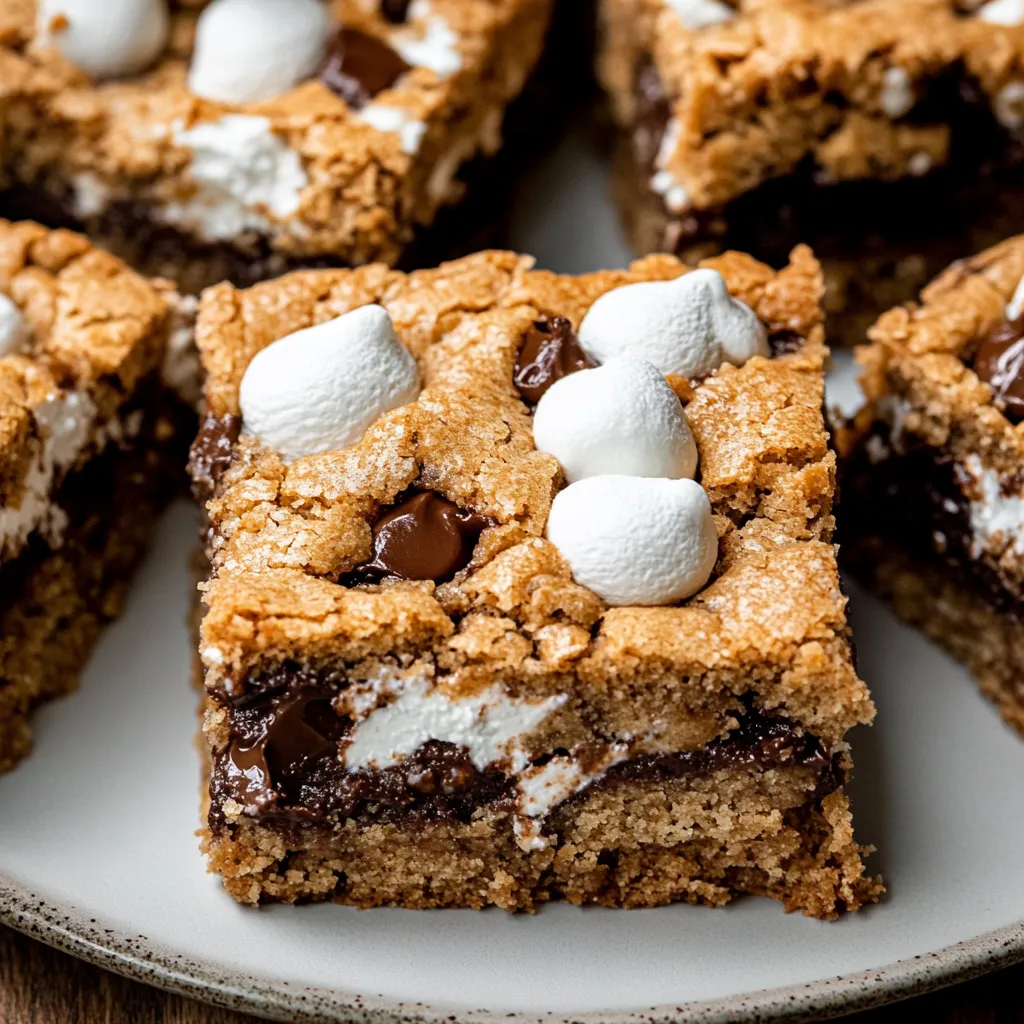
A plate of brownies with marshmallows on top. Pin it
A plate of brownies with marshmallows on top. | tastelikemagic.com

Perfect for All Seasons

These bars are great year-round. Add cinnamon to the crust for a fall twist, or raspberry jam between layers for a fresh spring variation.

Making Memories

Food creates lasting memories, and these bars are a fun way to recreate childhood s’mores indoors. A simple, no-mess way to share nostalgia with loved ones.

Beyond the Basic Recipe

For holiday flair, add crushed peppermint candies. Peanut butter spread over the graham crust before adding chocolate creates a nutty twist.
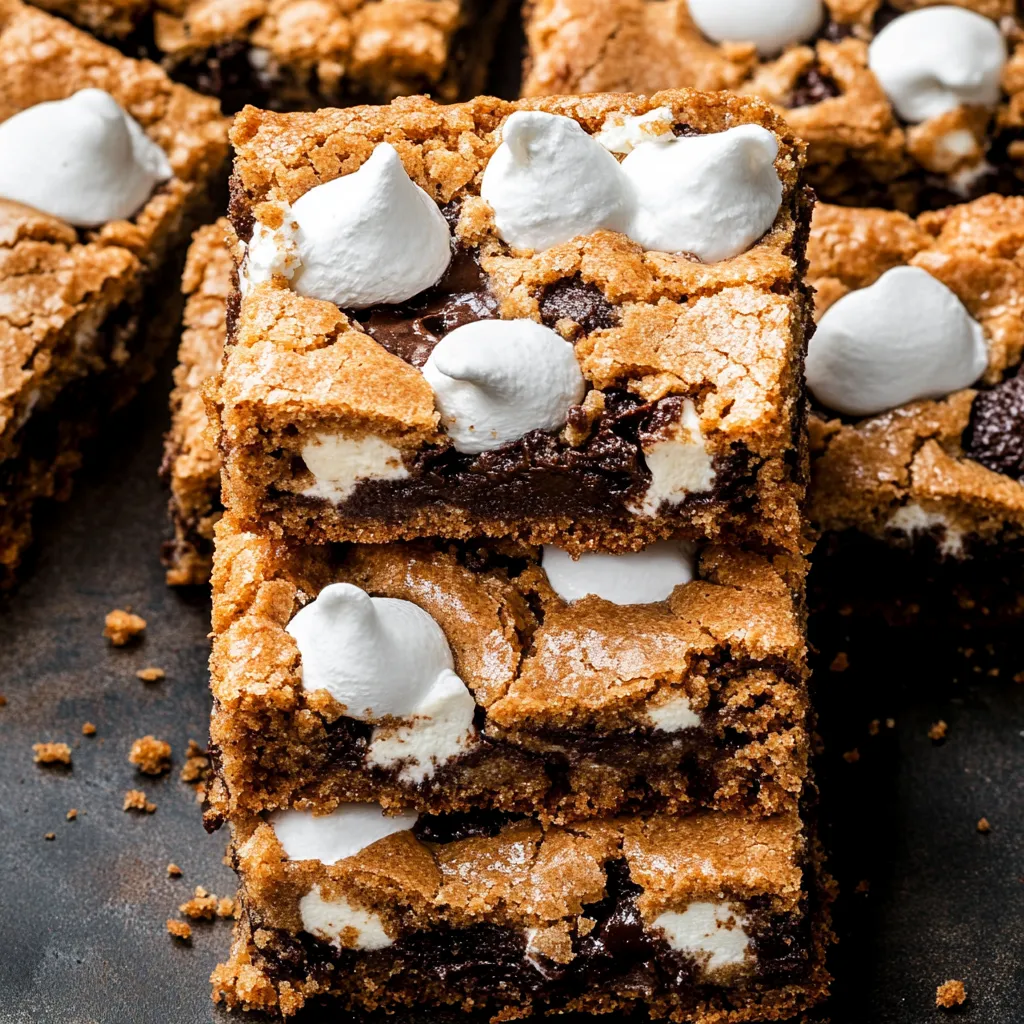
A square of chocolate cake with white icing and marshmallows. Pin it
A square of chocolate cake with white icing and marshmallows. | tastelikemagic.com

I first made these bars when a camping trip got canceled due to rain. They turned disappointment into excitement and have since become a family favorite. Sometimes, the best recipes come from the most unexpected moments.

Frequently Asked Questions

→ Can I toast the marshmallows on top for more authentic s'mores flavor?
Yes! After the bars have set, you can use a kitchen torch to lightly toast the marshmallows on top. Alternatively, place the fully set bars under a broiler for 30-60 seconds, watching carefully to avoid burning.
→ How long do these s'mores bars keep?
Store these bars in an airtight container in the refrigerator for up to 5 days. The bars are best enjoyed within the first 2-3 days when the marshmallows are still soft and the crust maintains its texture.
→ Can I freeze these s'mores bars?
Yes, these bars freeze well for up to 2 months. Cut them into squares, place in an airtight container with parchment paper between layers, and freeze. Thaw in the refrigerator before serving.
→ Can I use homemade graham cracker crumbs?
Absolutely! Process about 10-12 full-sized graham crackers in a food processor until finely ground to make approximately 1½ cups of crumbs. Homemade crumbs often provide a fresher flavor than store-bought.
→ What can I add to these bars for extra flavor?
Try adding a teaspoon of vanilla extract to the melted chocolate mixture, a sprinkle of sea salt on top, or mixing in peanut butter chips with the chocolate for a twist on the classic flavor. You could also layer sliced bananas on top of the chocolate before adding the marshmallows.

No-Bake S'mores Bars

These No-Bake S'mores Bars feature a graham cracker crust topped with rich chocolate and gooey marshmallows for an easy treat that captures classic s'mores flavors.

Prep Time
15 Minutes
Cook Time
~
Total Time
15 Minutes
By: Marry

Category: Sweets & Desserts

Difficulty: Easy

Cuisine: American

Yield: 16 Servings (16 bars)

Dietary: Vegetarian

Ingredients

→ For the Crust

01 1 ½ cups graham cracker crumbs
02 ½ cup unsalted butter, melted

→ For the Filling and Topping

03 1 cup semi-sweet chocolate chips
04 1/3 cup sweetened condensed milk
05 1 cup mini marshmallows
06 ½ cup milk chocolate chips (optional, for extra chocolatey goodness on top)

Instructions

Step 01

Let's start with that classic s'mores foundation! In a medium bowl, pour your graham cracker crumbs (you can buy them pre-crushed or pulse whole graham crackers in a food processor until fine). Add the melted butter and use a fork to stir everything together until all those crumbs are evenly moistened. The mixture should hold together when pressed between your fingers – if it seems too dry, add another tablespoon of melted butter. Now grab an 8×8-inch baking pan and press this mixture firmly into the bottom, creating an even layer. I like to use the bottom of a measuring cup to really pack it down tight – this helps your bars hold together better when you cut them later!

Step 02

Now for the chocolatey goodness that makes these bars irresistible! Take your semi-sweet chocolate chips and sweetened condensed milk and combine them in a microwave-safe bowl. Pop them in the microwave for 30 seconds, then take them out and give them a good stir. If they're not completely melted, return to the microwave for another 30 seconds, then stir again. Keep going with these short bursts until you have a smooth, glossy chocolate mixture. Be careful not to overheat – chocolate can go from perfect to burnt in seconds! Once it's beautifully melted, pour this velvety chocolate over your graham cracker crust, using a spatula to spread it into an even layer that reaches all the corners of the pan.

Step 03

While the chocolate layer is still warm, it's time to add those pillowy mini marshmallows! Sprinkle them evenly across the top of the chocolate so they cover the entire surface. If you're feeling extra indulgent (and why wouldn't you be?), scatter those optional milk chocolate chips between the marshmallows for pockets of extra chocolatey goodness. The warm chocolate layer will slightly soften the bottom of the marshmallows, helping them stick without completely melting them – we want those distinct marshmallow pieces that remind you of a real s'more!

Step 04

Now comes the hardest part – waiting! Place your pan in the refrigerator and let those beautiful layers chill for at least 2 hours. This cooling time is essential – it allows the chocolate to set properly and the flavors to meld together perfectly. If you're in a rush, you can speed things up by popping the pan in the freezer for about 45 minutes, but the texture is better with the slower refrigerator method. The bars should be firm to the touch when they're ready.

Step 05

Once your s'mores bars are completely chilled and set, it's time to enjoy the fruits of your (minimal) labor! Use a sharp knife to cut them into squares – I find that running the knife under hot water, then drying it before each cut gives you the cleanest edges. You can make them as big or small as you like, but I usually go for 16 squares (4 rows by 4 rows). These bars are absolutely delicious at room temperature, so I recommend letting them sit out for about 10 minutes before serving. They're perfect for picnics, parties, or just satisfying that s'mores craving without building a campfire!

Notes

  1. These No-Bake S'mores Bars capture all the flavors of traditional campfire s'mores without the need for fire or roasting sticks - perfect for satisfying your s'mores craving any time of year!
  2. For a more authentic toasted marshmallow flavor, you can briefly place the bars under the broiler for 30-60 seconds after adding the marshmallows. Just watch them closely to prevent burning!
  3. These bars keep beautifully in the refrigerator for up to a week when stored in an airtight container.
  4. For an extra fancy presentation, try drizzling melted chocolate over the top of the completed bars before chilling.

Tools You'll Need

  • 8×8-inch baking pan
  • Medium mixing bowl
  • Microwave-safe bowl
  • Measuring cups
  • Spatula
  • Sharp knife for cutting

Allergy Information

Please check ingredients for potential allergens and consult a health professional if in doubt.
  • Contains dairy (butter, chocolate, sweetened condensed milk)
  • Contains gluten (graham crackers)
  • May contain soy (check chocolate chip ingredients)

Nutrition Facts (Per Serving)

It is important to consider this information as approximate and not to use it as definitive health advice.
  • Calories: 195
  • Total Fat: 12 g
  • Total Carbohydrate: 22 g
  • Protein: 2 g