 Pin it
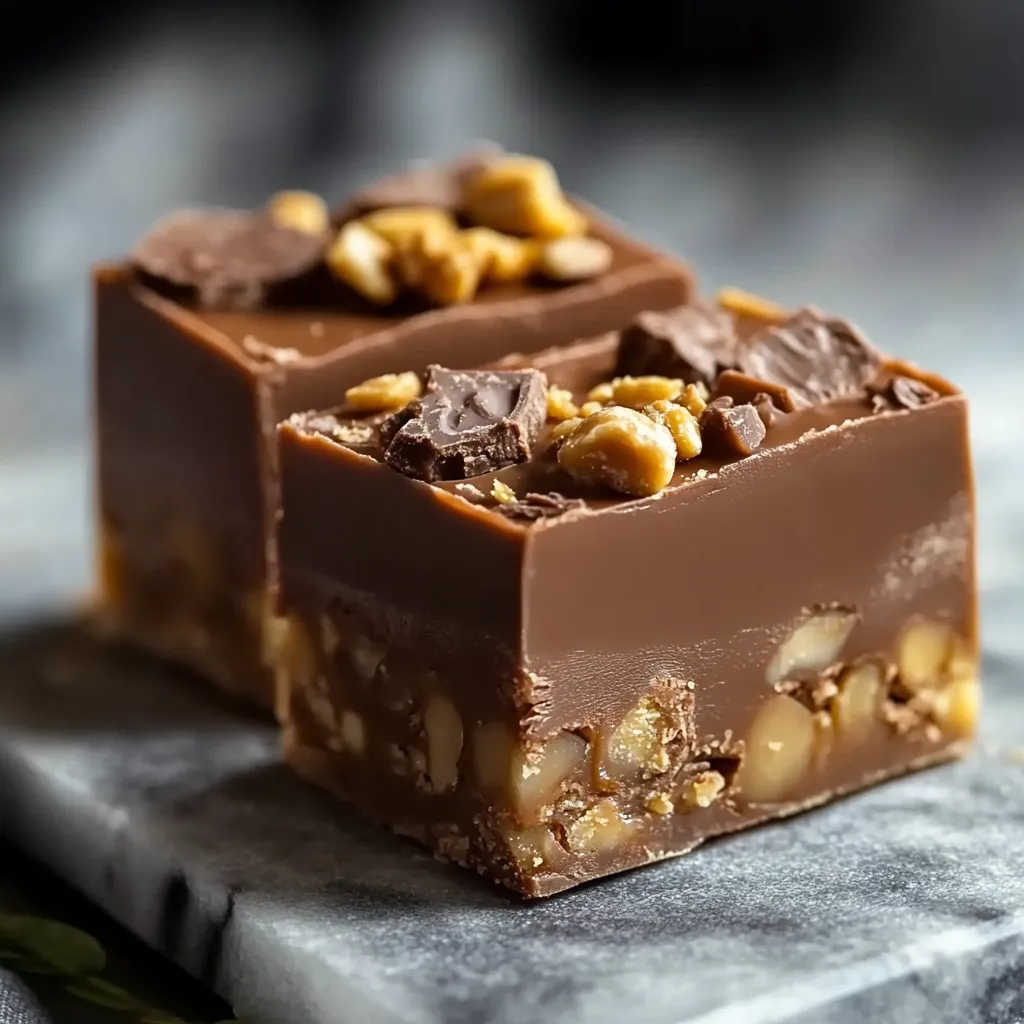
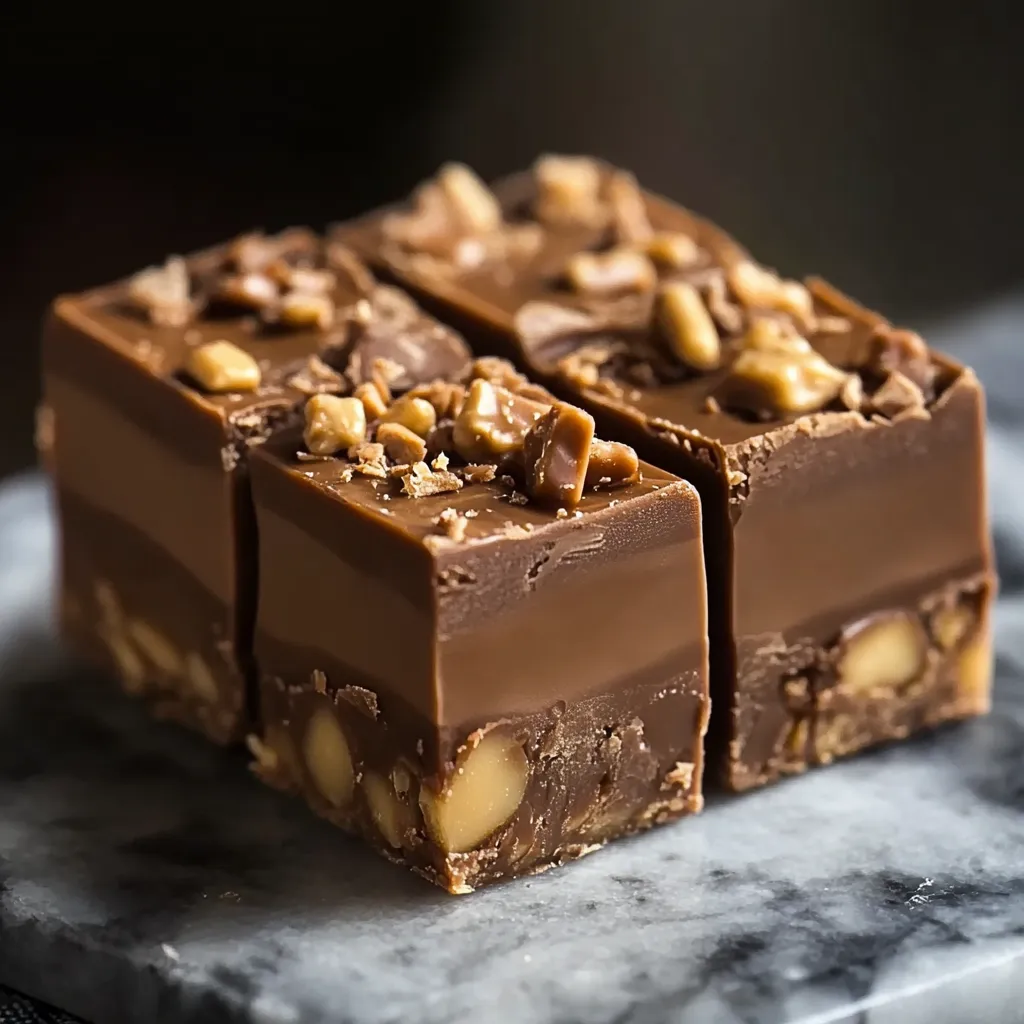
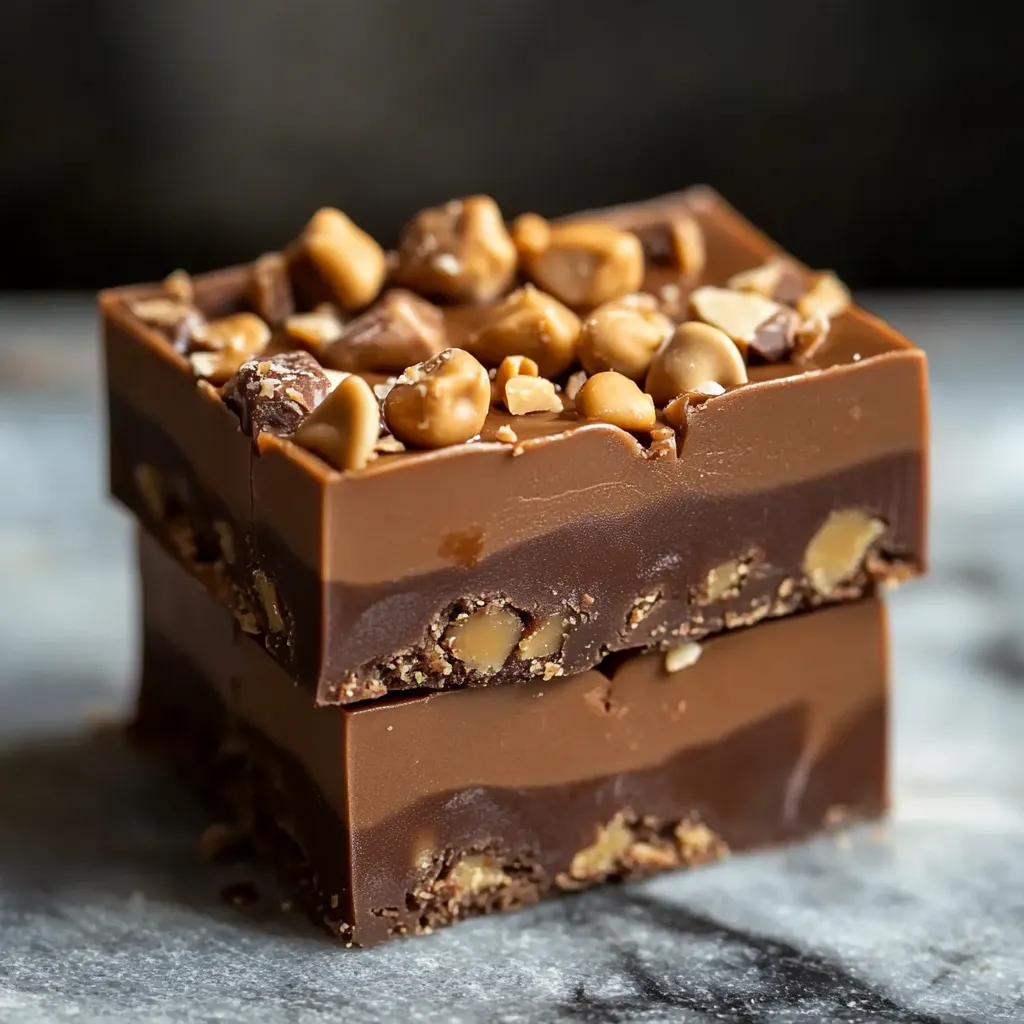
This Snickers Fudge Recipe transforms the classic candy bar into a decadent homemade treat that's even better than the original. The layers of rich chocolate, creamy peanut butter, gooey caramel, and crunchy peanuts create an irresistible combination that satisfies every sweet craving. The contrast between the smooth, velvety chocolate and the satisfying crunch of peanuts makes this fudge impossible to resist, while the sweet caramel ties everything together beautifully.
I made this fudge last Christmas for my family gathering, and my nephew actually hid some in his pocket to take home. My sister caught him and made him share, but I took it as the highest compliment! There's something about the combination of chocolate and peanut butter that brings out the sneaky side in all of us.
Ingredients
- First Layer: Milk chocolate chips, butterscotch chips, peanut butter.
- Second Layer (Nougat Filling): Butter, sugar, evaporated milk, marshmallow crème, peanut butter, vanilla extract, chopped salted peanuts.
- Third Layer (Caramel Layer): Caramel cubes, heavy cream.
- Fourth Layer (Final Chocolate Coating): Milk chocolate chips, butterscotch chips, peanut butter.
Step-by-Step Instructions
- Prepare the First Layer:
- Melt chocolate chips, butterscotch chips, and peanut butter. Spread evenly in a greased pan and chill for 10-15 minutes.
- Make the Nougat Layer:
- Cook butter, sugar, and evaporated milk. Stir in marshmallow crème, peanut butter, and vanilla. Fold in peanuts and spread over chilled first layer. Chill again.
- Prepare the Caramel Layer:
- Melt caramel cubes with heavy cream. Pour over nougat layer and spread evenly. Chill until set.
- Add the Final Chocolate Layer:
- Melt chocolate chips, butterscotch chips, and peanut butter. Pour over caramel layer and spread evenly. Chill for at least 2 hours.
- Slice & Serve:
- Let the fudge sit at room temperature for 10 minutes before cutting into squares with a warm knife.
 Pin it
A Gift Worth Giving
I've found that this fudge makes an incredible homemade gift. During the holidays, I cut it into small squares, place them in decorative mini cupcake liners, and arrange them in a nice tin with parchment paper between layers. Everyone always asks for the recipe, and it's become something of a signature treat among my friends and family.
Make-Ahead Magic
This fudge stores well and even develops more flavor after a few days. Make it a week ahead, wrap it well, and keep it refrigerated for perfect texture.
Beyond the Basic Recipe
Try adding a pinch of cinnamon to the chocolate layers for autumn or a drop of peppermint extract for a festive holiday twist.
 Pin it
I've been making variations of this fudge for nearly fifteen years, ever since I discovered how impressive it looks despite being relatively simple to make. What began as a holiday experiment has become a year-round favorite that my family requests for birthdays, potlucks, and sometimes "just because it's Tuesday."
Frequently Asked Questions
- → Can I use different chocolate chips in this recipe?
- Yes, you can substitute semi-sweet or dark chocolate chips for the milk chocolate if you prefer a less sweet version. The butterscotch chips are important for achieving the authentic Snickers flavor, but you could use all chocolate if needed.
- → How should I store this fudge?
- Store the Snickers Fudge in an airtight container in the refrigerator for up to 2 weeks. You can also freeze it for up to 3 months by wrapping it tightly in plastic wrap and then aluminum foil.
- → Can I use a different size pan?
- If you prefer thicker layers, you can use a 9×9 inch pan instead of the 9×13 inch pan. This will make each piece taller but you'll get fewer servings. Adjust chilling times accordingly as thicker layers take longer to set.
- → What is marshmallow crème and where can I find it?
- Marshmallow crème (also called marshmallow fluff) is a spreadable marshmallow product found in most grocery stores near the marshmallows or ice cream toppings. If unavailable, you can melt 2 cups of mini marshmallows with 2 tablespoons of corn syrup as a substitute.
- → Why do my layers mix together when I add a new layer?
- Each layer needs to be completely set and chilled before adding the next. If a layer is still warm or soft, it will mix with the next layer. Be sure to allow enough chilling time between layers (at least 30 minutes, or until firm to the touch).
