 Pin it
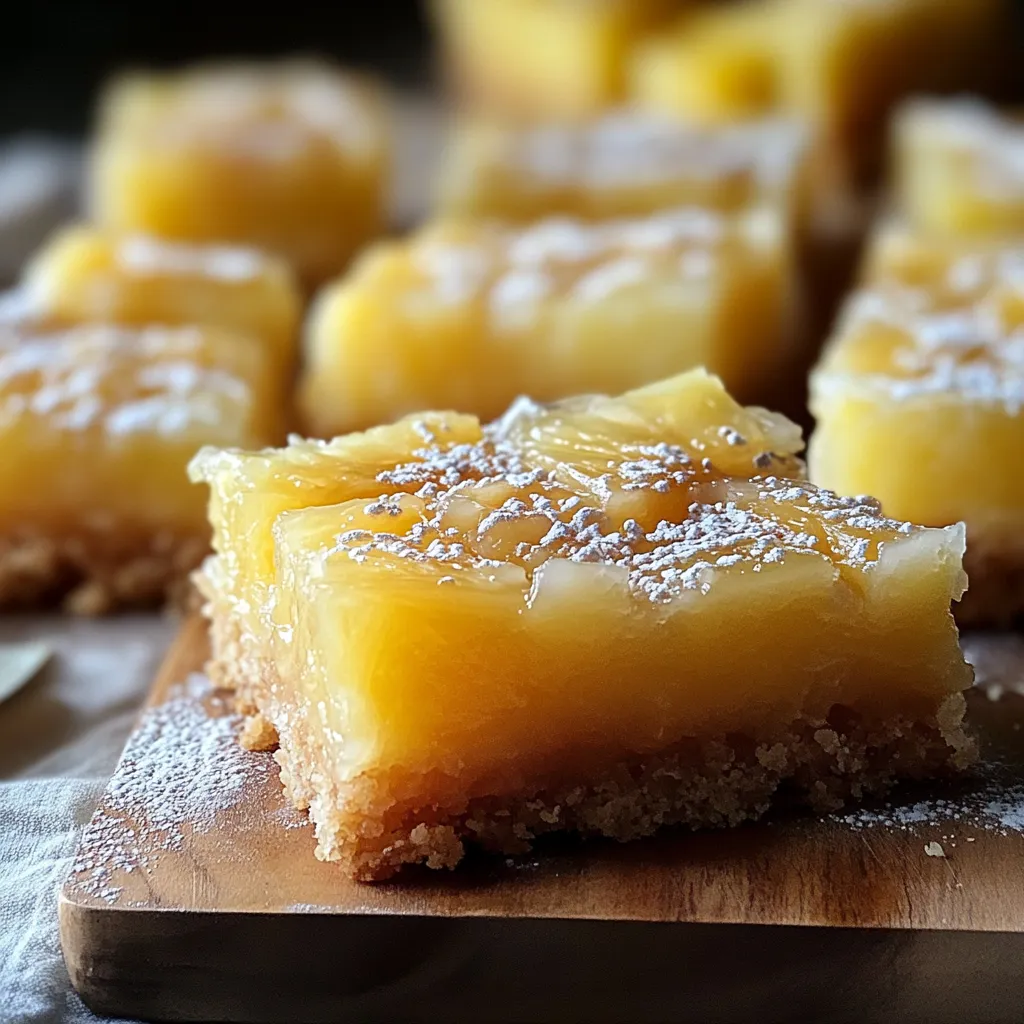
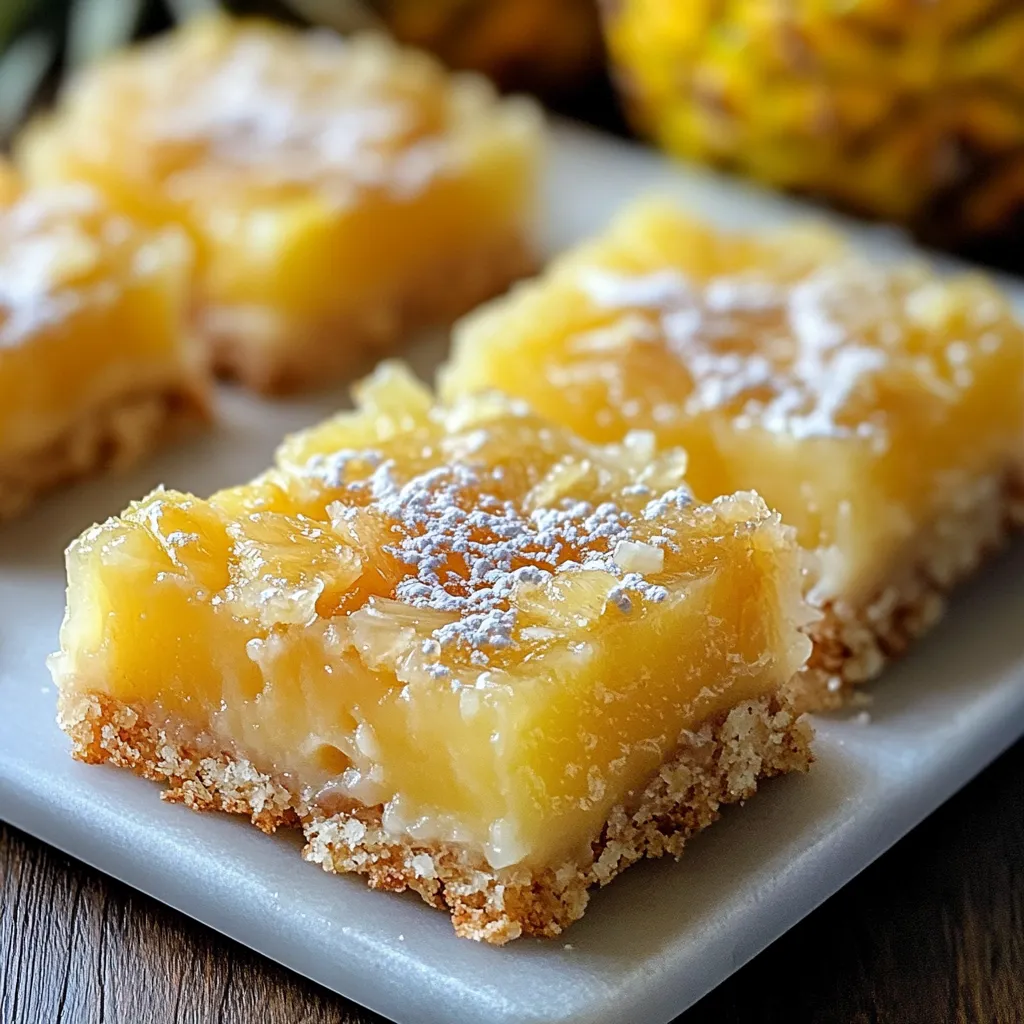
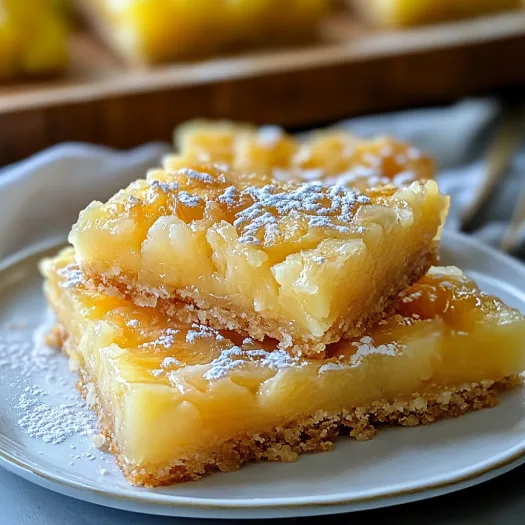
Pineapple bliss bars combine a buttery shortbread crust with a luscious tropical filling that delivers sunshine in every bite. These delightful treats feature a perfect textural contrast between the crisp, crumbly base and the soft, gooey pineapple layer. The natural sweetness of pineapple balances beautifully with the rich butter notes, creating a dessert that manages to be simultaneously indulgent and refreshing, perfect for brightening any day.
I first encountered these bars at my neighbor's summer garden party years ago. The unexpected combination of buttery shortbread and tropical pineapple immediately captured my attention. After begging for the recipe, I learned it had been passed down through three generations in her family. Over the years, I've made these bars countless times, experimenting with slight variations, but always coming back to this perfect version that balances sweet, tart, and rich notes in every slice.
Essential Ingredients
- 1 ½ cups all-purpose flour (for crust): Provides the structure for the shortbread base.
- ¾ cup cold unsalted butter: Ensures a flaky, crumbly crust.
- ½ cup granulated sugar (for crust): Sweetens the base without overpowering the butter flavor.
- ¼ teaspoon salt: Enhances all the flavors.
- 1 cup crushed pineapple: The star ingredient that gives the bars their tropical flavor.
- 2 large eggs: Provide structure and richness to the filling.
- 1 cup granulated sugar (for filling): Balances the acidity of pineapple.
- ¼ cup all-purpose flour (for filling): Thickens the filling while keeping it moist.
- ½ teaspoon baking powder: Gives the filling a slight lift.
- 1 teaspoon vanilla extract: Complements the tropical pineapple flavor.
Step-by-Step Instructions
- Prepare the Oven:
- Preheat your oven to 350°F and position a rack in the center.
- Line the Baking Pan:
- Line a 9×13-inch baking pan with parchment paper, leaving overhang on the long sides to make removal easier.
- Prepare the Crust Mixture:
- In a medium bowl, whisk together flour, sugar, and salt until evenly combined.
- Incorporate the Butter:
- Add cold cubed butter to the flour mixture. Use a pastry cutter, two forks, or your fingertips to blend until the mixture resembles coarse crumbs about the size of peas.
- Press the Crust:
- Transfer the crumbly mixture to the prepared pan and press it evenly into the bottom. Use a flat-bottomed cup to smooth it out.
- Par-Bake the Crust:
- Bake the crust for 15 minutes until the edges start to turn golden.
- Drain the Pineapple:
- Place crushed pineapple in a fine-mesh sieve and press with a spoon to remove excess juice. For drier pineapple, pat it with a clean kitchen towel.
- Prepare the Filling Base:
- In a large bowl, whisk together eggs and sugar until light and slightly thickened, about 1-2 minutes.
- Incorporate Dry Ingredients:
- Sprinkle in flour and baking powder, whisking until smooth. Stir in vanilla extract.
- Fold in Pineapple:
- Gently fold the drained crushed pineapple into the egg mixture.
- Assemble the Bars:
- Pour the pineapple mixture over the warm, par-baked shortbread crust and spread evenly.
- Bake Until Set:
- Return to the oven and bake for 25-30 minutes, or until the edges are golden brown and the center is just set.
- Cool Completely:
- Allow the bars to cool in the pan for at least 2 hours at room temperature.
- Dust with Powdered Sugar:
- Once cooled, lift the bars out using the parchment paper handles and dust with powdered sugar.
- Slice and Serve:
- Cut into squares using a sharp knife, wiping the blade clean between slices.
 Pin it
Serving Ideas
Transform these bars into an elegant plated dessert by serving them slightly warm with a scoop of vanilla bean ice cream and a drizzle of caramel sauce.
Create an impressive dessert platter for brunches by cutting the bars into smaller squares and serving them with fresh berries and shortbread cookies.
Pair with grilled pineapple spears and coconut whipped cream for a tropical-themed dessert.
Recipe Variations
For a coconut pineapple version, add ½ cup toasted coconut flakes to the filling and garnish with extra coconut.
Add 1 tablespoon lime zest to the filling and glaze the cooled bars with a lime juice and powdered sugar mixture.
For a richer dessert, top cooled bars with a layer of cream cheese frosting and decorate with dried pineapple flowers.
Storage Guidance
Store bars in an airtight container with parchment paper between layers for up to 5 days in the refrigerator.
Freeze individual portions by wrapping tightly in plastic wrap and placing in a freezer-safe container for up to 3 months.
Prepare bars up to 2 days before serving for optimal flavor development.
 Pin it
Pineapple bliss bars have become my signature dessert over the years, the one friends and family specifically request for gatherings. The buttery shortbread provides the perfect backdrop for the bright, sunshine flavor of pineapple. While I've tried countless variations, I always return to this classic version that balances sweet, tart, and rich elements. These bars prove that sometimes the most memorable desserts are the ones that focus on simple ingredients done perfectly.
Frequently Asked Questions
- → Can I use fresh pineapple instead of canned crushed pineapple?
- Yes, you can use fresh pineapple. Simply pulse chunks of fresh pineapple in a food processor until crushed, then drain extremely well to remove excess moisture before using.
- → Why is it important to drain the crushed pineapple well?
- Draining the pineapple thoroughly removes excess moisture that could make the filling too wet, preventing it from setting properly and resulting in soggy bars.
- → Can I freeze these pineapple bars?
- Yes, these bars freeze well for up to 3 months. Cut into squares, place in an airtight container with parchment paper between layers, and thaw overnight in the refrigerator before serving.
- → What can I add to enhance the tropical flavor?
- Try adding 1/2 cup shredded coconut to the filling, a teaspoon of lime zest, or top with toasted coconut flakes. You could also mix in a small amount of rum extract for an adult twist.
- → Why did my crust get too hard after baking?
- Overbaking the crust or overmixing the crust ingredients can lead to a tough result. Mix just until crumbly and watch the initial baking time carefully to ensure a tender, buttery base.
