
 Pin it
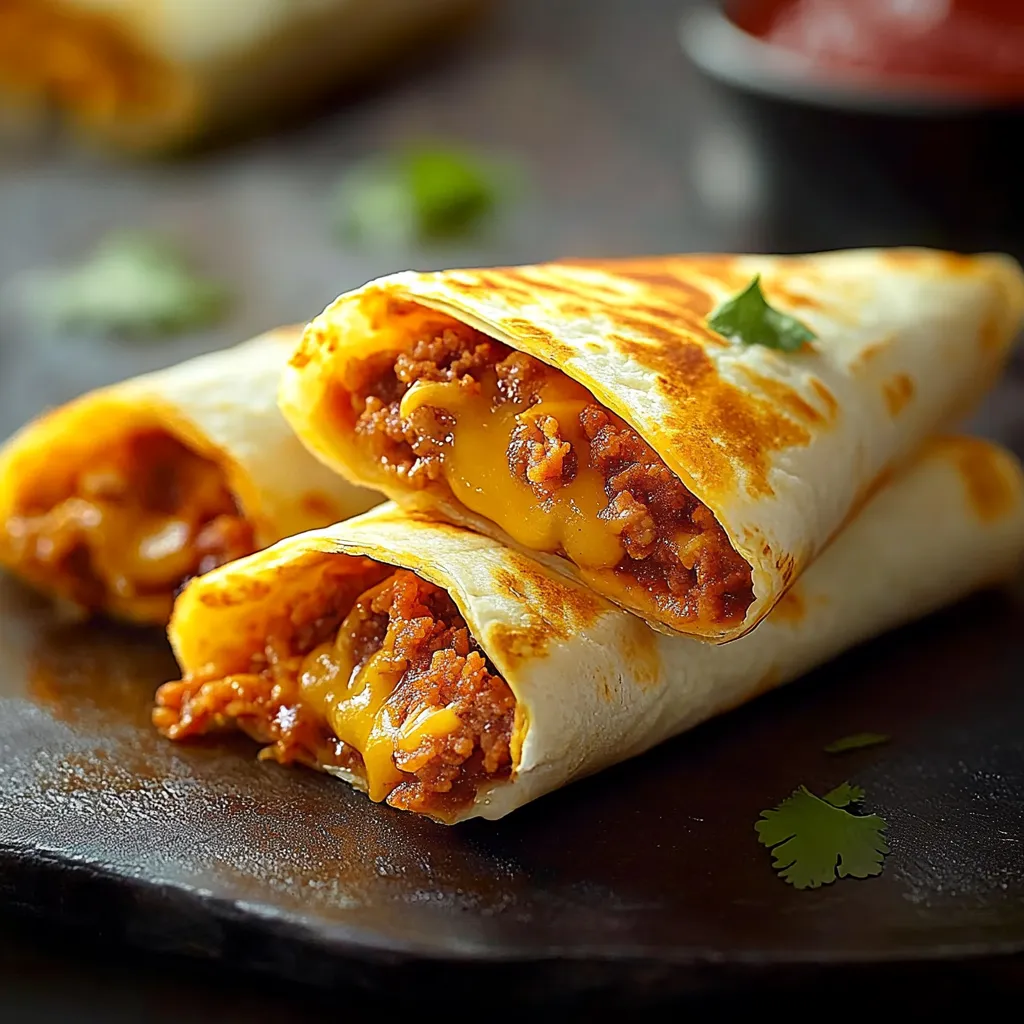
Transform ordinary tortillas into crispy, cheese-filled pockets bursting with seasoned beef and melted cheese. Each bite delivers the perfect combination of crispy exterior and creamy, savory filling, creating a handheld meal that's both satisfying and fun to eat.
Every time I make these for family taco night, they disappear faster than traditional tacos. My children now request these for their lunchboxes, claiming they're "way better than regular sandwiches."
Key Ingredient Selection
- Ground Beef: An 80/20 blend offers the perfect balance of flavor and moisture for a juicy filling.
- Cream Cheese: Full-fat cream cheese ensures a rich and creamy texture.
- Fresh Tortillas: Soft, pliable tortillas roll easily without tearing.
- Quality Cheese: Freshly shredded cheese melts evenly and enhances the dish's flavor.
- Premium Salsa: Thick salsa helps avoid sogginess while adding bold flavor.
- Pure Butter: Unsalted butter gives you better control over seasoning and adds richness.
Creating Pocket Excellence
- Filling Foundation:
- Brown beef until perfectly crumbled, draining excess fat thoroughly. Add taco seasoning and water, simmering until flavors meld completely.
- Cheese Integration:
- Beat cream cheese until smooth before incorporating shredded cheese. Fold in cooled beef mixture gradually, ensuring even distribution.
- Assembly Strategy:
- Position tortillas flat, spooning filling slightly off-center. Fold carefully, pressing edges firmly to seal. Brush the entire surface with melted butter.
- Temperature Control:
- Maintain a steady 375°F oven temperature throughout the baking process. Position the rack in the center for even browning.
- Final Touches:
- Watch carefully during the last few minutes, looking for golden-brown spots and slight puffing as indicators of doneness.
 Pin it
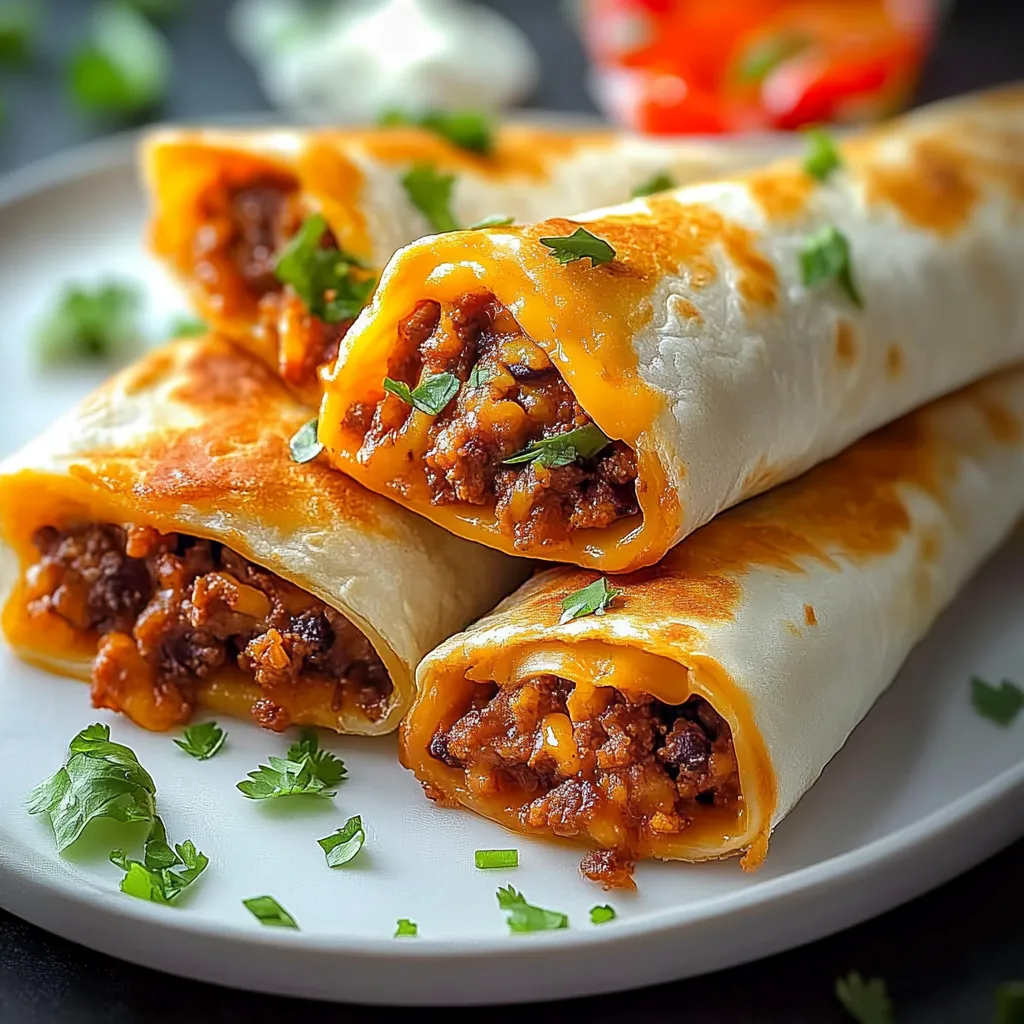
Through countless taco nights, I've discovered that allowing the beef to cool slightly prevents tortillas from becoming soggy. One memorable dinner party taught me that double-sealing the edges prevents filling explosions—now it's my standard practice.
Perfect Presentation Strategy
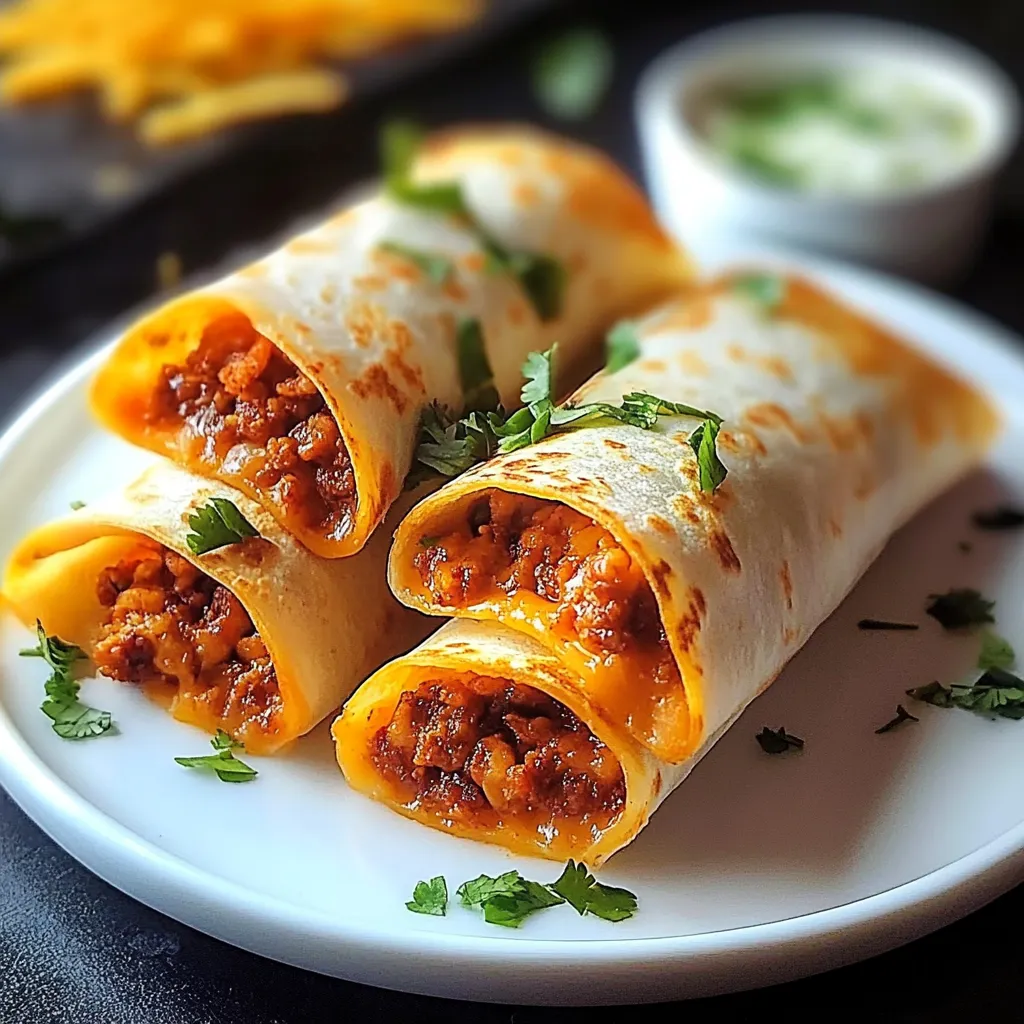
Arrange crispy pockets on a platter lined with shredded lettuce. Create a colorful display with various toppings in small bowls. Consider serving with both hot and mild salsas for variety.
Creative Variations
Transform the basic recipe by experimenting with different fillings—try chicken and green chilies or a bean and corn mixture. Create a breakfast version with scrambled eggs and bacon. For spice lovers, incorporate diced jalapeños and pepper jack cheese.
Storage Success
Store assembled but unbaked pockets covered in the refrigerator for up to 24 hours. Once baked, keep at room temperature for up to 2 hours. Reheat in a 350°F oven to restore crispiness.
 Pin it
After perfecting these pockets through countless family meals, they've become more than just a recipe—they're our go-to solution for busy nights and casual entertaining. The way they combine familiar taco flavors in a convenient form makes them perfect for any occasion. Whether packed for lunch or served at a party, these pockets prove that reimagining classic dishes can create new family favorites.
Frequently Asked Questions
- → Can I make these tacos ahead of time?
- You can prepare the filling ahead of time, but assemble and bake just before serving to maintain crispiness.
- → What type of tortillas work best?
- Soft flour tortillas work best as they crisp up nicely in the oven and hold the filling well without breaking.
- → Can I use a different type of meat?
- Yes, you can substitute the ground beef with ground turkey, chicken, or even shredded cooked chicken.
- → Why brush with butter?
- Brushing with butter helps the tortillas crisp up in the oven and adds a rich, golden color and flavor.
- → How do I keep the filling from leaking?
- Don't overfill the tacos and make sure to seal the edges well. Let the filling cool slightly so it's not too runny.