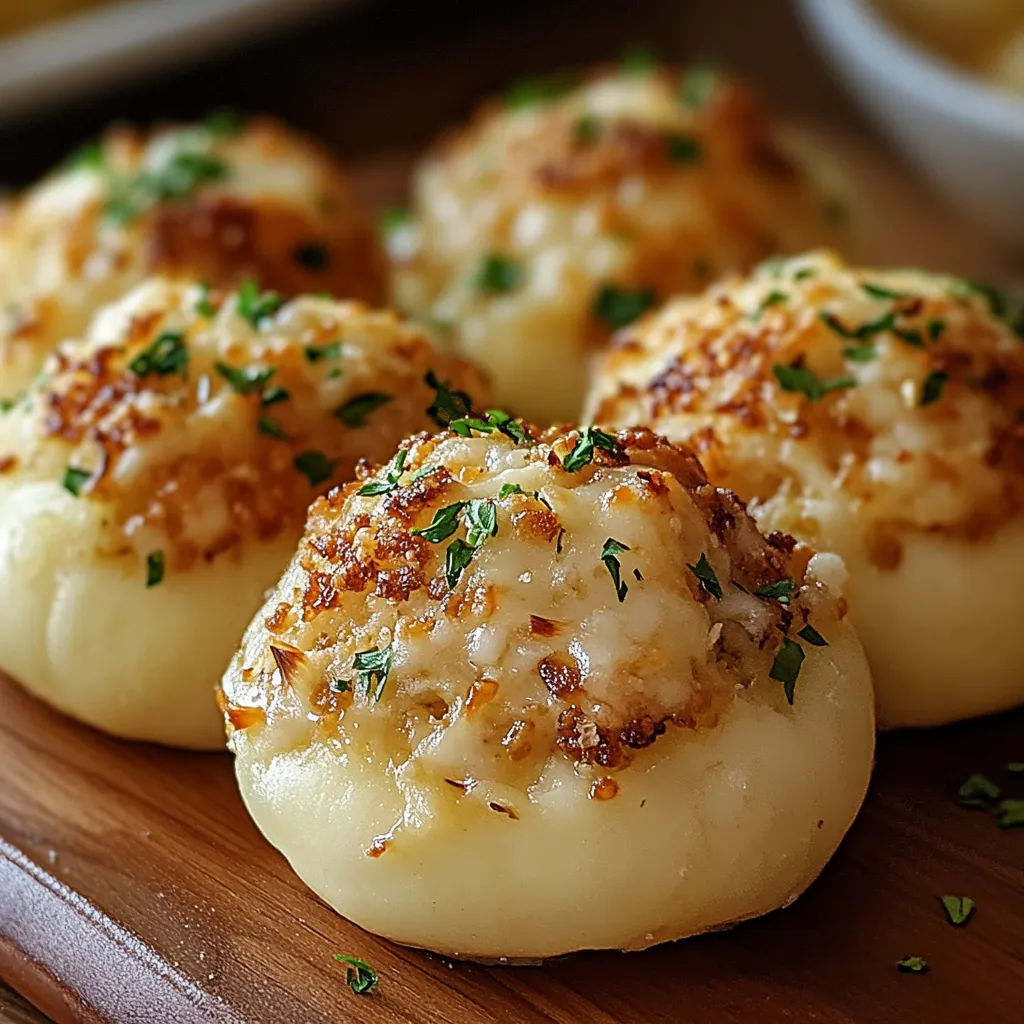
Cheesy Beef Bombs

Featured in: Crowd-Pleasing Party Starters

Cheesy Beef Bombs transform simple ingredients into an irresistible appetizer that's perfect for game days, parties, or family snacking. These savory bites feature a flavor-packed filling of seasoned ground beef with garlic, combined with gooey cheddar and rich Parmesan cheese. What makes these bombs special is how the filling gets wrapped in flaky biscuit dough that puffs and turns golden brown during baking, creating a perfect contrast of textures. The convenience factor is another highlight - using pre-made biscuit dough means these impressive-looking appetizers come together in minutes with minimal effort. Brushed with melted butter and optionally sprinkled with fresh parsley before baking, these versatile bombs deliver maximum flavor while being easy to customize with different cheeses or add-ins like bacon or jalapeños to suit your taste preferences.
marry from tastelikemagic.com
Updated on Tue, 11 Mar 2025 02:00:14 GMT
A plate of food with a variety of different foods on it. Pin it
A plate of food with a variety of different foods on it. | tastelikemagic.com

These Cheesy Garlic Bliss Bombs are the ultimate snack, appetizer, or party favorite! With a crispy, buttery biscuit exterior and a gooey, cheesy, garlic-infused beef filling, they’re quick, easy, and irresistibly delicious. Whether it’s for game night, a party, or just a fun dinner idea, these will be gone in minutes!

Ingredients

  • 1 lb Ground Beef: Serves as a savory and rich protein base.
  • 2 Cloves Garlic, Minced: Adds aromatic depth and enhances flavor.
  • ½ Cup Parmesan Cheese, Diced: Contributes a salty, umami-rich bite.
  • 1 Cup Cheddar Cheese, Cubed: Melts into a gooey, cheesy center.
  • 1 Can (16.3 oz) Biscuit Dough: Provides a ready-to-use, flaky exterior for easy preparation.
  • 2 tbsp Butter, Melted: Adds a rich, golden finish to the biscuits.
  • 1 tbsp Parsley, Chopped: An optional garnish that brings a fresh, vibrant touch.

Step-by-Step Instructions

Prepare the Beef Filling:
Heat a skillet over medium heat and cook the ground beef until browned. Drain any excess grease. Add minced garlic and sauté for 1-2 minutes until fragrant. Remove from heat and let cool slightly.
Assemble the Bliss Bombs:
Flatten each biscuit dough piece into a 4-inch circle. Place a small spoonful of beef mixture in the center. Add 1 cube of cheddar cheese and diced Parmesan on top. Fold the dough around the filling, pinching tightly to seal. Roll gently into a ball and repeat for all bombs.
Bake to Perfection:
Preheat oven to 375°F (190°C). Line a baking sheet with parchment paper and place bombs seam-side down. Brush with melted butter and sprinkle parsley for extra flavor. Bake for 15-18 minutes until golden brown and puffed.
Serve & Enjoy:
Let cool slightly before serving. Try dipping in marinara sauce, garlic butter, ranch dressing, or BBQ sauce for extra flavor!
A plate of food with cheese and herbs on top. Pin it
A plate of food with cheese and herbs on top. | tastelikemagic.com

Serving & Storage Tips

Store leftovers in an airtight container in the fridge for up to 3 days. To maintain crispiness, reheat in a 350°F (175°C) oven for 5-7 minutes or air fry for 3-4 minutes.

Creative Variations

Spicy Kick – Add jalapeños or red pepper flakes for some heat. Different Cheeses – Swap cheddar for mozzarella, gouda, or pepper jack. Pizza Bombs – Use pepperoni + mozzarella instead of beef. Vegetarian Option – Swap beef for sautéed mushrooms & spinach with feta.

Final Thoughts

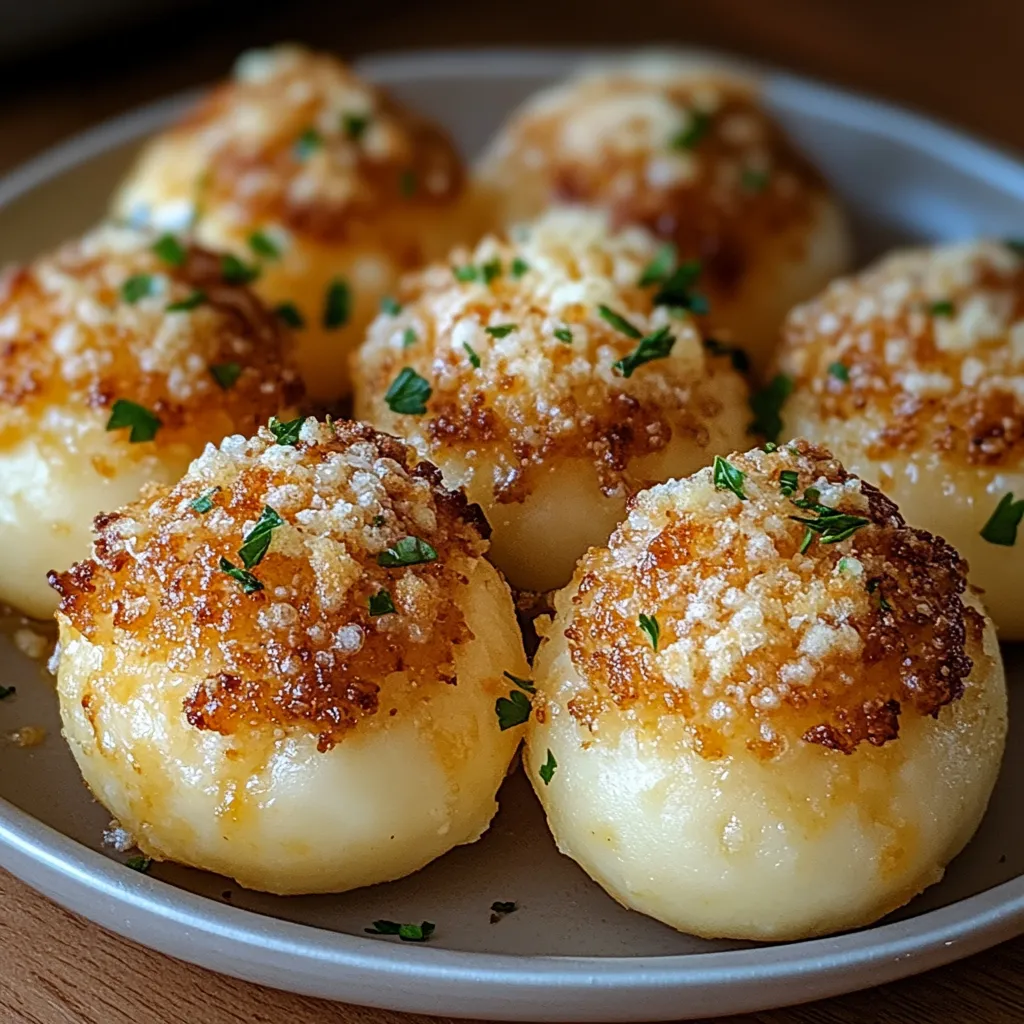
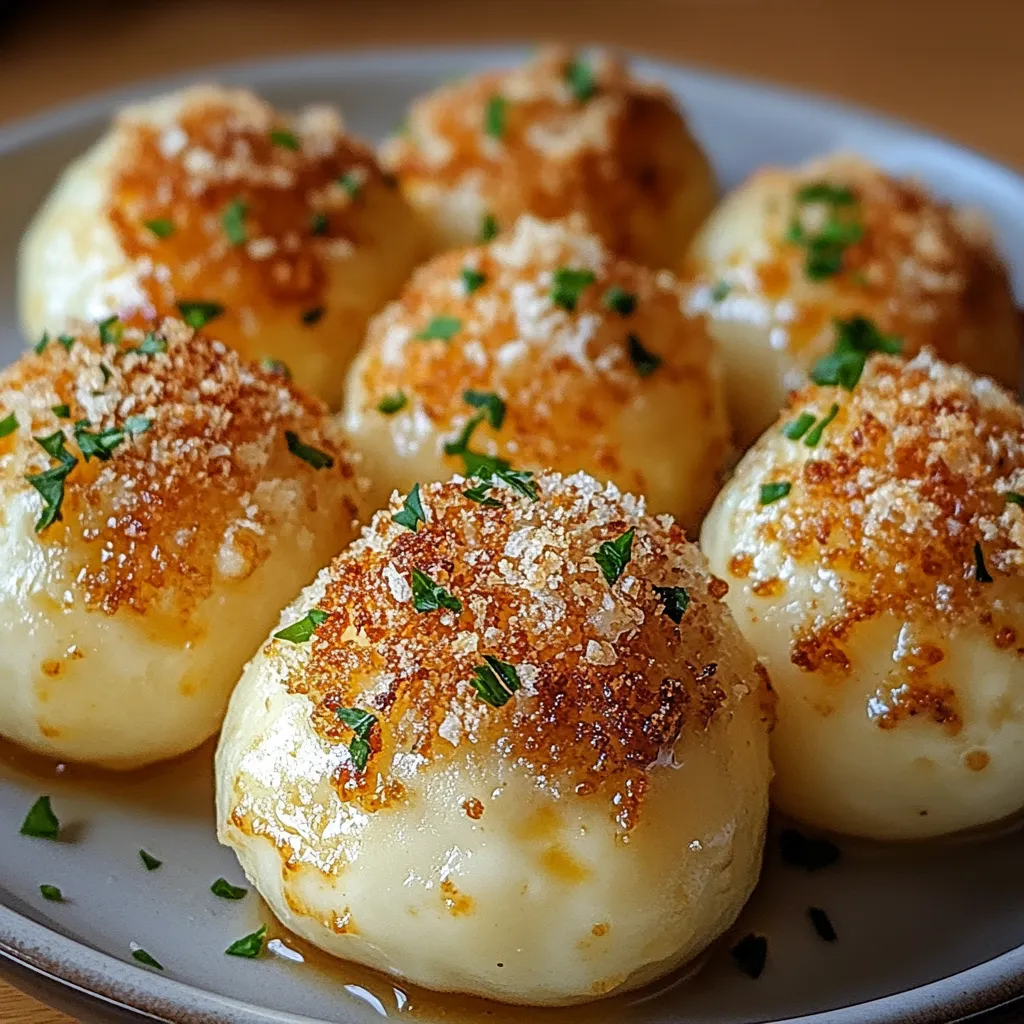
Golden, crispy, and buttery on the outside, ooey, gooey, cheesy & garlicky inside—these bliss bombs are an instant hit! Perfect for game nights, parties, and quick snacks.
A plate of food with a variety of different foods on it. Pin it
A plate of food with a variety of different foods on it. | tastelikemagic.com

Frequently Asked Questions

→ Can I make these Cheesy Beef Bombs ahead of time?
Yes, you can prepare them up to 24 hours in advance and refrigerate unbaked. You can also freeze them for up to 3 months. Bake directly from frozen, adding about 5-7 extra minutes to the baking time.
→ What can I serve with these Cheesy Beef Bombs?
These bombs pair well with marinara sauce, ranch dressing, or garlic butter for dipping. A simple green salad makes a great side to balance the richness.
→ Can I use homemade biscuit dough instead of canned?
Absolutely! Homemade biscuit dough works perfectly. Just be sure it's not too sticky and can be easily shaped around the filling.
→ How do I know when the Cheesy Beef Bombs are done baking?
They should be golden brown on the outside and the dough should be completely cooked through. If you're unsure, you can check that the internal temperature has reached 165°F (74°C).
→ Can I make these with ground turkey or chicken instead of beef?
Yes, ground turkey or chicken works well as a substitute. Just make sure to cook it thoroughly and consider adding extra seasonings as these meats can be milder in flavor than beef.

Cheesy Beef Bombs

These Cheesy Beef Bombs combine seasoned ground beef and two types of cheese wrapped in flaky biscuit dough for an irresistible appetizer that's ready in minutes.

Prep Time
15 Minutes
Cook Time
18 Minutes
Total Time
33 Minutes
By: Marry


Difficulty: Easy

Cuisine: American

Yield: 8 Servings (8 cheesy beef bombs)

Dietary: ~

Ingredients

→ For the Filling

01 1 lb ground beef
02 2 cloves garlic, minced
03 ½ cup Parmesan cheese, diced
04 1 cup cheddar cheese, cubed

→ For the Dough

05 1 can (16.3 oz) refrigerated biscuit dough (like Pillsbury Grands)

→ For Topping

06 2 tablespoons butter, melted
07 1 tablespoon fresh parsley, chopped (optional for garnish)

Instructions

Step 01

Heat a skillet over medium heat and add the ground beef, breaking it up with a wooden spoon as it cooks. Let it brown for about 5-7 minutes until no pink remains. Drain off the excess grease to keep your bombs from getting soggy. Add the minced garlic to the meat and cook for another 1-2 minutes until it becomes fragrant. Take the pan off the heat and set aside to cool slightly - you don't want the hot filling to start cooking your dough prematurely!

Step 02

While the meat cools a bit, prep your cheeses if you haven't already. Make sure your cheddar is cut into roughly ½-inch cubes - this ensures you'll get that perfect gooey cheese pull when you bite in! Open your can of biscuit dough and separate the individual biscuits. Working with one biscuit at a time, use your fingers to gently flatten and stretch each piece into a roughly 4-inch circle. Don't worry about making them perfect - just make sure they're large enough to wrap around your filling.

Step 03

Place a heaping tablespoon of the beef mixture in the center of each flattened biscuit. Top with a cube of cheddar cheese and a sprinkle of the diced Parmesan. Now for the important part - carefully fold the edges of the dough up and over the filling, pinching firmly to seal. Make sure there are no openings where cheese could escape during baking! Once sealed, gently roll between your palms to form a smooth ball. Place each bomb seam-side down on a parchment-lined baking sheet.

Step 04

Preheat your oven to 375°F (190°C). Once all your bombs are assembled and placed on the baking sheet, brush each one generously with melted butter. This gives them that beautiful golden color and adds flavor to the dough. If using, sprinkle with chopped fresh parsley for a pop of color. Slide the baking sheet into your preheated oven and bake for 15-18 minutes, or until the bombs are puffed up and golden brown all around.

Step 05

Allow the cheesy beef bombs to cool for just 3-5 minutes after coming out of the oven - the filling will be molten hot! Transfer to a serving plate and enjoy while they're still warm and the cheese is perfectly melty. Watch faces light up as everyone bites into these little balls of flavor-packed goodness!

Notes

  1. These cheesy beef bombs are the perfect game day appetizer or fun weeknight dinner option that both kids and adults will love.
  2. Feel free to customize with additional mix-ins like cooked bacon bits, diced jalapeños, or swap the cheddar for mozzarella or pepper jack cheese.
  3. You can prepare these ahead of time and freeze them unbaked. When ready to cook, simply bake from frozen, adding about 5-7 extra minutes to the baking time.

Tools You'll Need

  • Skillet
  • Baking sheet
  • Parchment paper
  • Pastry brush

Allergy Information

Please check ingredients for potential allergens and consult a health professional if in doubt.
  • Contains dairy (cheese, butter)
  • Contains wheat/gluten (biscuit dough)

Nutrition Facts (Per Serving)

It is important to consider this information as approximate and not to use it as definitive health advice.
  • Calories: 320
  • Total Fat: 22 g
  • Total Carbohydrate: 18 g
  • Protein: 15 g