
 Pin it
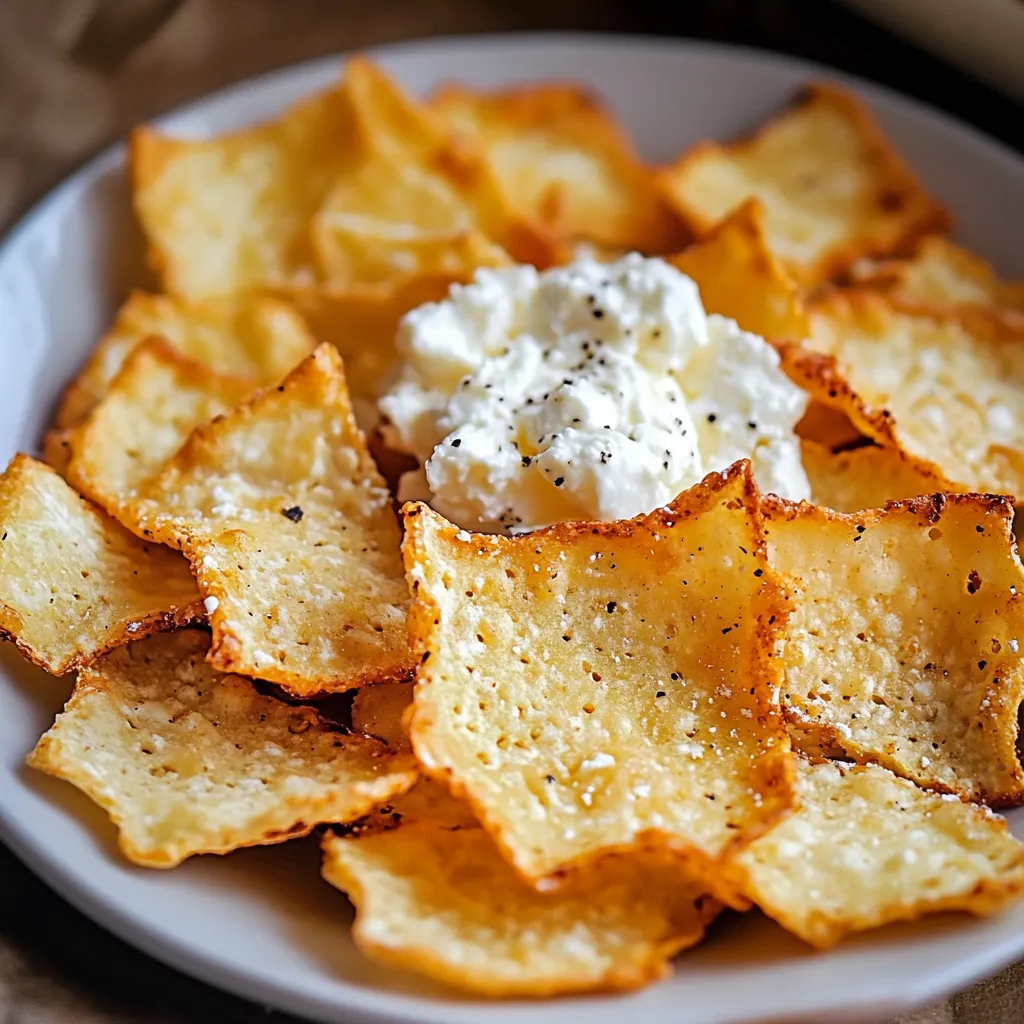
Imagine biting into a perfectly crispy chip that not only satisfies your snack cravings but also nourishes your body. These Cottage Cheese Chips have revolutionized my snack game, transforming humble cottage cheese into golden, crispy rounds that deliver an incredible crunch with every bite. As someone who's always hunting for healthy alternatives to traditional chips, this discovery has been a game-changer in my kitchen.
After discovering this recipe, I've made these chips weekly for my family's movie nights. My teenagers, who usually turn their noses up at cottage cheese, now request these regularly - they can't believe they're made from what they once considered 'boring' cottage cheese!
Your Essential Ingredients Guide
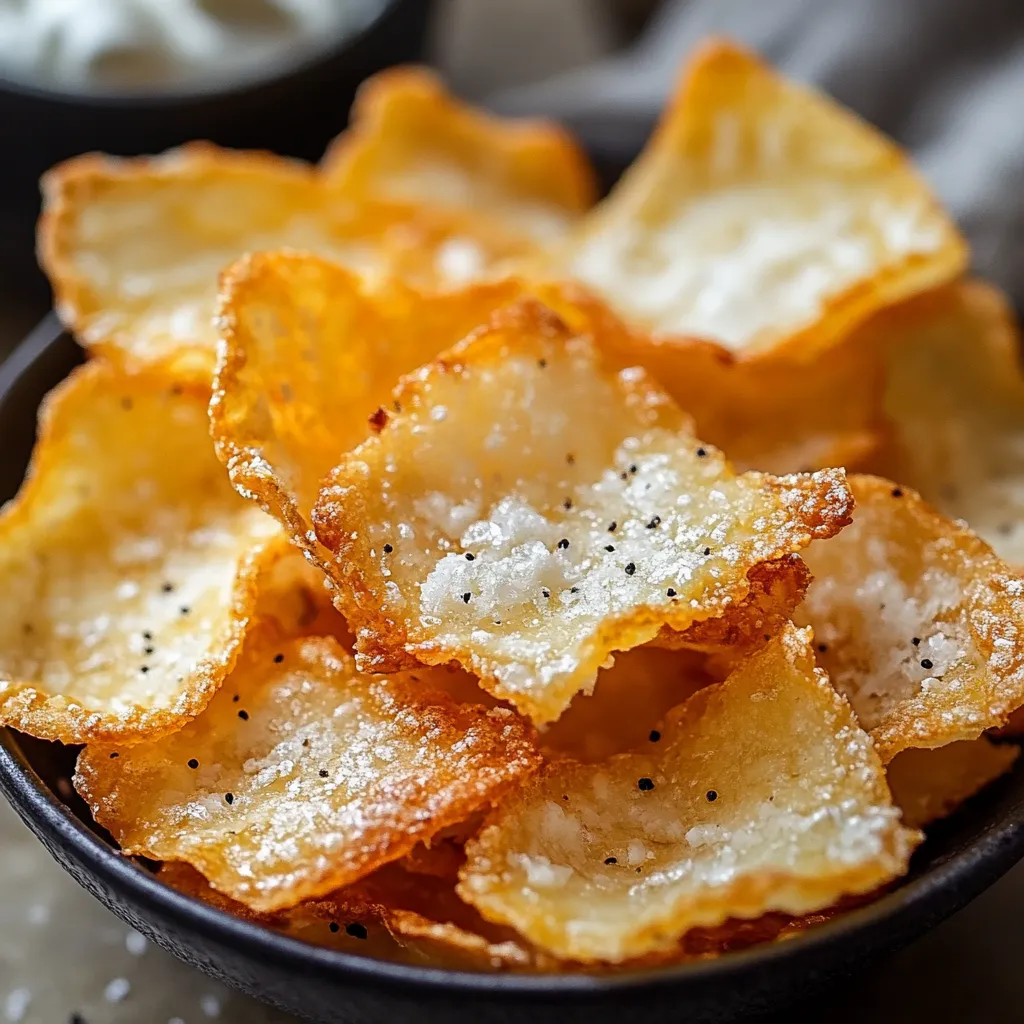
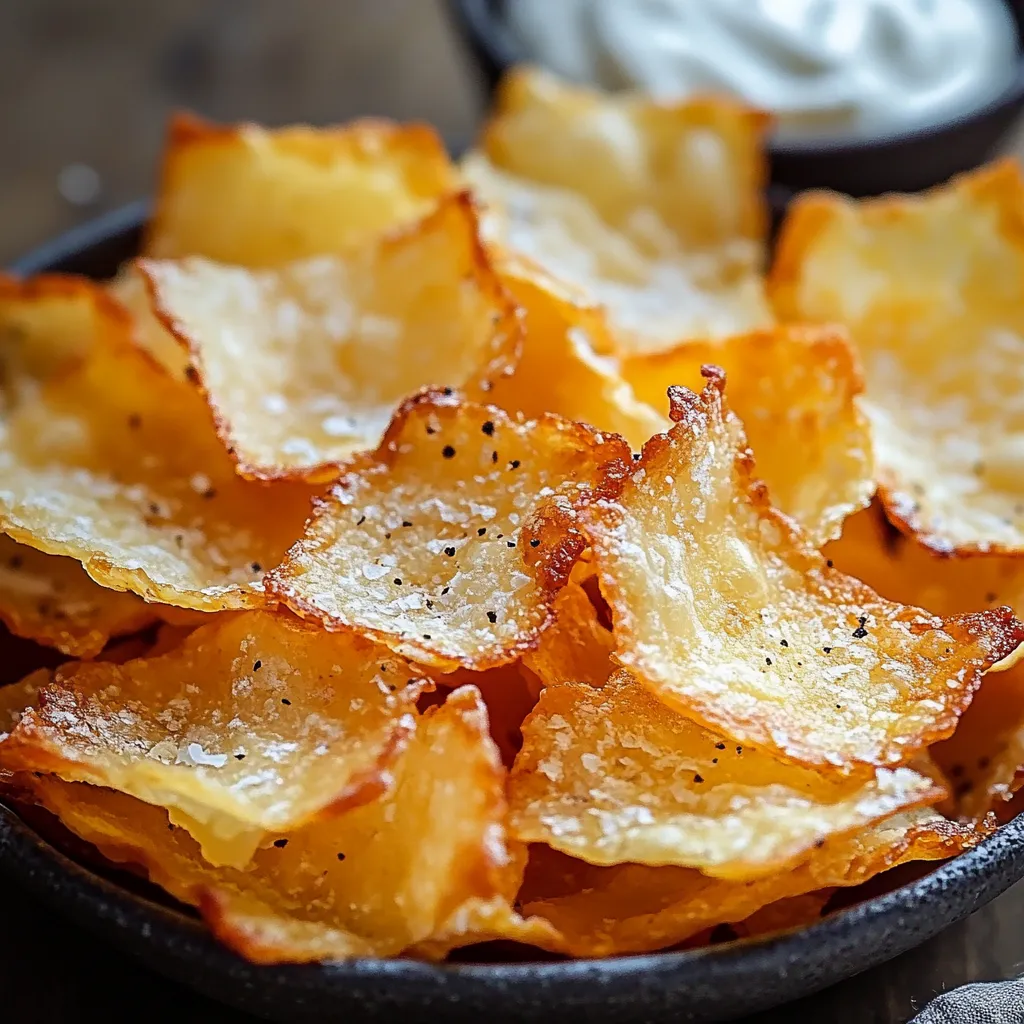
- Full-fat cottage cheese (16 oz): Choose small or large curd - both work beautifully. Full-fat varieties create the crispiest results
- Parchment paper: A non-negotiable for achieving that perfect crisp without sticking
- Cooking spray: Use a light coating to enhance browning
- Optional seasonings: From classic salt and pepper to everything bagel seasoning, the possibilities are endless
Detailed Step-by-Step Instructions
- Step 1: Prep your cottage cheese:
- Place a fine-mesh strainer over a bowl and line it with cheesecloth. Add cottage cheese and let it drain for at least 30 minutes, gently pressing to release moisture. The drier your cottage cheese, the crispier your chips will be.
- Step 2: Prepare for baking:
- Position your oven rack in the middle and preheat to 350°F (175°C). Line your baking sheet with parchment paper. Lightly spray the paper with cooking oil - don't skip this step!
- Step 3: Create your perfect chips:
- Drop small teaspoon-sized amounts of drained cottage cheese onto the prepared baking sheet. Using the back of a spoon, gently spread each dollop into thin circles about 2 inches wide. Leave space between each circle as they may spread slightly during baking. For consistent results, try to make them all the same thickness.
- Step 4: Master the baking process:
- Place the baking sheet in the preheated oven. Watch carefully after the 15-minute mark - they can go from perfect to burnt quickly. Look for a golden brown color around the edges. The centers should be set and starting to brown.
 Pin it
Perfecting Your Technique
Getting that ideal crunch takes practice, but once you nail the technique, you'll be making these chips like a pro. The key lies in achieving the right thickness - too thick and they'll stay soft in the middle, too thin and they'll burn before crisping properly.
Creating Your Signature Flavors
- Italian herbs with a touch of garlic powder
- Smoky paprika and black pepper
- Everything bagel seasoning sprinkled before baking
- Ranch seasoning mix for a classic snack flavor
My family's weekend movie nights have been transformed since discovering these chips. My daughter, who's training for track, loves having a protein-rich snack that satisfies her chip cravings without derailing her nutrition goals.
 Pin it
The journey to perfecting these cottage cheese chips has been a delightful experiment in my kitchen. What started as a curious attempt to create a healthier snack has become a household staple. Every time I make them, I'm amazed at how something so simple can be so satisfying.
Frequently Asked Questions
- → Which method makes crispier chips?
- The oven method typically produces crispier, more evenly cooked chips, though it takes longer than the microwave method.
- → How thin should I spread the cottage cheese?
- Aim for about 1/8 inch thickness - thin enough to crisp properly but not so thin they burn easily.
- → Can I add seasonings?
- Yes, add herbs, spices, or seasoning blends before cooking for extra flavor.
- → How do I know when they're done?
- They should be golden brown and look dry around the edges - they'll crisp up more as they cool.
- → How long do they stay crispy?
- Best eaten same day, but can be stored in an airtight container for 1-2 days.