
 Pin it
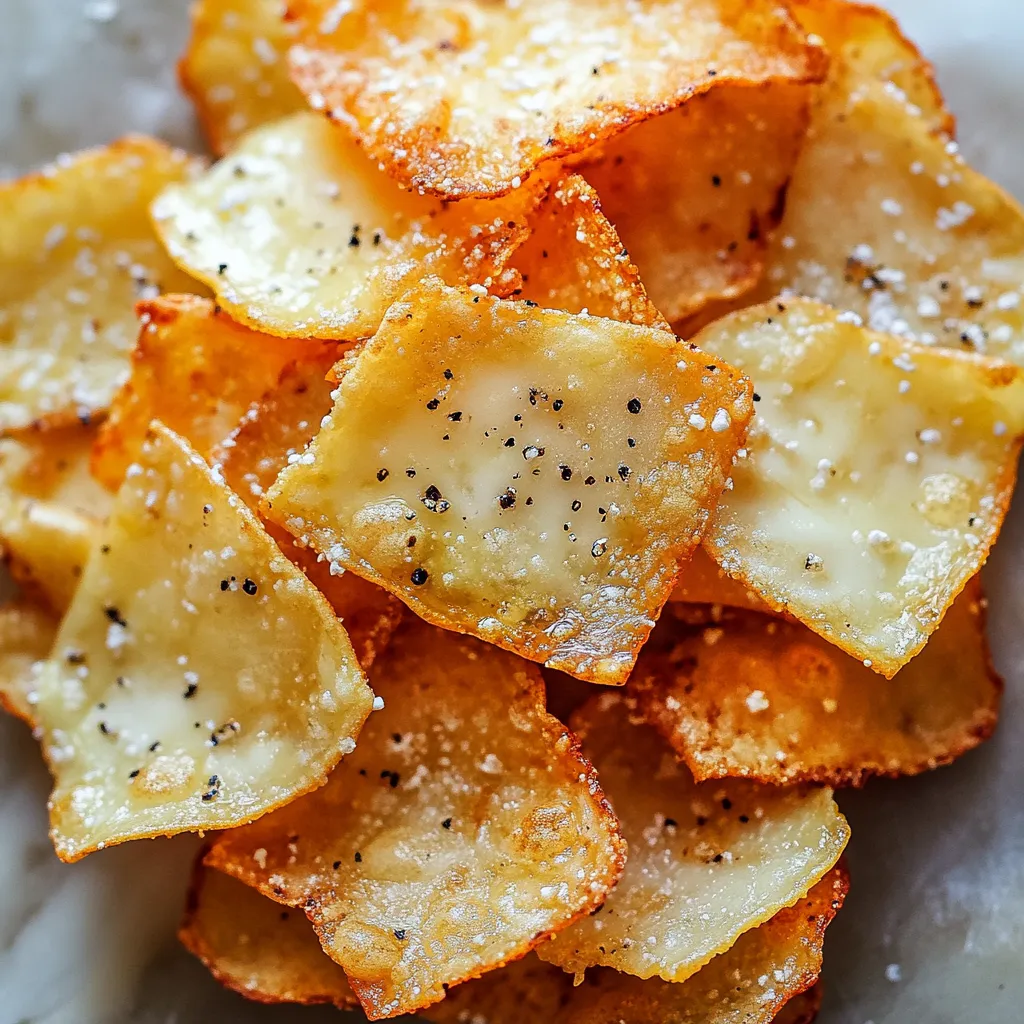
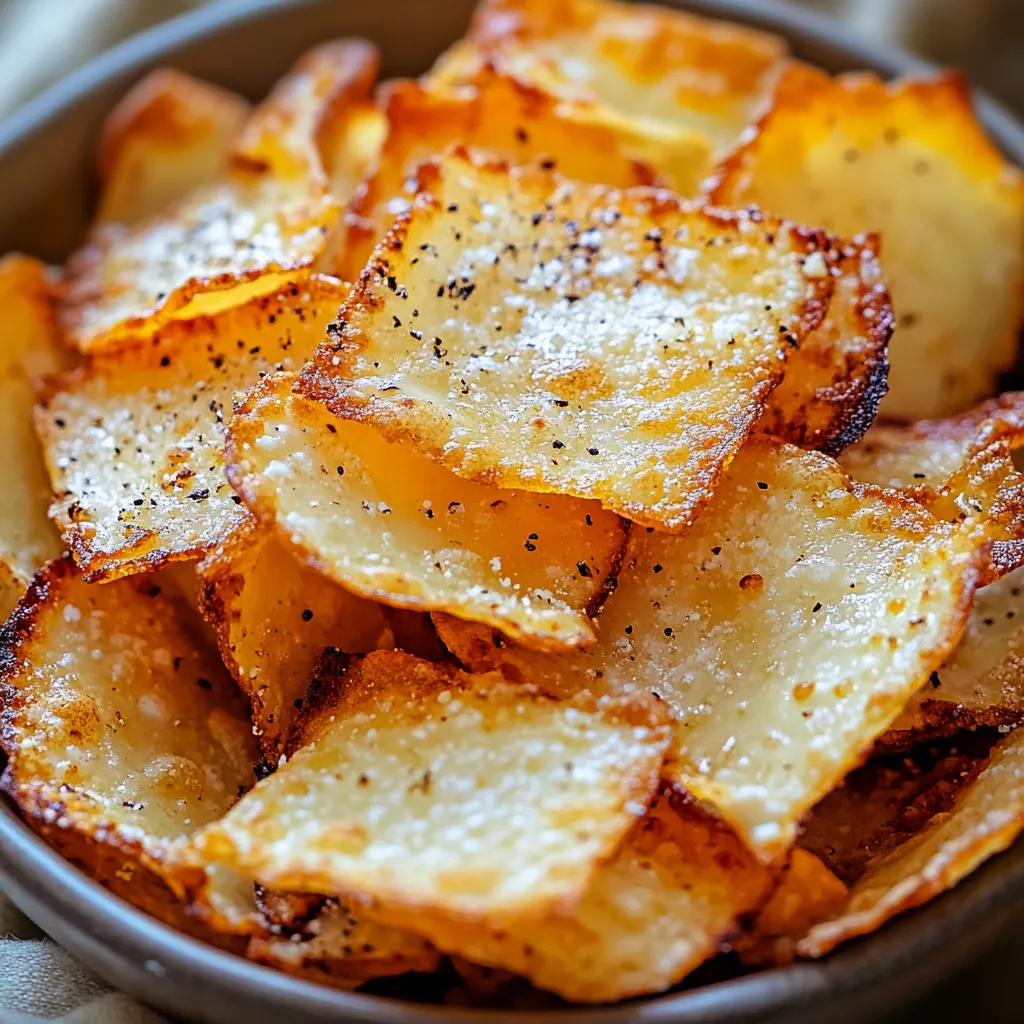
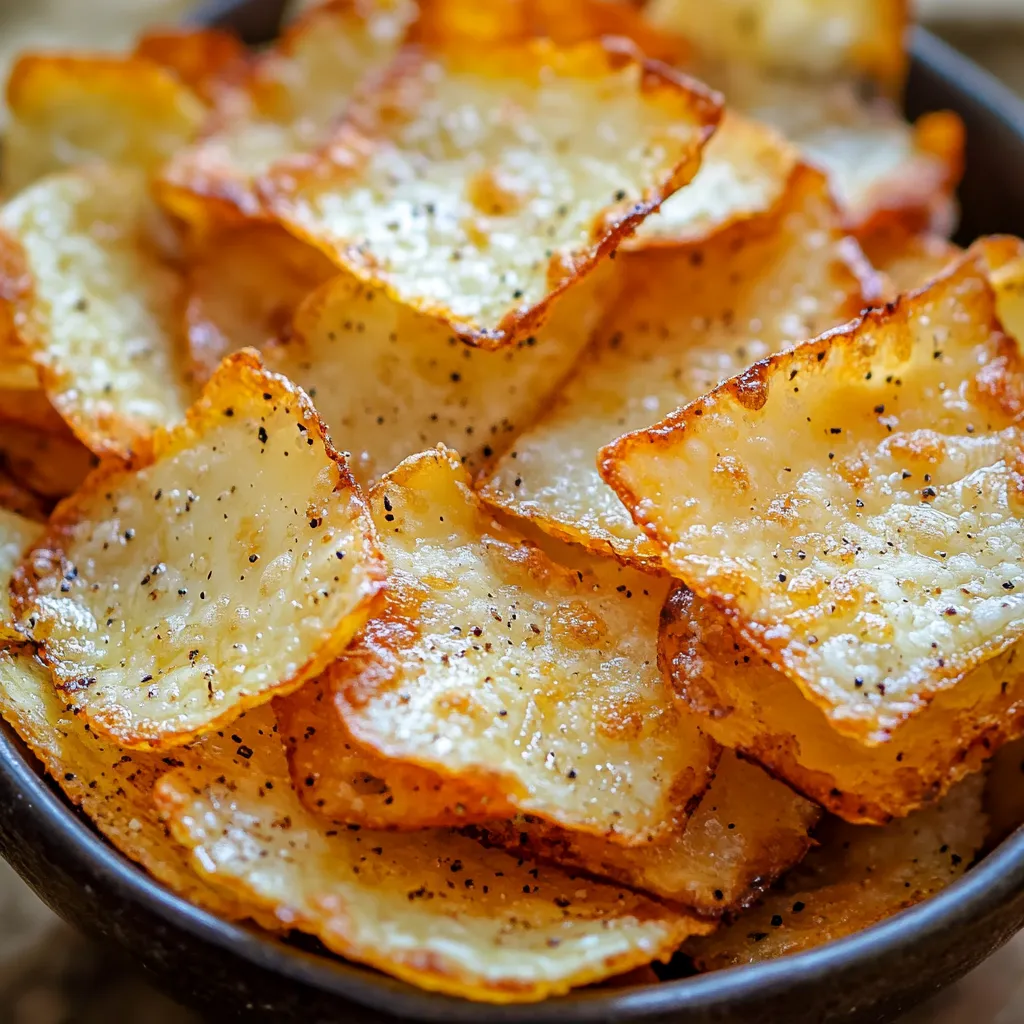
Transform simple cottage cheese into crispy, golden chips that satisfy snack cravings while supporting healthy eating goals. Each bite delivers satisfying crunch with a protein boost, creating a versatile snack that works for any dietary preference.
After discovering this recipe during my low-carb journey, it's become my go-to snack solution. My family now requests these chips instead of traditional varieties, appreciating both the flavor and nutritional benefits.
Selecting the Best Ingredients
- Cottage Cheese: Full-fat cottage cheese creates a rich, creamy texture with the best consistency.
- Parchment Paper: Prevents sticking and allows for easy removal without breaking or tearing.
- Seasonings: Fresh herbs and high-quality spices enhance depth and bring out natural flavors.
- Quality Oil: A light spray of oil promotes even browning and prevents dryness.
- Fine Salt: A premium, finely ground salt ensures balanced seasoning and enhances the final taste.
- Fresh Herbs: Used as an optional garnish, they add color and a touch of freshness.
Creating Chip Excellence
- Cheese Preparation:
- Begin by thoroughly draining cottage cheese through fine-mesh strainer or cheesecloth. Press gently to remove maximum moisture without destroying curds.
- Surface Development:
- Create perfectly sized portions using measured spoonfuls. Spread each portion into thin circle using back of spoon, ensuring uniform thickness.
- Temperature Control:
- Maintain steady 350°F oven temperature throughout baking. Position rack in center for even browning.
- Timing Strategy:
- Watch carefully during final minutes, looking for golden edges and slight browning as indicators of doneness.
- Cooling Process:
- Allow chips to cool completely on baking sheet, developing maximum crispiness through natural temperature reduction.
 Pin it
Through countless batches, I've discovered that thorough draining is the key to perfect crispiness. One memorable experiment taught me that slightly thinner edges create better browning—now it's my standard technique.
Perfect Presentation Strategy
Arrange golden chips on slate or wooden board, creating visual interest with varying sizes. Provide small bowls of different dips for variety. Garnish with fresh herbs or microgreens.
Creative Variations
Transform basic recipe by experimenting with different seasonings—try Italian herbs for Mediterranean flavor or chili powder for heat. Create ranch version with dried herbs and garlic. For special occasions, incorporate finely grated Parmesan before baking.
Storage Success
Store cooled chips in airtight container with moisture-absorbing packet. Layer between parchment paper to prevent sticking. Reheat briefly in warm oven to restore crispiness if needed.
 Pin it
After perfecting these chips through countless snack sessions, they've become more than just a recipe—they're our healthy snacking solution. The way they combine protein-rich ingredients with satisfying crunch creates something truly special. Whether served at casual gatherings or packed for lunch, these chips prove that healthy snacking can be both delicious and satisfying.
Frequently Asked Questions
- → Why do I need to drain the cottage cheese?
- Draining removes excess moisture, which is crucial for achieving crispy results. Too much moisture will prevent the crisps from crisping properly.
- → Can I add seasonings to these crisps?
- Yes, you can add herbs, spices, or seasonings like garlic powder, Italian seasoning, or black pepper before baking or microwaving.
- → How should I store these crisps?
- Store in an airtight container at room temperature for up to 3 days. If they become soft, you can recrisp them briefly in the oven.
- → Which method is better - oven or microwave?
- The oven method provides more even cooking and better control, while the microwave method is quicker. Choose based on your time and texture preferences.
- → Can I use low-fat cottage cheese?
- Full-fat cottage cheese works best for crispy results, but low-fat can be used. They may take longer to crisp and be slightly less crispy.