 Pin it
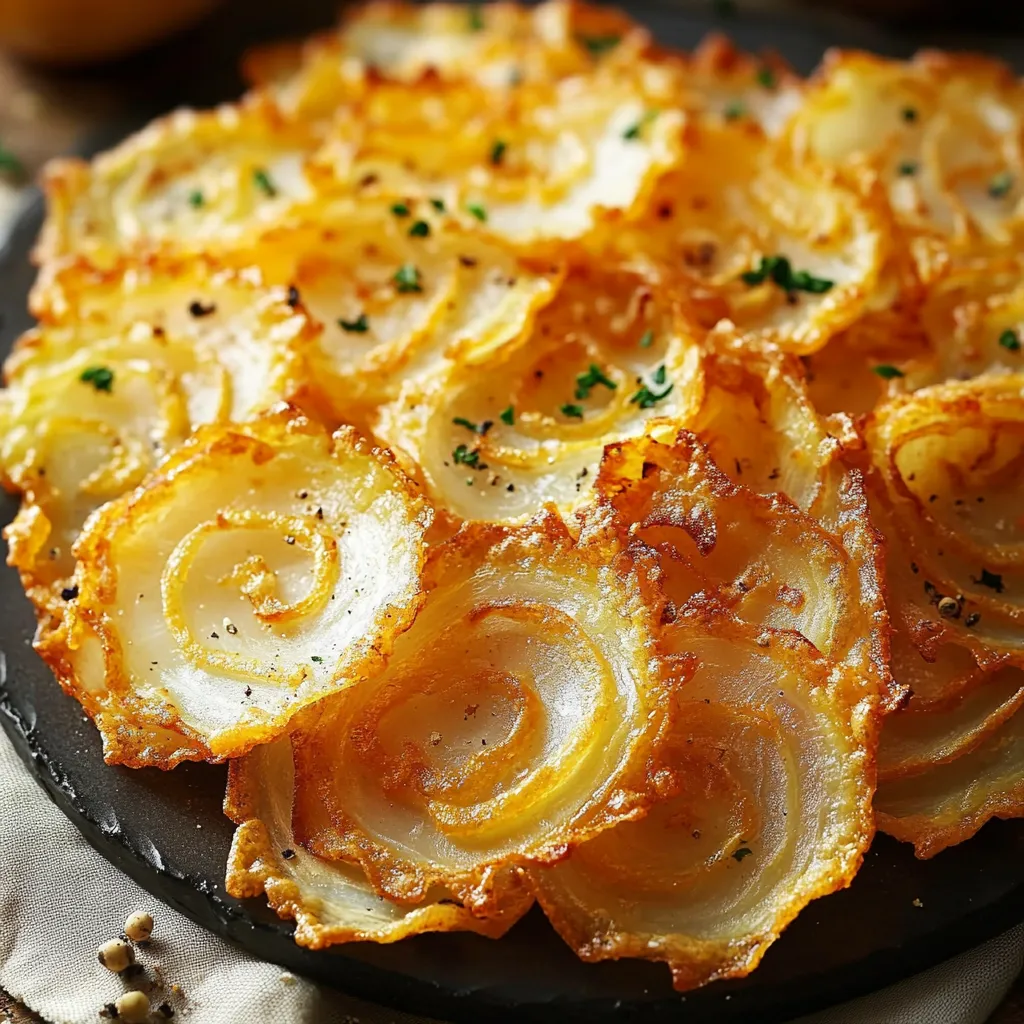
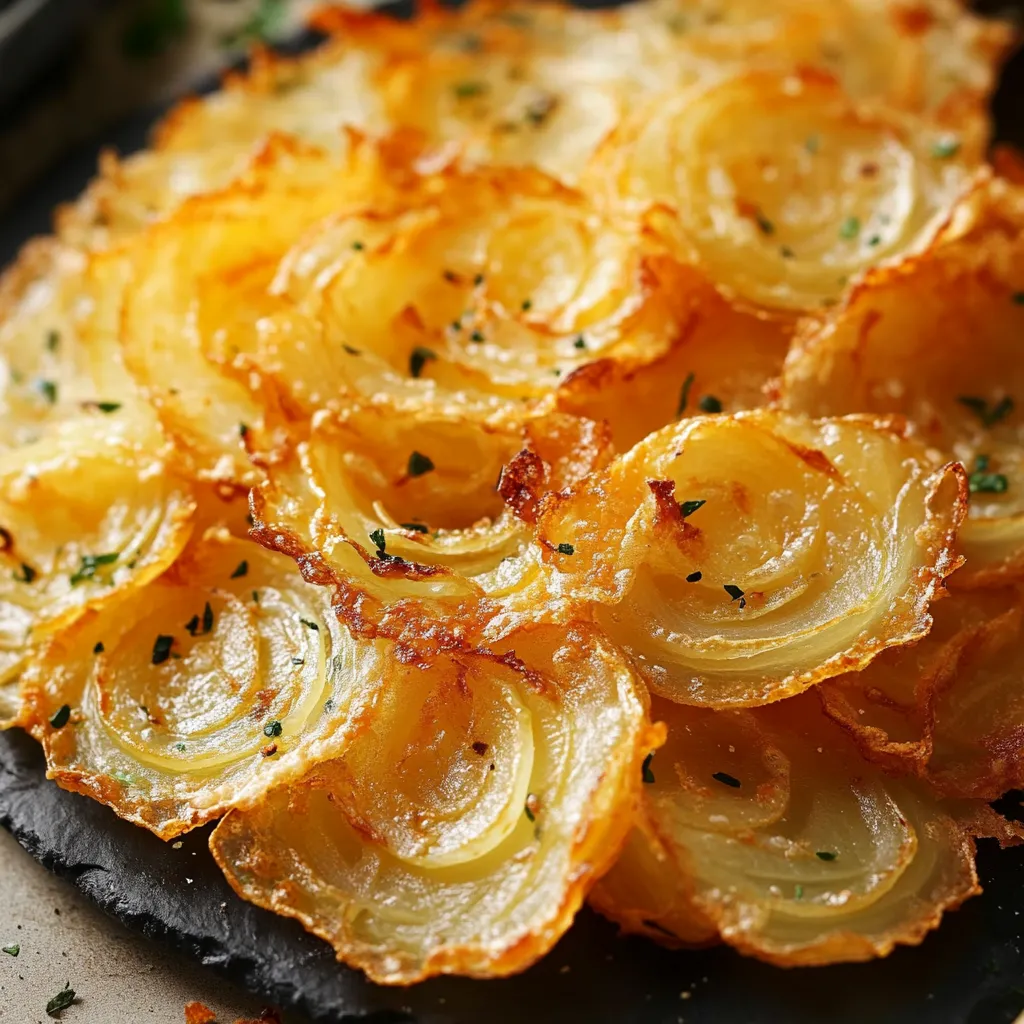
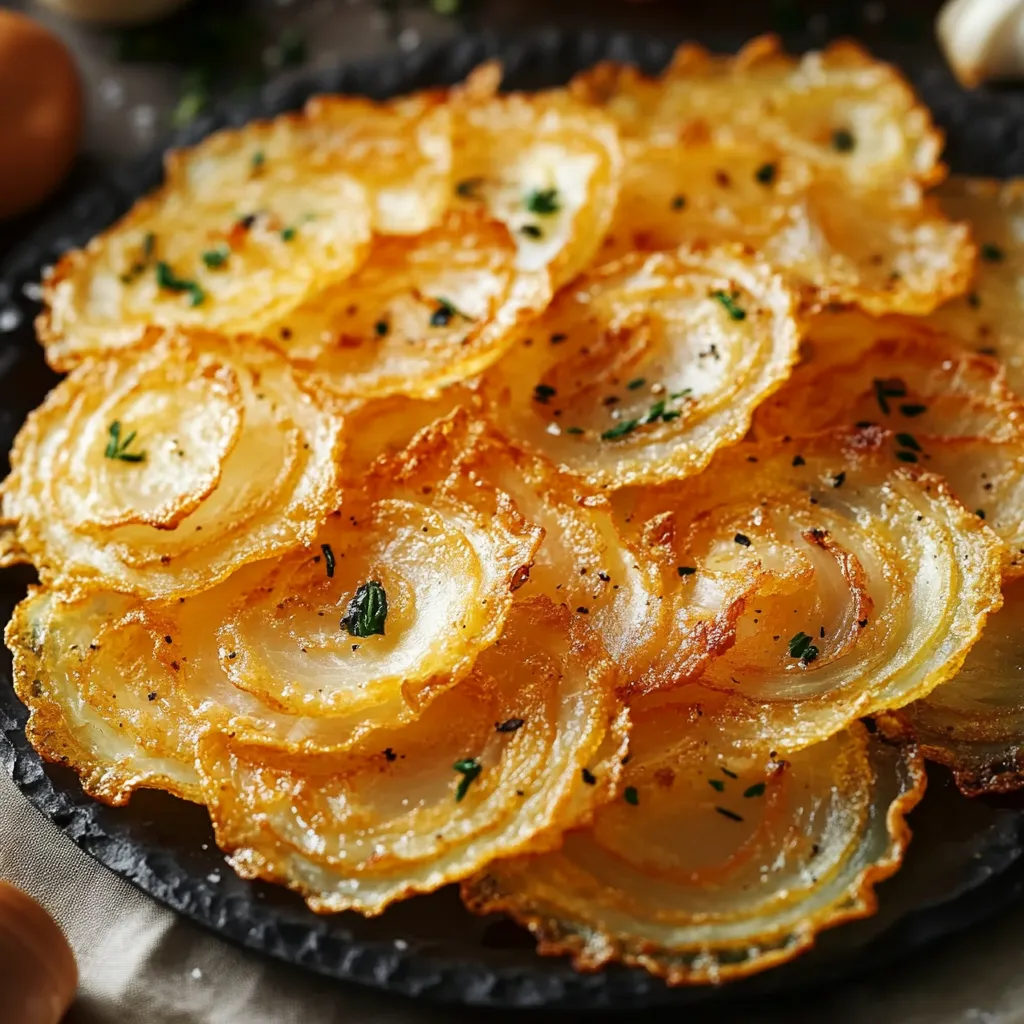
Cheesy onion crisps bring together the sweetness of caramelized onions with the savory crunch of baked cheese for an irresistible snack. These delightful morsels deliver big flavor with minimal effort, making them perfect for casual gatherings or whenever a craving strikes. Unlike traditional fried appetizers, these crisps achieve their remarkable texture through baking, creating a healthier alternative without sacrificing taste.
I discovered this recipe during a particularly busy holiday season when I needed quick appetizers for unexpected guests. The combination of crispy cheese and sweet onions was an instant hit, with everyone asking for the recipe. Now these make an appearance at nearly every gathering I host, and the platter empties faster than anything else I serve.
Essential Ingredients
- 1 large sweet onion: Vidalia or Walla Walla varieties offer natural sweetness that caramelizes beautifully.
- 1 ½ cups shredded sharp cheddar cheese: The higher fat content creates crisp edges while maintaining excellent flavor.
- 1 teaspoon ranch seasoning: Adds herbal notes and subtle tanginess.
- ½ teaspoon smoked paprika: Enhances the caramelized onion flavor with gentle smokiness.
- ¼ teaspoon black pepper: Provides little bursts of heat that complement the sweet onions.
- Dipping sauce of choice: Ranch, marinara, or honey mustard enhance the flavor.
Step-by-Step Instructions
- Heat Oven:
- Preheat your oven to 375°F and position racks in the upper and lower thirds.
- Prepare Baking Surface:
- Line two baking sheets with parchment paper and lightly grease with cooking spray or a thin layer of oil.
- Slice Onions:
- Cut the onion into ¼-inch thick rounds, separating the rings as needed for even cooking.
- Arrange Cheese Base:
- Create eight small mounds of shredded cheese on each baking sheet, using about one tablespoon per mound.
- Place Onion Rounds:
- Position one onion slice directly on top of each cheese mound, pressing down gently.
- Season Generously:
- Sprinkle ranch seasoning, smoked paprika, and black pepper evenly over the crisps.
- Bake Until Golden:
- Bake for 11-13 minutes, rotating and switching positions halfway through.
- Allow Brief Cooling:
- Let the crisps rest on the baking sheets for 5-7 minutes before moving.
- Transfer Carefully:
- Use a thin spatula to gently transfer the cooled crisps to a serving platter.
- Serve Immediately:
- Arrange crisps with your chosen dipping sauce on the side and enjoy while warm.
 Pin it
During college, I discovered these crisps when trying to create a low-carb alternative to my favorite onion rings. What started as an experiment quickly became my signature party offering. My roommate, who claimed to dislike onions, became completely converted after trying these crisps. She would specifically request them whenever we hosted study groups. Years later, we still laugh about how these simple cheese and onion morsels helped fuel our late-night cram sessions and became the unofficial snack of our graduation celebration.
Serving Ideas
Arrange these golden crisps alongside a variety of complementary dipping sauces like sriracha mayo, tangy barbecue sauce, or cool tzatziki for an easy yet impressive appetizer spread.
Create an elevated snack board by pairing these crisps with sliced apples, grapes, nuts, and honey for a sweet and savory grazing experience.
Use these crisps as gourmet 'croutons' atop creamy soups like tomato bisque or butternut squash, adding textural contrast and a burst of flavor.
Recipe Variations
Transform this recipe into Mediterranean-inspired treats by using thinly sliced red onions, crumbled feta cheese, and a sprinkle of oregano, serving with tzatziki sauce.
Create a Mexican flavor profile by substituting pepper jack cheese for cheddar, adding a pinch of cumin, and serving with fresh guacamole or salsa.
Experiment with sweet and spicy combinations by mixing a small amount of brown sugar with cayenne pepper in your seasoning blend.
Freshness Tips
Store any leftover crisps in a paper towel lined container at room temperature for up to two days.
Revive day-old crisps by placing them on a baking sheet in a 300°F oven for 3-5 minutes.
Prepare the cheese mounds and slice the onions up to a day ahead, storing separately, then assemble and bake before serving.
 Pin it
These cheesy onion crisps have become my signature appetizer over the years, requested at every gathering and potluck I attend. What began as a simple four-ingredient recipe has evolved as I've experimented with different cheese blends and seasoning combinations. The beauty lies in their versatility and foolproof nature—even kitchen novices can create these impressive little bites. While they may seem humble, the perfect balance of sweet caramelized onion and crispy, savory cheese creates something truly greater than the sum of its parts.
Frequently Asked Questions
- → What type of onions work best for these cheese crisps?
- Sweet onions like Vidalia or Walla Walla work best as their natural sugars caramelize beautifully during baking, adding an extra layer of flavor.
- → Can I use a different type of cheese?
- Absolutely! While sharp cheddar is recommended, you can try pepper jack for a spicy kick or experiment with other melting cheeses that complement onions.
- → How thin should I slice the onions?
- Slice the onions about 1/4-inch thick. Using a mandoline slicer helps achieve uniform thickness for even cooking.
- → What dipping sauces pair well with these crisps?
- Cool ranch dressing and zesty marinara sauce pair perfectly, but you can also try sour cream, aioli, or your favorite savory dip.
- → How do I know when the onion cheese crisps are done?
- They're ready when lightly browned and crispy around the edges, which typically takes 11-13 minutes at 375°F (190°C).
