
 Pin it
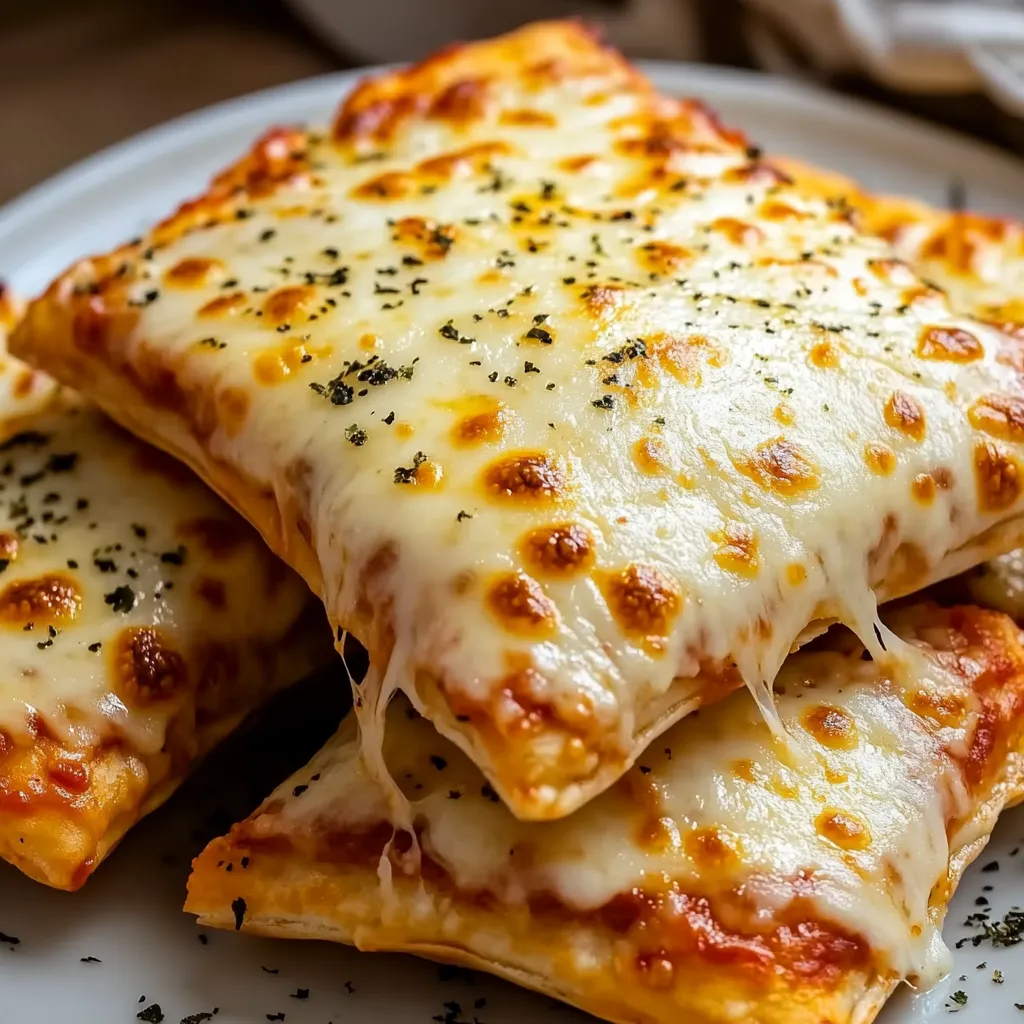
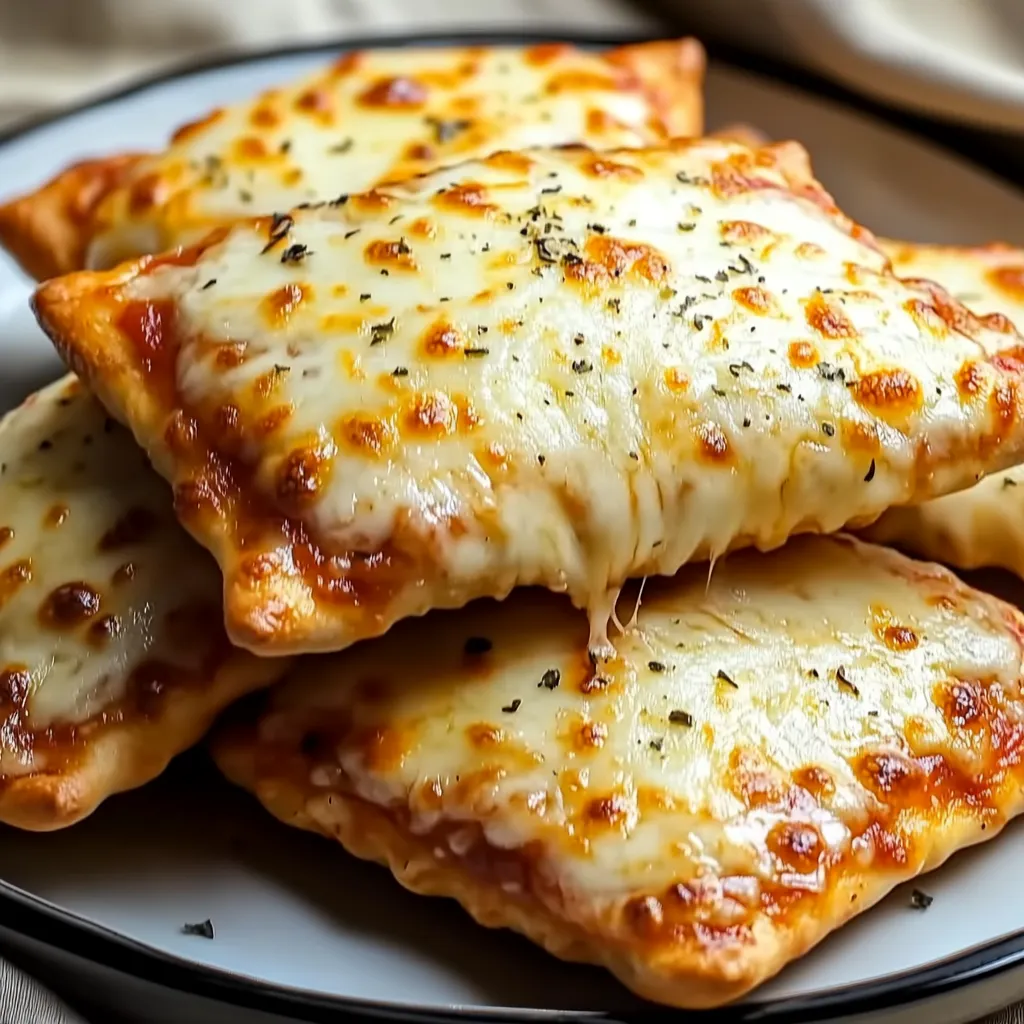
This homemade pizza pocket recipe transforms classic pizza flavors into portable, handheld delights perfect for lunch boxes, quick dinners, or game day snacks. My family goes crazy for these stuffed pockets of cheesy goodness that deliver all the pizza satisfaction without the mess.
I created these pizza pockets when my kids started requesting homemade versions of the frozen ones they had at a friend&s house. Now they help assemble their own with personalized fillings every Friday for our weekly movie night.
Ingredients
- Refrigerated pizza dough: Saves tremendous time while still delivering that fresh baked taste
- Pizza sauce: Provides the classic tangy base that makes these truly taste like pizza
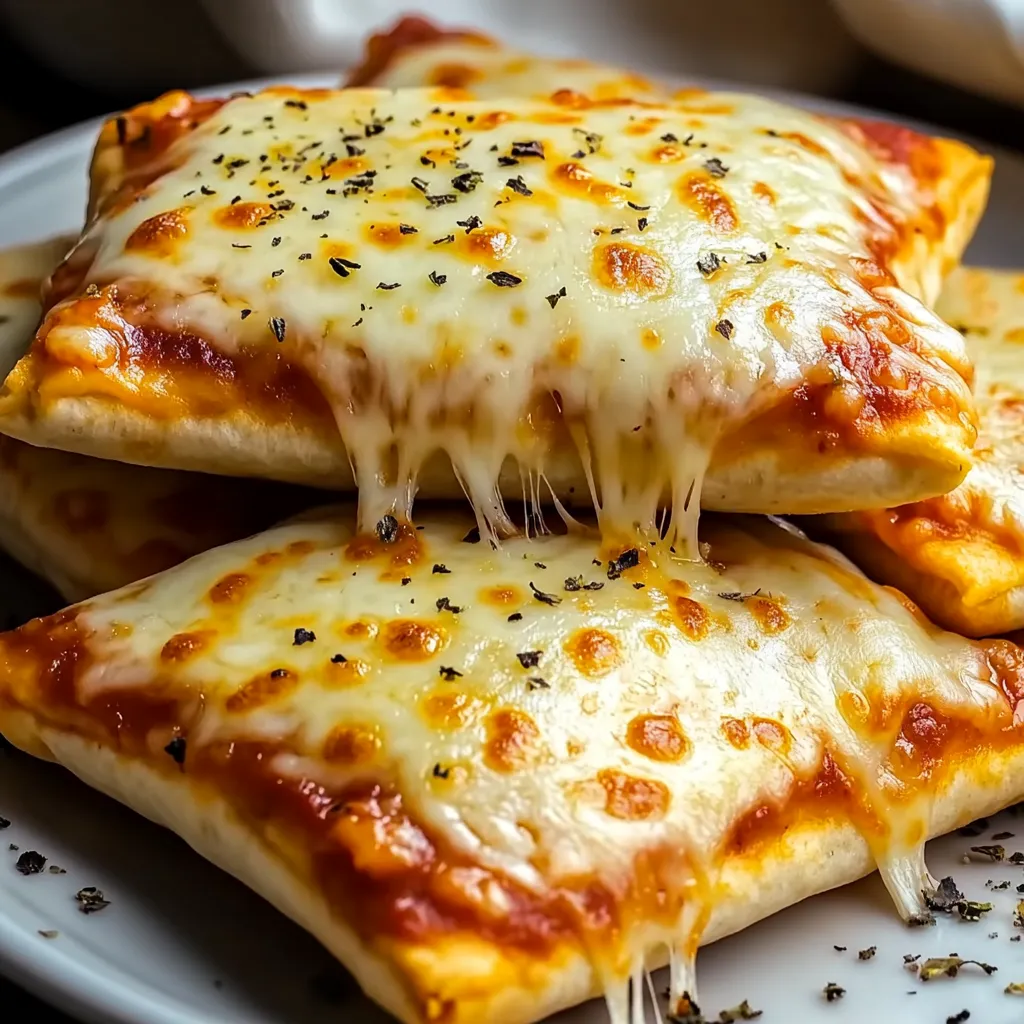
- Shredded mozzarella: Creates that perfect cheese pull we all crave
- Mini pepperoni: Offers flavor in every bite without overwhelming the pockets
- Parmesan cheese: Adds a nutty depth of flavor that elevates the entire pocket
- Italian seasoning: Infuses herby flavor throughout each bite
- Olive oil or melted butter: Creates that beautiful golden crust
- Optional fillings: Allow everyone to customize their perfect pizza pocket
Step-by-Step Instructions
- Preheat and Prepare:
- Set your oven to 400°F and line a baking sheet with parchment paper. The parchment prevents sticking and makes cleanup incredibly easy.
- Divide the Dough:
- Roll out your refrigerated pizza dough on a lightly floured surface. Cut it into 8 equal rectangles or squares. If using homemade dough, aim for pieces about 4x6 inches each.
- Add Your Fillings:
- Place a tablespoon of pizza sauce on one half of each dough piece, leaving about half an inch around the edges. This border ensures proper sealing. Sprinkle a generous amount of mozzarella on top of the sauce, followed by pepperoni or your chosen toppings. Finish with a light dusting of Parmesan and Italian seasoning.
- Create the Pockets:
- Fold the empty half of dough over your toppings to create a pocket shape. Press the edges firmly, then use a fork to crimp all around the border. This sealing technique is crucial to prevent cheese from leaking during baking.
- Finish and Bake:
- Brush the tops with olive oil or melted butter to achieve that golden restaurant quality finish. For extra flavor, sprinkle a pinch more Italian seasoning on top. Bake for 15 to 18 minutes until the pockets are beautifully golden and crisp.
 Pin it
The mini pepperoni has become my secret weapon in these pizza pockets. Unlike regular sized pepperoni that can make awkward bulges in the dough, these tiny rounds distribute perfectly throughout each bite. My son initially insisted on using only cheese, but after trying the mini pepperoni version, he declared them officially better than the store bought variety.
Make-Ahead and Freezing
These pizza pockets are perfect for batch cooking and freezing. After assembling but before baking, place them on a baking sheet and freeze until solid. Then transfer to a freezer bag where they will keep for up to 3 months. To bake from frozen, add about 5 minutes to the cooking time. This approach has saved countless weeknight dinners in our household.
Customization Ideas
The beauty of homemade pizza pockets lies in their versatility. Create a pocket bar with various fillings and let everyone build their own. Try buffalo chicken with blue cheese, spinach and feta for a Greek twist, or ham and pineapple for Hawaiian flavor. For vegetarian options, sautéed mushrooms, bell peppers, and olives create delicious combinations. My daughter recently discovered she loves ricotta cheese mixed with the mozzarella for an extra creamy pocket.
Serving Suggestions
While these pockets are perfectly satisfying on their own, pairing them with complementary sides elevates the meal. A simple green salad with Italian dressing balances the richness, while veggie sticks with ranch dressing keep the finger food theme going. For dipping, offer extra warm pizza sauce, ranch, or garlic butter. We often serve these at casual gatherings alongside a fruit platter for a crowd pleasing spread that disappears quickly.
 Pin it
Whether for busy weeknights or fun gatherings, these pizza pockets will quickly become a family favorite!
Frequently Asked Questions
- → Can I make these pizza pockets ahead of time?
Yes! You can assemble them completely, then refrigerate for up to 24 hours before baking. You can also freeze the assembled, unbaked pockets for up to 3 months. When ready to eat, bake frozen pockets at 400°F for 20-25 minutes.
- → What other fillings work well in these pockets?
These pockets are extremely versatile! Try combinations like ham and cheese, spinach and feta, buffalo chicken with blue cheese, taco meat with cheddar, or even breakfast fillings like scrambled eggs with cheese and bacon.
- → How do I prevent the filling from leaking out?
Make sure not to overfill the pockets and leave about a 1/2-inch border around the edges. Firmly press the edges with a fork to create a good seal, and consider brushing the edges with a bit of egg wash before sealing for extra insurance.
- → Can I use homemade pizza dough instead?
Absolutely! Homemade pizza dough works perfectly. Just roll it slightly thinner than you would for a regular pizza, about 1/8-inch thick, before cutting into portions for the pockets.
- → What's the best way to reheat leftover pizza pockets?
For the best texture, reheat in a 350°F oven or air fryer for 5-7 minutes until warmed through. Microwaving works in a pinch (1-2 minutes), but the crust won't be as crispy.
- → Are these suitable for kids' lunchboxes?
These make excellent lunchbox additions! Let them cool completely before packing. They can be eaten at room temperature or lightly warmed. Consider making mini versions for smaller appetites.