Homemade Fruit Snacks

Featured in: Fresh-Baked Happiness from Your Oven

Homemade Fruit Snacks offer a healthier, whole-food alternative to commercial gummies by using real fruits, hidden vegetables, and nutritious grass-fed gelatin. These colorful treats come in various vibrant hues—green, red, orange, and purple/blue—each derived naturally from fruits like grapes, strawberries, peaches, and blueberries, complemented by vegetables such as spinach, beets, carrots, and zucchini. What makes these snacks special is their clean ingredient list: they contain no artificial colors, flavors, or preservatives, relying instead on pure fruit juice, raw honey, and vanilla for sweetness. The addition of grass-fed gelatin not only creates the perfect gummy texture but also adds beneficial protein and supports gut health, skin, hair, and nail strength. Easy to customize with various fruit and vegetable combinations, these versatile treats can be molded into fun shapes for kids or stored for convenient healthy snacking throughout the week.
marry from tastelikemagic.com
Updated on Thu, 13 Mar 2025 16:20:10 GMT
A close up of a bag of jelly beans. Pin it
A close up of a bag of jelly beans. | tastelikemagic.com

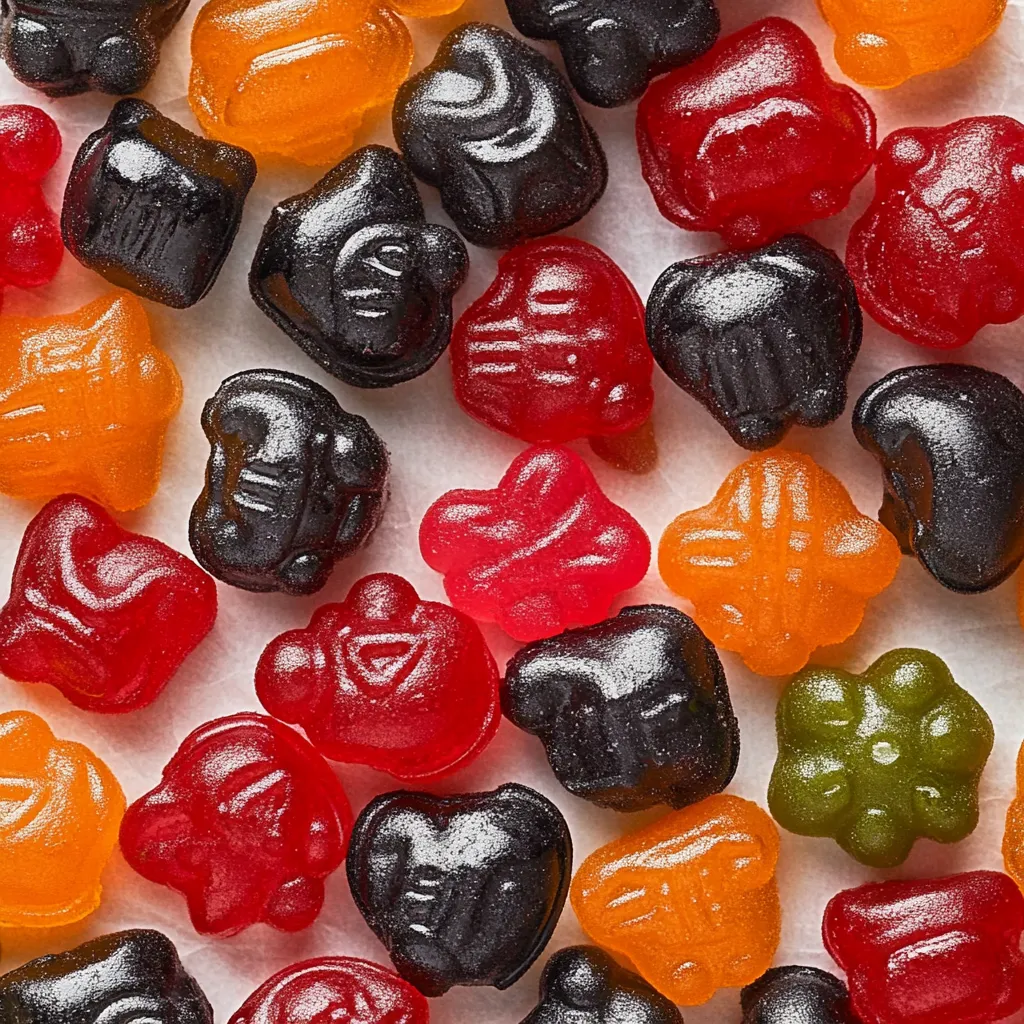
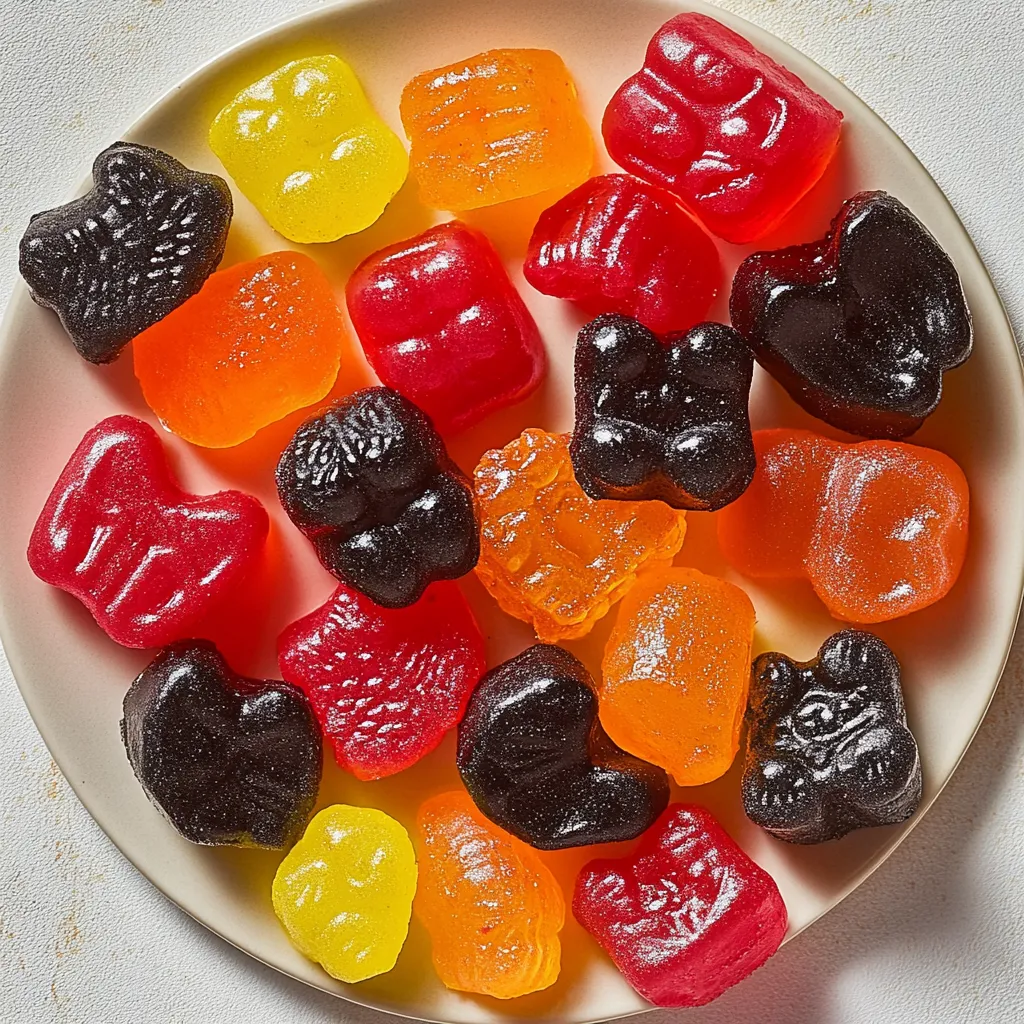
These homemade fruit snacks transform simple ingredients into delightful, chewy treats that capture the vibrant flavors of fresh fruit without any artificial additives. The combination of real fruits and vegetables creates naturally beautiful colors while providing genuine nutritional benefits. The grass-fed gelatin adds protein and supports gut health, making these treats something you can feel good about enjoying or sharing with your family.

I started making these after discovering my son's "healthy" store-bought fruit snacks contained more corn syrup than fruit. The first time I set these homemade versions on the table, my kids devoured them without realizing they were eating vegetables too! Now they ask to help make them, turning snack preparation into a fun kitchen activity.

Ingredients

  • Fresh fruit: Choose ripe, flavorful fruits for the best natural sweetness; frozen fruit works well too if thawed first.
  • Vegetables: These add nutrition and natural color without overwhelming the fruit flavors; choose mild options like spinach or zucchini if serving to selective eaters.
  • Apple juice: Provides liquid for blending while adding sweetness; choose 100% juice without added sugars for the cleanest flavor.
  • Raw honey: Offers natural sweetness with beneficial enzymes; local honey can even help with seasonal allergies for some people.
  • Grass-fed gelatin: This protein-rich thickener creates the perfect chewy texture while providing gut-healing amino acids; quality matters for both nutrition and texture.

Cooking Instructions

Prepare your workspace strategically
Set up your silicone molds on a baking sheet or lined cutting board before beginning. This makes them easier to transport to the refrigerator without spilling.
Create the perfect puree
Start with small batches of fruit and minimal liquid in your blender, adding more juice only as needed to achieve a smooth consistency.
Balance flavors thoughtfully
Taste your fruit mixture before adding honey and adjust sweetness accordingly.
Master the gelatin technique
Sprinkle the gelatin evenly over your warm fruit mixture while whisking constantly to prevent clumping.
Control the temperature carefully
Keep your mixture below simmering temperature (around 170°F is ideal) – boiling can damage the gelatin’s setting properties.
Fill molds with precision
Use a plastic dropper or small measuring spoon with a spout to fill detailed silicone molds.
Ensure proper setting
Allow at least two hours in the refrigerator for complete setting.
Store appropriately for freshness
Layer fruit snacks between sheets of parchment paper in an airtight container to prevent sticking.
A plate of candy with a variety of colors. Pin it
A plate of candy with a variety of colors. | tastelikemagic.com

The Magic of Natural Food Colors

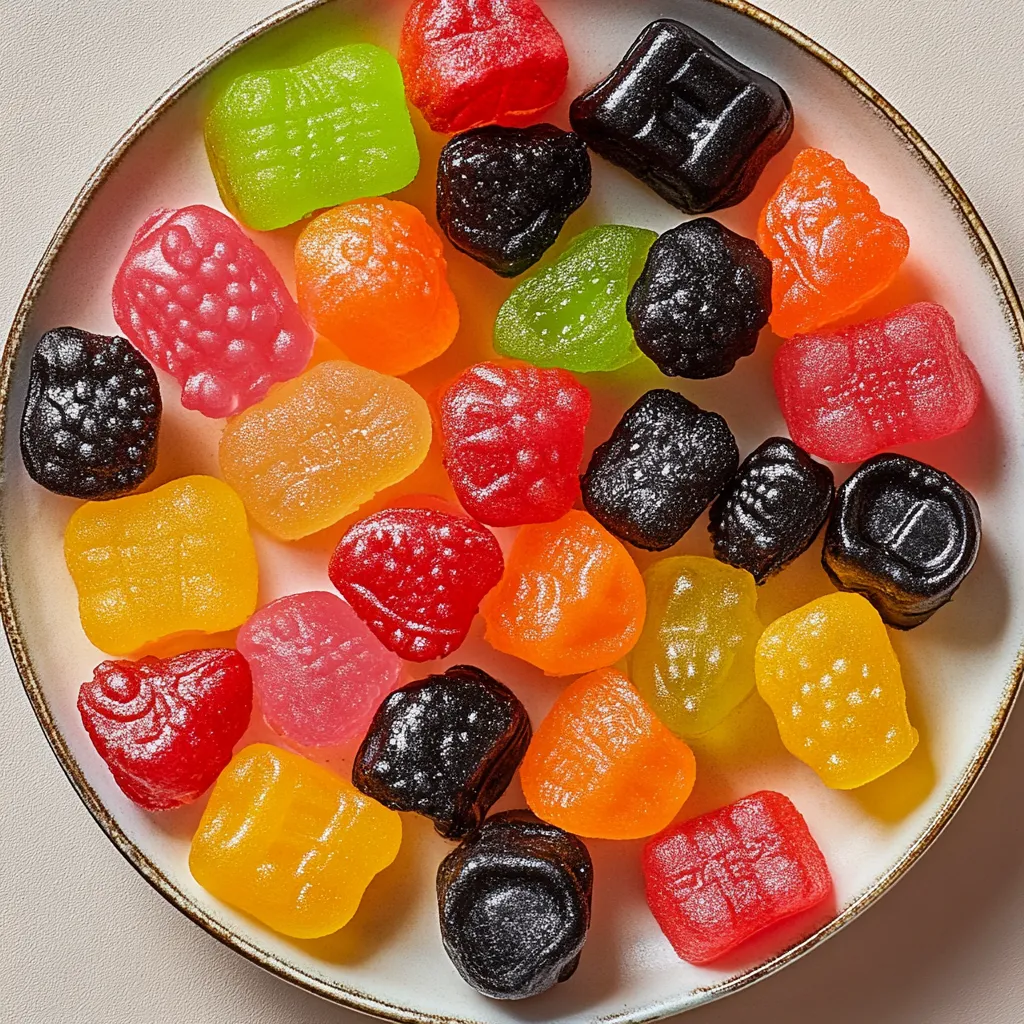
The vibrant colors in these snacks come entirely from fruits and vegetables, offering not just visual appeal but nutritional benefits.

Gelatin's Hidden Benefits

Beyond creating that perfect chewy texture, grass-fed gelatin contains glycine and proline, amino acids that support joint health and gut healing.

Creative Flavor Combinations

Experiment with seasonal produce and complementary flavors like watermelon-mint, mango-turmeric, and raspberry-lemon.

Kid-Friendly Kitchen Project

Making these fruit snacks together creates opportunities to discuss food origins, colors, and nutrition with children.

Lunchbox Stability Tips

For packing in lunchboxes, keep these fruit snacks chilled until the last minute and include a small ice pack.

Seasonal Adaptation Ideas

Adapt this recipe throughout the year using seasonal produce for the freshest flavors and best value.

Special Dietary Considerations

These fruit snacks naturally accommodate many dietary needs – they’re gluten-free, dairy-free, and can be made with alternative sweeteners like maple syrup.

A plate of jelly beans. Pin it
A plate of jelly beans. | tastelikemagic.com

These homemade fruit snacks show that nutritious food can be both delicious and appealing. I’ve brought these to school functions and birthday parties where parents and kids alike ask for the recipe. What begins as a practical alternative to store-bought options becomes a creative project that connects us to our food. Whether you’re making these for lunchboxes or healthy snacking, they represent a small but meaningful step toward mindful eating.

Frequently Asked Questions

→ Why use grass-fed gelatin in these fruit snacks?
Grass-fed gelatin not only creates the perfect gummy texture but also offers nutritional benefits. It's a source of protein, supports gut health, and may benefit skin, hair, and joint health. It's also free from hormones or antibiotics found in conventionally raised animals.
→ Can I make these Homemade Fruit Snacks vegan?
Yes, you can substitute the gelatin with agar-agar powder for a vegan version. Use about 1 tablespoon of agar-agar powder for every 3 tablespoons of gelatin. The texture will be slightly different but still delicious.
→ Why can't I use kiwi or pineapple in this recipe?
Kiwi and pineapple contain enzymes (actinidin and bromelain, respectively) that break down the proteins in gelatin, preventing the fruit snacks from setting properly. Most other fruits work fine in this recipe.
→ Do I need special molds to make these fruit snacks?
While silicone molds create fun shapes that kids love, they're not necessary. You can pour the mixture into a lined baking dish and cut into cubes or shapes after setting. Ice cube trays also work as simple molds.
→ Can I reduce the honey to make these less sweet?
Yes, you can reduce the honey or omit it entirely if you prefer. The natural sweetness of the fruits may be enough, especially if you're using sweet fruits like ripe berries or peaches.

Homemade Fruit Snacks

These Homemade Fruit Snacks combine real fruits and hidden vegetables with grass-fed gelatin for a healthier, natural alternative to store-bought gummies.

Prep Time
15 Minutes
Cook Time
5 Minutes
Total Time
20 Minutes
By: Marry

Category: Homemade Bakes

Difficulty: Intermediate

Cuisine: American

Yield: 20 Servings (20 fruit snacks (varies by mold size))

Dietary: Vegetarian, Gluten-Free, Dairy-Free

Ingredients

→ Basic Recipe

01 1 cup fruit, chopped
02 ¼ cup vegetables, chopped (and peeled if necessary)
03 ¼ to ½ cup pure apple juice (no added sugar)
04 2 tablespoons raw honey
05 ¼ teaspoon pure vanilla extract
06 3 tablespoons gelatin (preferably collagen, grass-fed)

→ Green Variation

07 1 cup green grapes
08 ¼ cup spinach

→ Red Variation

09 1 cup strawberries, diced
10 ¼ cup beets

→ Orange Variation

11 1 cup peaches, chopped
12 ¼ cup carrots

→ Blue/Purple Variation

13 1 cup blueberries
14 ¼ cup zucchini

Instructions

Step 01

Start by preparing a place for your fruit snacks to set. You have two options: either place silicone molds on a large baking sheet (this works great for fun shapes), or line an 8×8-inch square dish with wax paper and lightly grease it with a neutral oil. The wax paper makes removal easy once they're set. Set your prepared molds or dish aside while you make the fruit snack mixture.

Step 02

In a high-powered blender, combine your chosen 1 cup of fruit and ¼ cup of vegetables along with ¼ cup of apple juice. Secure the lid tightly and start blending on low speed, gradually increasing to high. Blend until the mixture becomes completely smooth with no visible chunks. If the mixture is too thick to blend properly, add more apple juice one tablespoon at a time until it reaches a smooth, pourable consistency.

Step 03

Once your fruit and vegetable mixture is smooth, add the raw honey and vanilla extract to the blender. Blend again briefly until these are fully incorporated. Take a small taste of your mixture to check the sweetness level. If you prefer a sweeter fruit snack, especially when using tart fruits or vegetables with stronger flavors, add a bit more honey to taste.

Step 04

Transfer your blended fruit mixture to a small saucepan. Whisk in the gelatin powder until it's evenly distributed throughout the liquid. Then place the saucepan over medium heat and continue whisking gently as it warms. Heat the mixture for about 3 minutes until the gelatin is completely dissolved and the texture is no longer grainy. To test if it's ready, place a small drop on your thumb and rub it between your fingers - it should feel completely smooth. Be careful not to let the mixture boil, as this can damage the gelatin's setting properties.

Step 05

Working quickly while the mixture is still warm, fill your prepared molds. If using silicone molds with small cavities, a dropper or small spoon works well for precise filling. If using a baking dish, simply pour the entire mixture in and spread it evenly. For easier pouring, keep the saucepan on the warm (but turned off) burner as you work - this prevents the mixture from setting too quickly before you're finished.

Step 06

Carefully transfer your filled molds or baking dish to the refrigerator and allow them to set undisturbed for at least 2 hours, or until completely firm. Once set, gently pop the fruit snacks out of the silicone molds, or if using a baking dish, lift out the entire sheet by the edges of the wax paper and cut into desired shapes using a sharp knife or cookie cutters. Store your homemade fruit snacks in an airtight container in the refrigerator.

Notes

  1. These homemade fruit snacks are a healthier alternative to store-bought versions, with no artificial colors, flavors, or preservatives.
  2. Avoid using kiwi or pineapple in this recipe as they contain enzymes that break down gelatin and will prevent your fruit snacks from setting properly.
  3. Store these fruit snacks in an airtight container in the refrigerator for up to 2 weeks, or freeze them for up to 2 months.

Tools You'll Need

  • High-powered blender
  • Small saucepan
  • Whisk
  • Silicone molds or 8×8-inch baking dish
  • Baking sheet (if using silicone molds)
  • Wax paper (if using baking dish)
  • Dropper or small spoon (for filling molds)

Nutrition Facts (Per Serving)

It is important to consider this information as approximate and not to use it as definitive health advice.
  • Calories: 45
  • Total Fat: ~
  • Total Carbohydrate: 8 g
  • Protein: 3 g