
 Pin it
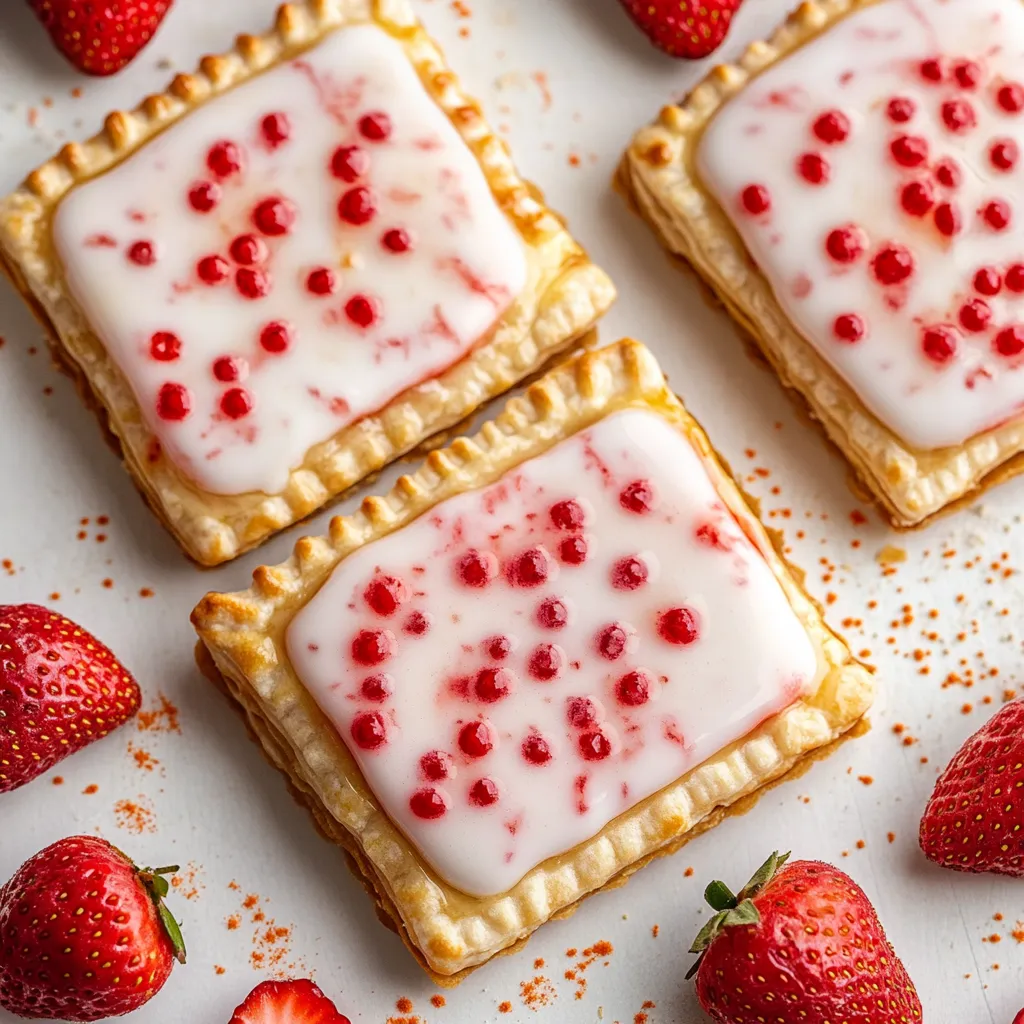
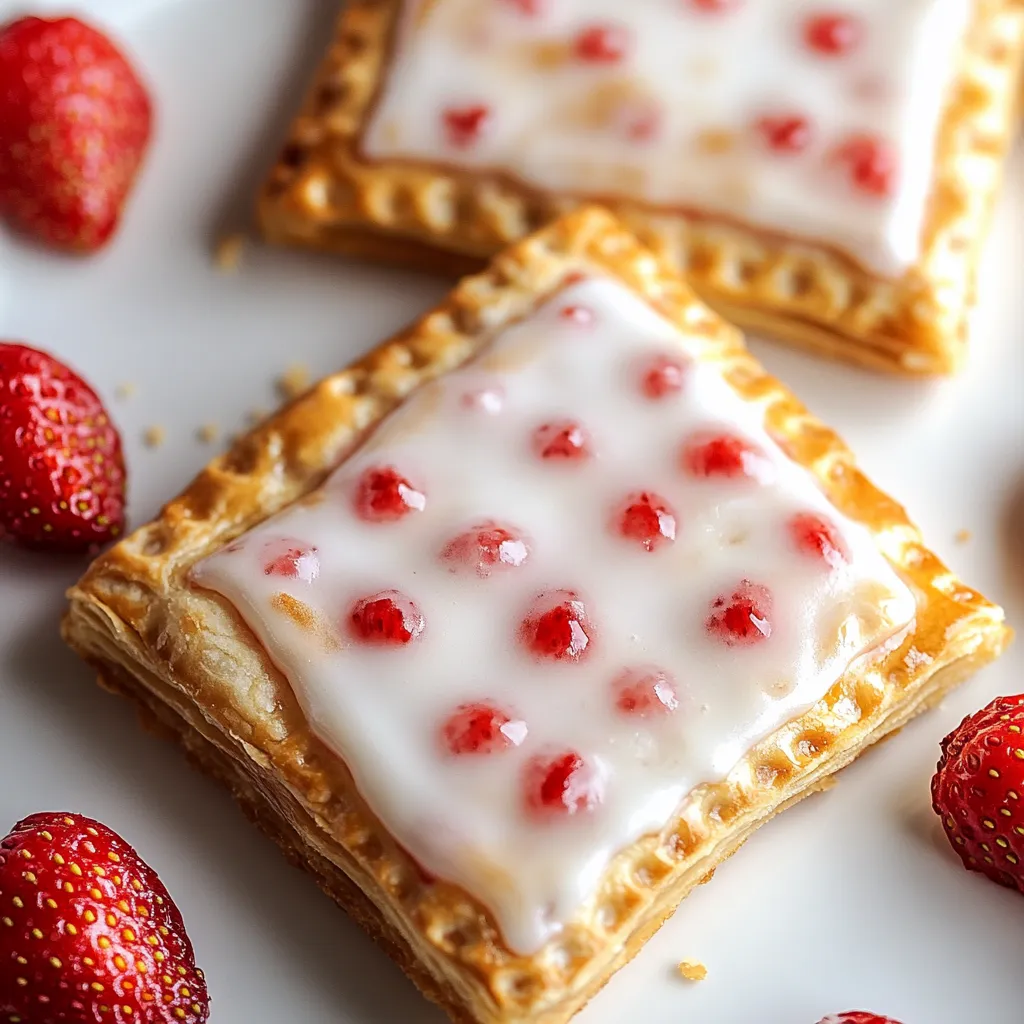
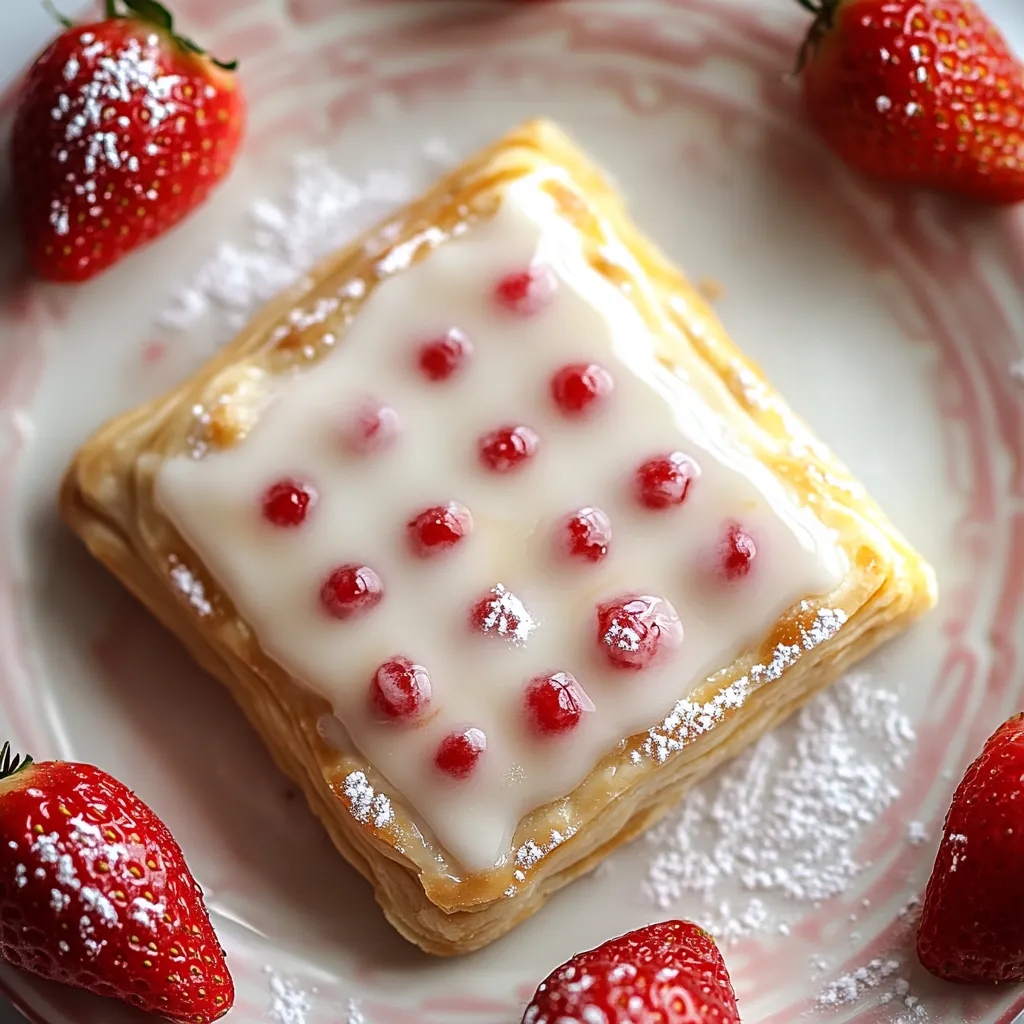
A nostalgic breakfast treat transforms into something extraordinary when made from scratch in your own kitchen. These homemade strawberry pop-tarts combine buttery, flaky pastry with sweet fruit preserves and a perfect vanilla glaze to create something that puts the store-bought version to shame.
Having grown up with boxed pop-tarts, discovering how to make them from scratch opened up a whole new world of breakfast possibilities. The difference in taste and texture is simply remarkable.
Essential Ingredients Guide
- Butter: Use high quality cold salted butter for rich flavor and a flaky texture.
- Flour: All-purpose flour gives the perfect structure for a tender and light pastry.
- Strawberry Preserves: Thick and fruit-rich preserves are the best choice for a full strawberry flavor.
- Vanilla Extract: Pure vanilla extract brings out the flavors in both the pastry and the glaze.
- Powdered Sugar: Ideal for creating a smooth and traditional glaze with the right consistency.
- Cold Water: Keeping the water cold is key to achieving perfectly flaky pastry layers.
Creating Perfect Pop Tarts
- Perfect Your Pastry:
- Start with very cold ingredients. Pulse flour and sugar briefly to combine. Add butter in small cubes, pulsing until mixture resembles coarse sand. Add cold water gradually, stopping when dough just comes together. Avoid overworking.
- Master The Rolling:
- Chill dough thoroughly before rolling. Work on well-floured surface using gentle pressure. Maintain consistent thickness throughout. Keep rotating dough to prevent sticking. Roll to exact quarter-inch thickness for proper baking.
- Create Even Shapes:
- Use a ruler or template for consistent rectangles. Cut decisively with sharp knife or pizza cutter. Transfer pieces carefully to prevent stretching. Reroll scraps only once to maintain tenderness.
- Fill With Precision:
- Spread preserves evenly, leaving clean border. Avoid overfilling which causes leaks. Press edges firmly with fork to seal completely. Create adequate ventilation holes to prevent bursting.
- Perfect The Bake:
- Watch carefully during final minutes of baking. Look for golden edges and dry surface. Allow complete cooling before glazing to prevent melting. Transfer to rack immediately after baking.
- Master The Glaze:
- Add milk gradually to achieve proper consistency. Glaze should be thick enough to set but thin enough to spread smoothly. Apply while pop-tarts are completely cool for best results.
 Pin it
Temperature Matters
Cold ingredients create flaky layers. Work quickly to keep butter cold. Chill dough between steps if it becomes too soft. Cool completely before glazing.
Make-Ahead Magic
Prepare dough and shape pop-tarts ahead of time. Freeze unbaked for up to three months. Bake directly from frozen, adding a few extra minutes to baking time.
Storage Solutions
Keep unglazed pop-tarts at room temperature for three days. Freeze glazed pop-tarts separated by parchment paper for up to two months.
My daughter's face lights up every weekend when we make these together. She says they taste like love and butter, which might be the perfect description.
 Pin it
These homemade strawberry pop-tarts represent breakfast pastry perfection - crisp, flaky, and filled with real fruit preserves. They prove that sometimes the best way to improve a childhood favorite is to make it from scratch with love.
Frequently Asked Questions
- → Can I use different flavors of preserves?
- Yes, you can substitute the strawberry preserves with any flavor you prefer, such as raspberry, blueberry, or apple butter.
- → How should I store homemade Pop-Tarts?
- Store them in an airtight container at room temperature for up to 3 days, or freeze uniced pop-tarts for up to 3 months.
- → Why does my dough need to chill?
- Chilling the dough helps the butter firm up, making it easier to work with and ensuring flakier pastry when baked.
- → Can I make the dough without a food processor?
- Yes, you can cut the butter into the flour mixture using a pastry cutter or two knives, then mix in the liquid ingredients by hand.
- → Why do I need to make ventilation holes?
- Ventilation holes allow steam to escape during baking, preventing the filling from bursting through the sides of the pastry.