 Pin it
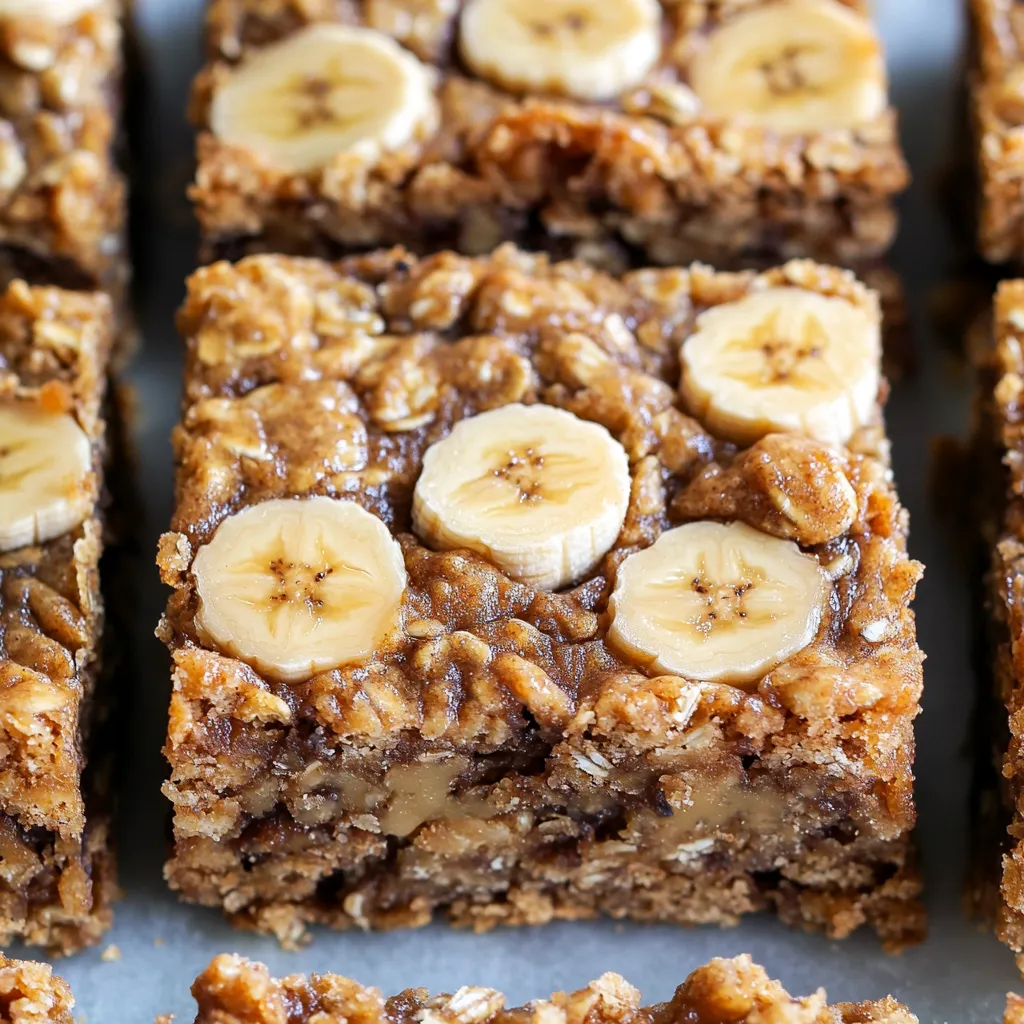
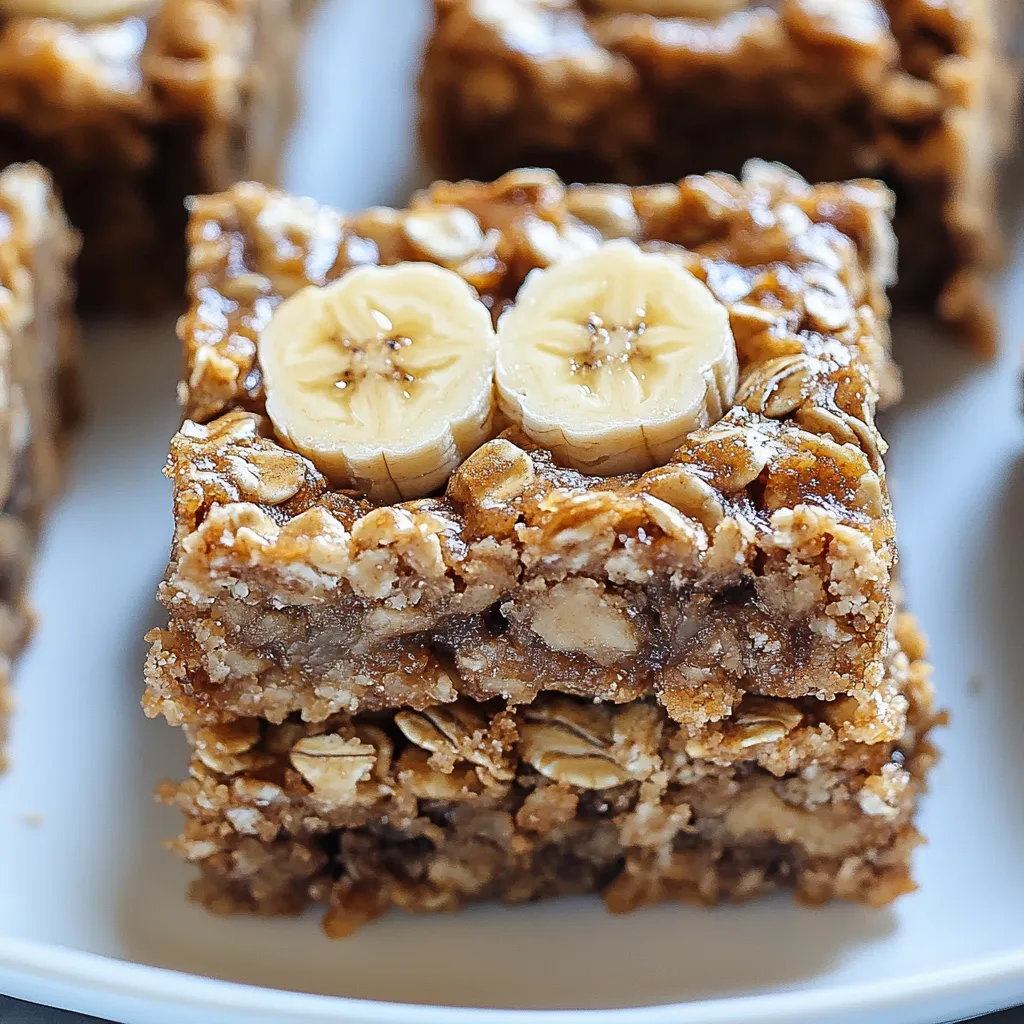
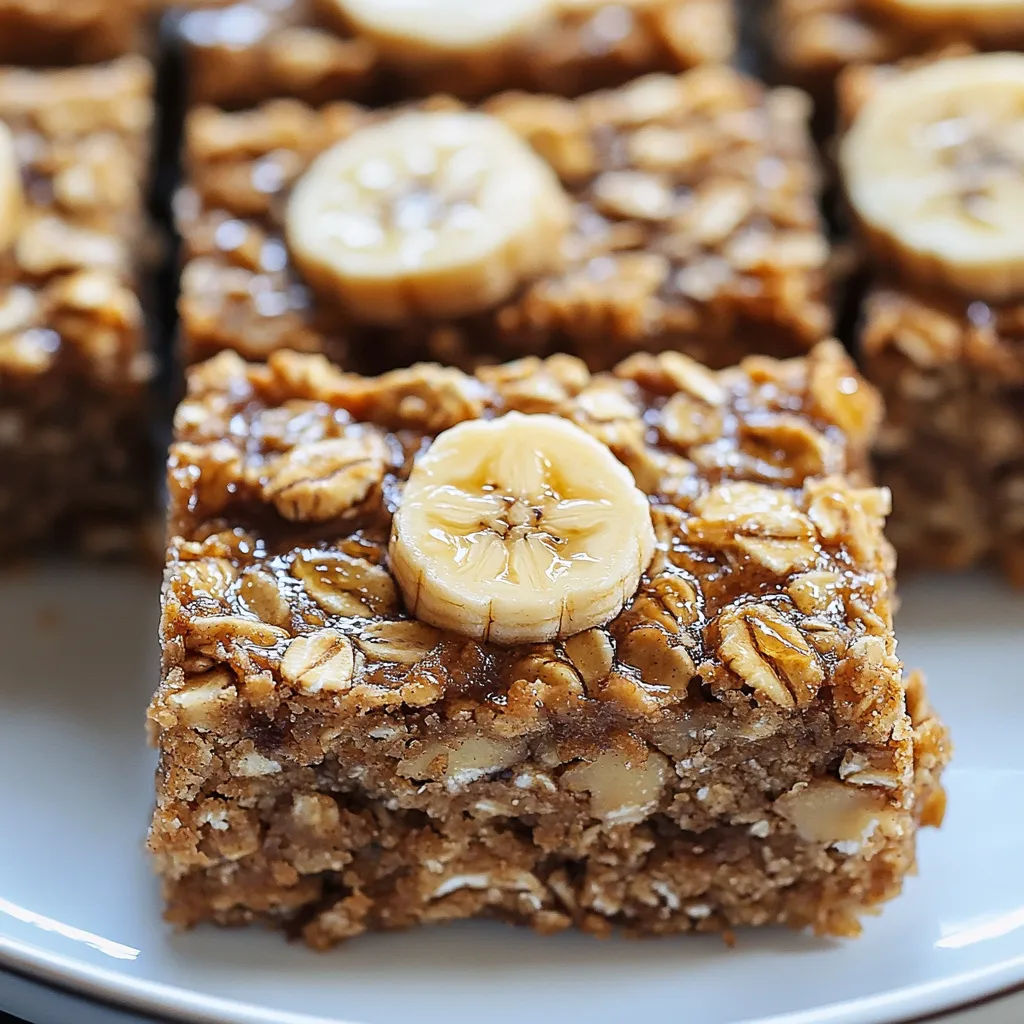
Ripe bananas blended with creamy peanut butter and hearty oats create irresistible chewy bars perfect for any time of day. These banana peanut butter oatmeal bars deliver satisfying nutrition wrapped in a convenient package that works equally well for rushed mornings, midday energy slumps, or evening sweet cravings. The natural sweetness from overripe bananas complements the rich nutty depth of peanut butter while creating a moist, tender texture that holds together beautifully.
I discovered this recipe during a particularly hectic week when grabbing nutritious food on the run became challenging. After experimenting with several variations, these bars quickly became my family's favorite portable snack. My teenagers now request them regularly for sports practices, preferring them to commercially processed granola bars loaded with unrecognizable ingredients.
Simple Ingredients
- Bananas: Contribute natural sweetness and binding properties selecting deeply speckled fruits ensures maximum flavor while minimizing the need for added sweeteners.
- Peanut butter: Adds rich protein and healthy fats that create satisfying texture and nutrition choose natural varieties without hydrogenated oils or added sugars for optimal health benefits.
- Oats: Provide substantial fiber and complex carbohydrates that deliver sustained energy old-fashioned rolled oats create ideal chewy texture while quick oats produce softer results.
Baking Process
- Pan Preparation:
- Preheat your oven to 350°F while lining an 8×8-inch baking pan with parchment paper, leaving overhang on two sides for easy removal later. The parchment prevents sticking while making cleanup remarkably simple compared to greasing alone.
- Dry Mixture:
- Combine your oats, ground cinnamon, pinch of salt, and baking powder in a large mixing bowl, stirring thoroughly to distribute the leavening and spices evenly throughout the oats, creating a consistent flavor profile in every bite.
- Wet Ingredients:
- Mash your ripe bananas in a separate bowl until nearly smooth with minimal lumps remaining. Add peanut butter, sweetener of choice, vanilla extract, and egg if using, then stir vigorously until the mixture becomes uniform with no visible streaks of separate ingredients.
- Perfect Combination:
- Pour your wet banana mixture into the bowl containing the dry oat mixture, gently folding everything together using a spatula with broad sweeping motions. Continue until no dry spots remain and all oats appear evenly moistened, creating a cohesive sticky dough.
- Proper Placement:
- Transfer your complete mixture into the prepared baking pan, using a spatula to spread it evenly into all corners. Press firmly across the entire surface to compact the mixture, which ensures proper binding during baking and prevents crumbly bars after cooling.
- Baking Technique:
- Place your pan in the preheated oven positioned on the center rack for optimal heat circulation. Bake until edges show golden browning while maintaining slight moisture in the center, indicating perfect doneness that balances structure with desirable chewiness.
 Pin it
My neighbor initially questioned whether these homemade bars could really replace her expensive store-bought protein bars. After sampling them, she immediately asked for the recipe, noting how satisfied she felt compared to commercial alternatives. Now she makes weekly batches, cleverly incorporating ground flaxseeds and hemp hearts for additional nutrition that complements her active lifestyle while staying within her budget.
Nutritional Powerhouse
These unassuming bars deliver impressive nutritional benefits disguised as a tasty treat. The combination of complex carbohydrates from oats and protein from peanut butter creates a balanced snack that stabilizes blood sugar levels rather than causing energy spikes and crashes. Bananas contribute potassium and vitamin B6, supporting heart health and energy production throughout your day.
Storage Solutions
Maintain freshness and flavor by storing these bars appropriately based on your consumption timeline. Keep them at room temperature in an airtight container with parchment between layers for up to three days, during which they maintain optimal texture and flavor. Refrigerate for extended freshness up to one week, though texture becomes slightly firmer than at room temperature. For longer-term planning, wrap individual portions in parchment then place in freezer-safe containers where they maintain quality for up to three months.
 Pin it
Frequently Asked Questions
- → Can I make these Banana Peanut Butter Bars without honey or maple syrup?
- Yes, you can omit the honey or maple syrup, especially if your bananas are very ripe and sweet. The bars will be slightly less sweet and may have a different texture, but the natural sweetness from the ripe bananas often provides enough flavor on its own.
- → How ripe should the bananas be for these Banana Peanut Butter Bars?
- The bananas should be quite ripe with brown spots on the peel for the best flavor and natural sweetness. Overripe bananas (those that are mostly brown) work exceptionally well in this recipe, as they're easier to mash and provide more natural sugar.
- → Can I use quick oats instead of rolled oats in these bars?
- Yes, you can substitute quick oats for rolled oats in this recipe. The texture will be slightly different - less chewy and more uniform - but the bars will still hold together well. Steel-cut oats are not recommended as they require more liquid and longer cooking time.
- → Are these Banana Peanut Butter Bars gluten-free?
- These bars can be gluten-free if you use certified gluten-free rolled oats. Regular oats are naturally gluten-free, but they're often processed in facilities that also handle wheat products, so cross-contamination can occur. Always check packaging if gluten sensitivity is a concern.
- → How should I store these Banana Peanut Butter Bars?
- Store the bars in an airtight container in the refrigerator for up to 5 days. Due to the moisture from the bananas, these bars keep best when refrigerated. For longer storage, freeze individual wrapped bars for up to 3 months and thaw as needed.
